
How to plant a tree
You can't just dig a hole and plunk in your tree. Follow these step-by-step planting instructions to ensure a lifetime of tree health.
Trees and shrubs are the most expensive and significant features of home gardens, so properly planting and caring for them pays long-term dividends. Trees and shrubs enrich home gardens in many ways: they provide wildlife habitat, shade, privacy and curb appeal.
Many problems leading to the decline or death of trees and shrubs are not caused by pests or diseases, but by improper planting techniques. The worst problems come from circling roots, planting too deep, damage from staking and from mixing amendments in the soil. In many cases, the tree looks healthy for several years before it begins to decline. As it weakens, the tree becomes unable to protect itself from opportunistic insect pests or diseases. Typically, the homeowner blames the insect or disease for the death of the tree when in reality, they were merely a symptom of an improperly planted tree that has been slowly dying.
The most overlooked concepts when planting a tree are: root pruning, trunk flare, and length of time of watering. You cannot simply unpot a tree, dig a hole the size of the pot, plop in the tree, and walk away expecting it to live a long, healthy, bug and disease free life. Do not be a plunker!
When should I plant a tree?
Tree planting can occur at any time the ground is soft enough to get a shovel into and there is no immediate danger of heavy frost. Many people plant trees in the spring as it gives the tree a full growing season to establish itself. This is good practice, but not your only option. Summer is not an ideal time to plant a tree, especially if it is a hot, windy, dry summer. If you decide to plant in these conditions, be prepared to water more frequently and ensure you mulch generously. Many people feel fall isn't an ideal time to plant a tree since the weather is getting cooler, there is less sunlight overall, and winter is just around the corner. However, early fall is an ideal time to plant a tree as long as there is no risk of immediate frost present and leaf drop has not yet occurred on deciduous trees. Since the weather tends to be cooler, the aboveground portion of the tree is under far less stress than it is in warmer seasons. The ground is still relatively warm so the tree can focus its energy on root production instead. Trees planted in the early fall typically perform just as well the following year as trees planted preceding spring, providing all new trees are given adequate winter protection.
At least two days before planting
Contact Sask First Call before you dig. They will mark the location of underground utilities. At least two days notice is needed. We often believe our cables are buried quite deeply, but this is not always the case. This is especially critical in areas with a potential history of water erosion, as is typical along easements (ie. if you're planting a tree along the back alley, where water has probably slowly washed away a significant volume of soil over the years).
The day before planting
- Lay your tree on its side and remove it from the container. Handle your tree by the trunk and not the branches.
- If the root ball is wrapped in burlap, string or wire, remove this material entirely.
- Soak the root ball for at least several hours or overnight in a pail of water. For larger trees, a wheelbarrow makes a good soaking container.
Before planting, prepare the roots
- On planting day, gently loosen and remove excess soil around the root ball.
- Look at the roots. Are the roots circling, girdling or growing inward? If so, gently spread the roots so that they will grow away from the trunk. Roots need to grow horizontally.
- Cut off stubborn roots destined to grow downward or inward. Cut off roots that are wrapped around each other. Make clean cuts using sharp, clean pruners.
Be brave – root pruning won’t hurt your tree. Don’t worry if some of the finer, longer roots are lost when preparing the root ball – these will grow back quickly. Pruned roots establish quickly and your tree will be more vigorous. Trees with roots that have been vigorously pruned will require more consistent watering when initially planted and will likely not show much aboveground growth in the first couple years after planting as they will be more focused on establishing healthy roots. Once the new roots have established themselves, the tree will be far more durable and healthy long-term than a tree that needed root pruning and didn't receive it before planting.
Locate your trunk flare
- Now that you have prepared the roots, you will need to figure out how deep to dig your hole. To do this locate your trunk flare. The trunk flare is where the relatvely straight trunk of the tree broadens towards the roots. The trunk flare ends where the roots start. There isn't necessarily a distinguishing line in some trees, but a region as the trunk flare transitions into distinguishable roots. When planting, the trunk flare must go above ground and the roots go below ground. Not all trees have an easily distinguished trunk flare. If yours doesn't, consider the trunk flare to end where the uppermost root begins.
- Measure from the bottom of the trunk flare to the bottom of the root ball. This is the depth of the planting hole.
- Double check this measurement. It is critical to not plant your tree too deeply. The trunk flare needs access to air or it will begin to rot or, depending on the species, it will encourage the tree to produce a girdling root system. Both will cause ongoing stress and potentially serious long-term health issues for your tree.
Insert trunk flare illustration
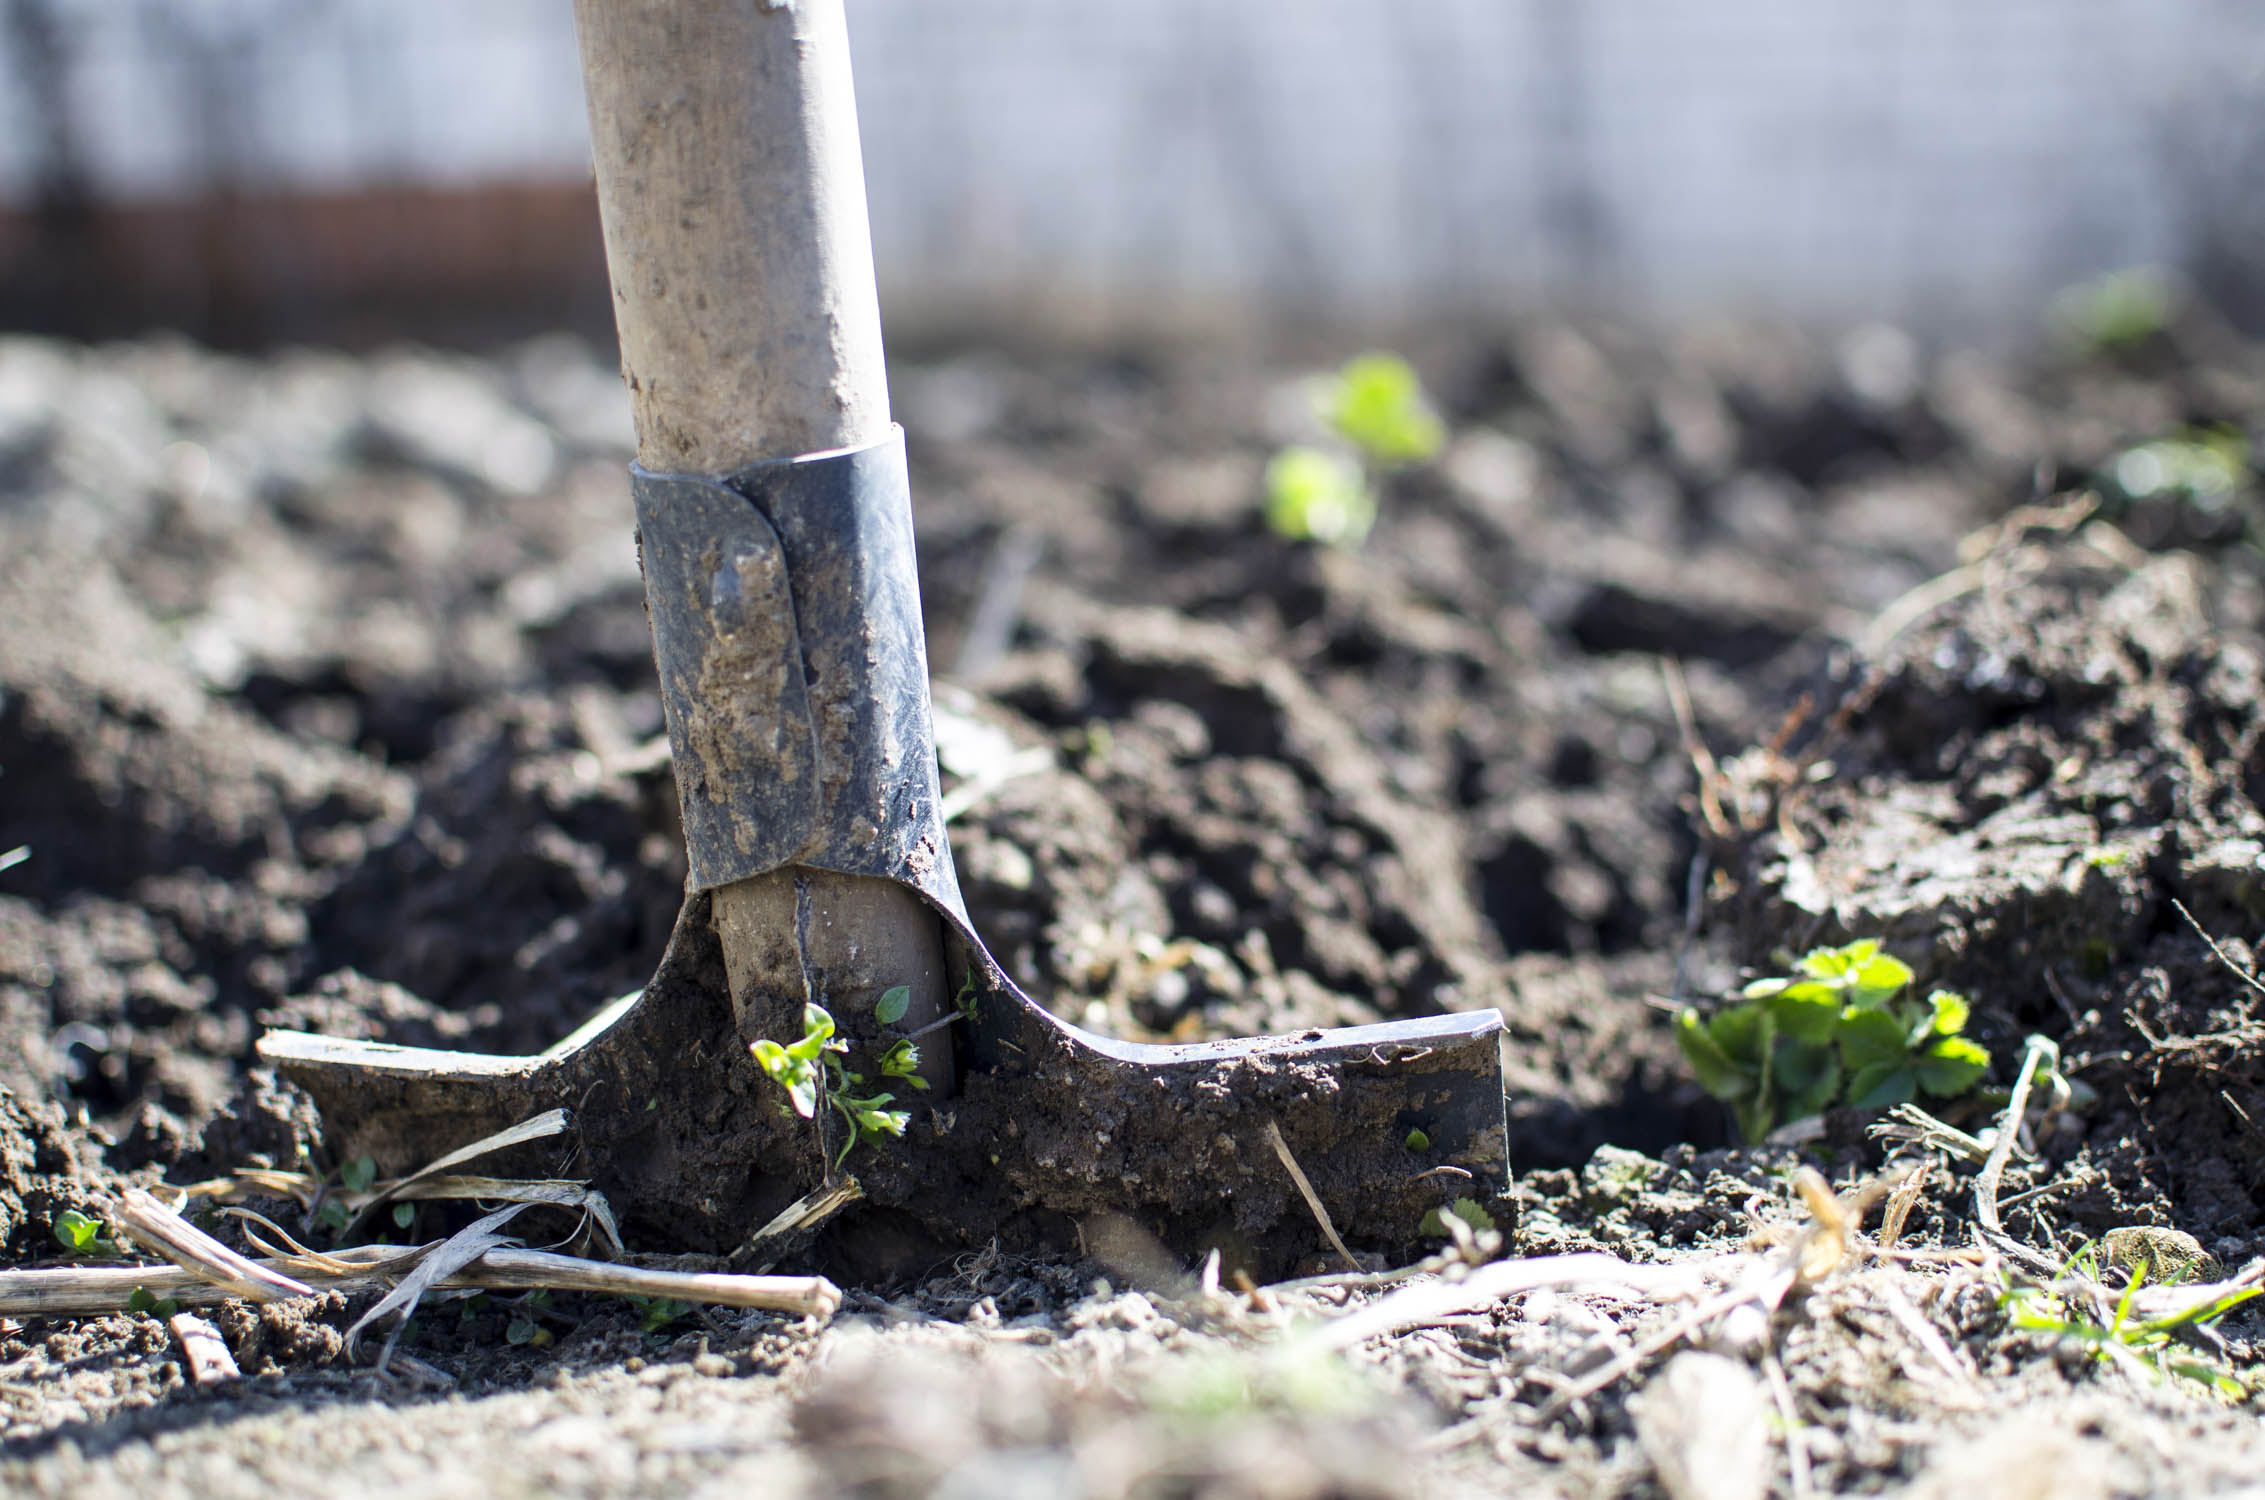
Dig a planting hole
- Dig wide, not deep. Next you will make a shallow hole that is only as deep as your measurement above (ie. from the bottom of the trunk flare to the root ball).
- Dig your hole 2-3 times wider than the width of the original container. The wall of the hole should slope at a 45 degree angle toward the base of the root ball.
- Set aside the soil you remove from the hole. You will need it to backfill the hole later on. It helps to pile the soil on top of a small tarp.
- The root ball needs to rest on undisturbed soil so that the tree does not settle and sink. If the hole is too deep, add back some of the original soil and firmly tamp down.
- If needed, make a low mound of soil on which to place the root ball. You may need this to support the root ball and to ensure there are no air pockets when you backfill the soil.
Position the tree in the planting hole
- Set the root ball on top of the mound. Spread and arrange the roots so that they will grow away from the trunk.
- Check your depth. Place a board or your shovel handle across the hole, next to trunk to see where the trunk flare is in relation to the natural grade of the soil. Adjust by adding or removing soil as needed.
- In sites with good drainage, the trunk flare should be even with the grade of the ground.
- If your site has poor drainage, the trunk flare should sit about 2 inches above the natural grade to encourage drainage away from the tree trunk and prevent root rot.
- Before you backfill the hole, step back and look at the position of the tree. Have someone hold the tree upright. Every tree has a good “face”. Position the best face of the tree where you want to see it.
- Make sure that the tree is straight and upright.
Backfill the hole
- Once your tree has been properly placed in the hole – best face forward, straight, stable with the root flare just above the natural grade - backfill the hole using the soil you removed earlier. Do not pack the soil, but gently tamp it down as you go to remove any air pockets. Do not add amendments to the backfill soil! In spite of conventional wisdom, there is good evidence proving that amendments actually prevents the tree from acclimating to the native soil. This will hinder growth and, in heavy clay, may encourage root girdling. You will need some organic matter, but that comes later!
- Now make a 3-4-inch tall temporary berm around the outer perimeter of the root ball to act as a water basin.
- Immediately after planting, water the backfill area slowly and thoroughly. This will water the roots and help to settle the soil. Use up the water you soaked your plant in – it contains microbes and nutrients. If holes or low spots develop, gently top up with more soil taking care not to compact the soil.
Topdress with compost and mulch
- Now apply an inch of organic matter like compost or manure on top of the soil. Do not mix into the soil.
- Finally, lay 3 – 4 inches of mulch on top of the compost. Shredded wood mulch, post peelings, or arborist chips are recommended, especially in areas with poorer drainage. Do not mulch with large bark chunks as they tend to be ineffective at water control and weed reduction. In areas with good drainage, finer mulch (ie. smaller pieces of wood) can be used though the shredded wood mulch, post peelings, or arborist wood chips will still be effective.
- Lay the compost and mulch up to - but not touching - the trunk or the trunk flare.
- Mulch must be relatively level. Do not create a mulch volcano as it will harm the trunk flare.
Insert diagram of tree in planting hole at correct depth, showing excavation, soil level, compost and mulch layer
Watering
These watering guidelines are for trees that have been adequately root pruned (if necessary) and mulched appropriately. If yours was not root pruned nor mulched, we highly suggest you mulch it now to reduce the ongoing stress on your tree and reduce your overall watering needs.
- For the first 3 weeks, water your tree every day.
- After that, water 2 or 3 times a week (depending on weather conditions) for 3 months.
- Carefully monitor your new tree for the next 2-3 years to ensure the soil stays moist as it becomes established. Water the tree regularly (an inch of water once a week, depending on weather), whenever the ground is not frozen – spring, summer and fall.
Staking
Research has shown that un-staked newly planted trees establish faster and produce stronger roots compared to staked trees. Most trees do not need to be staked.
The exception is if the tree is consistently exposed to strong winds. Staking is used to anchor the root ball but must not prevent some movement of the trunk.
- If staking is necessary, place two stakes parallel to the trunk and perpendicular to the prevailing wind. Drive the stakes at least 6 inches into undisturbed ground for stability.
- Prepare ties made from flexible, broad and smooth material like wide strips of canvas cloth or bicycle inner tubes. Never use rope or wire or anything that can cause cuts or abrasions to the trunk.
- Place the ties low – between 1/3 to 2/3 of the distance between the ground and the first branch. Use one long continuous tie to support the trunk. Do not constrict the trunk.
staking diagram
Remove the stakes and ties at the end of the first growing season or as soon as the tree is able to anchor itself.
Should a newly planted tree be pruned?
Pruning should be minimal when you plant your new tree. Remove only broken, diseased or damaged branches. Most trees from nurseries have already been pruned for shape. Wait for a couple of years to do more pruning.
Should I fertilize my new tree?
Keep in mind that the compost and mulch you put on the soil around your tree will improve your soil and provide plant nutrition. Fertilizing is not necessary.
If you choose to fertilize your newly planted tree, then only do so in the spring. If the tree was planted in the spring, wait 6 weeks before applying fertilizer. If the tree was planted in the fall, wait until the following spring.
Trees and shrubs are stressed when planted, but they do recover. Keep the fertilizer application light to avoid more stress. Choose a slow release fertilizer made for your type of tree: deciduous, evergreen or fruit tree. Follow the directions on the package. Water it in well.
Should I add mycorrhizae or a “Myke” product to the planting hole?
Mycorrhizae are a type of fungus which are very beneficial to the roots of trees and shrubs. They are naturally present in healthy soil and will start to grow as soon as you have planted. Adding a commercial product is not needed and research shows that many of the products are no longer active at time of purchase. Save your money.
Sources:
http://www.gardenfundamentals.com/washing-roots-planting-trees/
https://www.slideshare.net/LindaCS/bare-root-primer
https://www.extension.umn.edu/garden/yard-garden/trees-shrubs/pruning-trees-shrubs/
https://www.extension.umn.edu/garden/yard-garden/trees-shrubs/watering-new-trees-shrubs/