
No-till vegetable gardening for home gardens
Ideal for poor draining or marginal soils
To till or not to till?
Many of us learn about caring for vegetable gardens from our relatives or by scouring the Internet and gardening books. It seems that most websites and books recommend rototilling vegetable gardens once or even twice a year. Many people even plan their garden pathways to accommodate a rototiller for weed control. No-till is standard practice for most farmers but is a relatively new idea for home gardeners.
Gardeners care about soil. We know that healthy soil is essential to growing healthy vegetables. While you can successfully garden with regular tilling, it is intensive in terms of equipment (rototiller), labour and inputs such as water and fertilizer. No-till methods generally cost less and require less labour to maintain because weeding is minimal.
Tilling can create significant issues with soil health and can increase the number of weedy plants in your garden. Soil seems softer right after tilling but in fact, tilling typically leads to compaction, especially in clay soils. Freshly tilled clay soil feels lighter at first, but once it settles, the damaged soil particles compact further with each tilling. Sandy soil is more forgiving of tilling because sand particles are significantly larger than clay. If you have a clay based soil, you will see much healthier soil (and in turn, a more resilient garden) using the no-till method.
There is ample scientific evidence that tilling is hard on soil. While tilling does introduce organic matter and oxygen into the soil, it also destroys healthy soil structure, critical to the uptake of moisture and nutrients by plant roots. Tilling also damages microbial and fungal life (like mycorrhizae) essential for the mobilization and uptake of nutrients.
The negative effects of tilling in home gardens do not show up right away and are often masked when soil is heavily fertilized and watered – often necessary to compensate for poor soil structure. Over time, tilling pulverizes soil making it hard and crusty, and very prone to water and wind erosion. The lower layers of tilled soil are easily compacted which prevents moisture and nutrient uptake in roots. Ironically, tilling also exposes naturally abundant seeds (weeds or other plants) from beneath the soil surface.
There are a few circumstances when tilling is used as a pesticide-free method of controlling certain insect pests. Colorado potato beetle, wireworm, cutworms and root maggots all overwinter as pupae in soil. Tilling in the fall exposes the pupae to cold which helps to reduce populations of these pests. Use this method sparingly and only when you have a confirmed infestation.
If you decide not to till
To make soil “softer” you need to improve your soil structure and reduce compaction. A no-till approach will address both of these issues.
Adopting a no-till approach to growing vegetables may feel wrong at first, but the results will amaze you. No-till is better when practiced together with mulching, using permanent paths and growing areas, leaving stubble over winter and the other approaches listed below. Over time, soil will become crumbly, have better tilth and better overall health. Be patient: it can take a couple of years of not tilling before you see improvement in your soil.
Some gardeners phase in no-till by converting one section of the vegetable garden each growing season. Try it first where you grow perennial vegetables such as asparagus or rhubarb. As you gain confidence in not tilling, convert more area in the next growing season.
Elements of a no-till plan for your existing vegetable garden
Divide your existing vegetable garden into a reasonable number of growing areas. For example: a 6 m by 6 m (20’ by 20’) garden could be divided into 4 sections, either in rows or in quarters, separated by permanent paths. Most people find a 1.2 m (4 ft) wide growing area comfortable to reach across for planting and maintenance. If you are planning to use a cold frame to extend your season or a low row cover to prevent insect damage, make sure your growing areas are sized to accommodate these.
When deciding how many growing areas make sense for your space, keep in mind the following:
- Plan a permanent space for perennial food crops such as asparagus or rhubarb.
- We strongly recommend crop rotation to minimize pest and disease issues. Set up a minimum of 4-6 growing spaces for annual vegetables, depending on the size of your garden and your specific needs. See our article on vegetable crop rotation for detailed information.
Make permanent paths in your vegetable garden. You need a place to stand, walk and work in your garden. Use permanent paths to prevent compacting the soil in your growing areas. Compacted soil in growing areas makes it hard for plant roots to take up moisture and nutrients.
Permanent paths should be at least 1 m (3’ ft) wide, but could be wider if you need to accommodate a wheelbarrow or wagon. If someone with limited mobility will be using this garden, see our article, accessible gardening on other pathway and planning considerations.
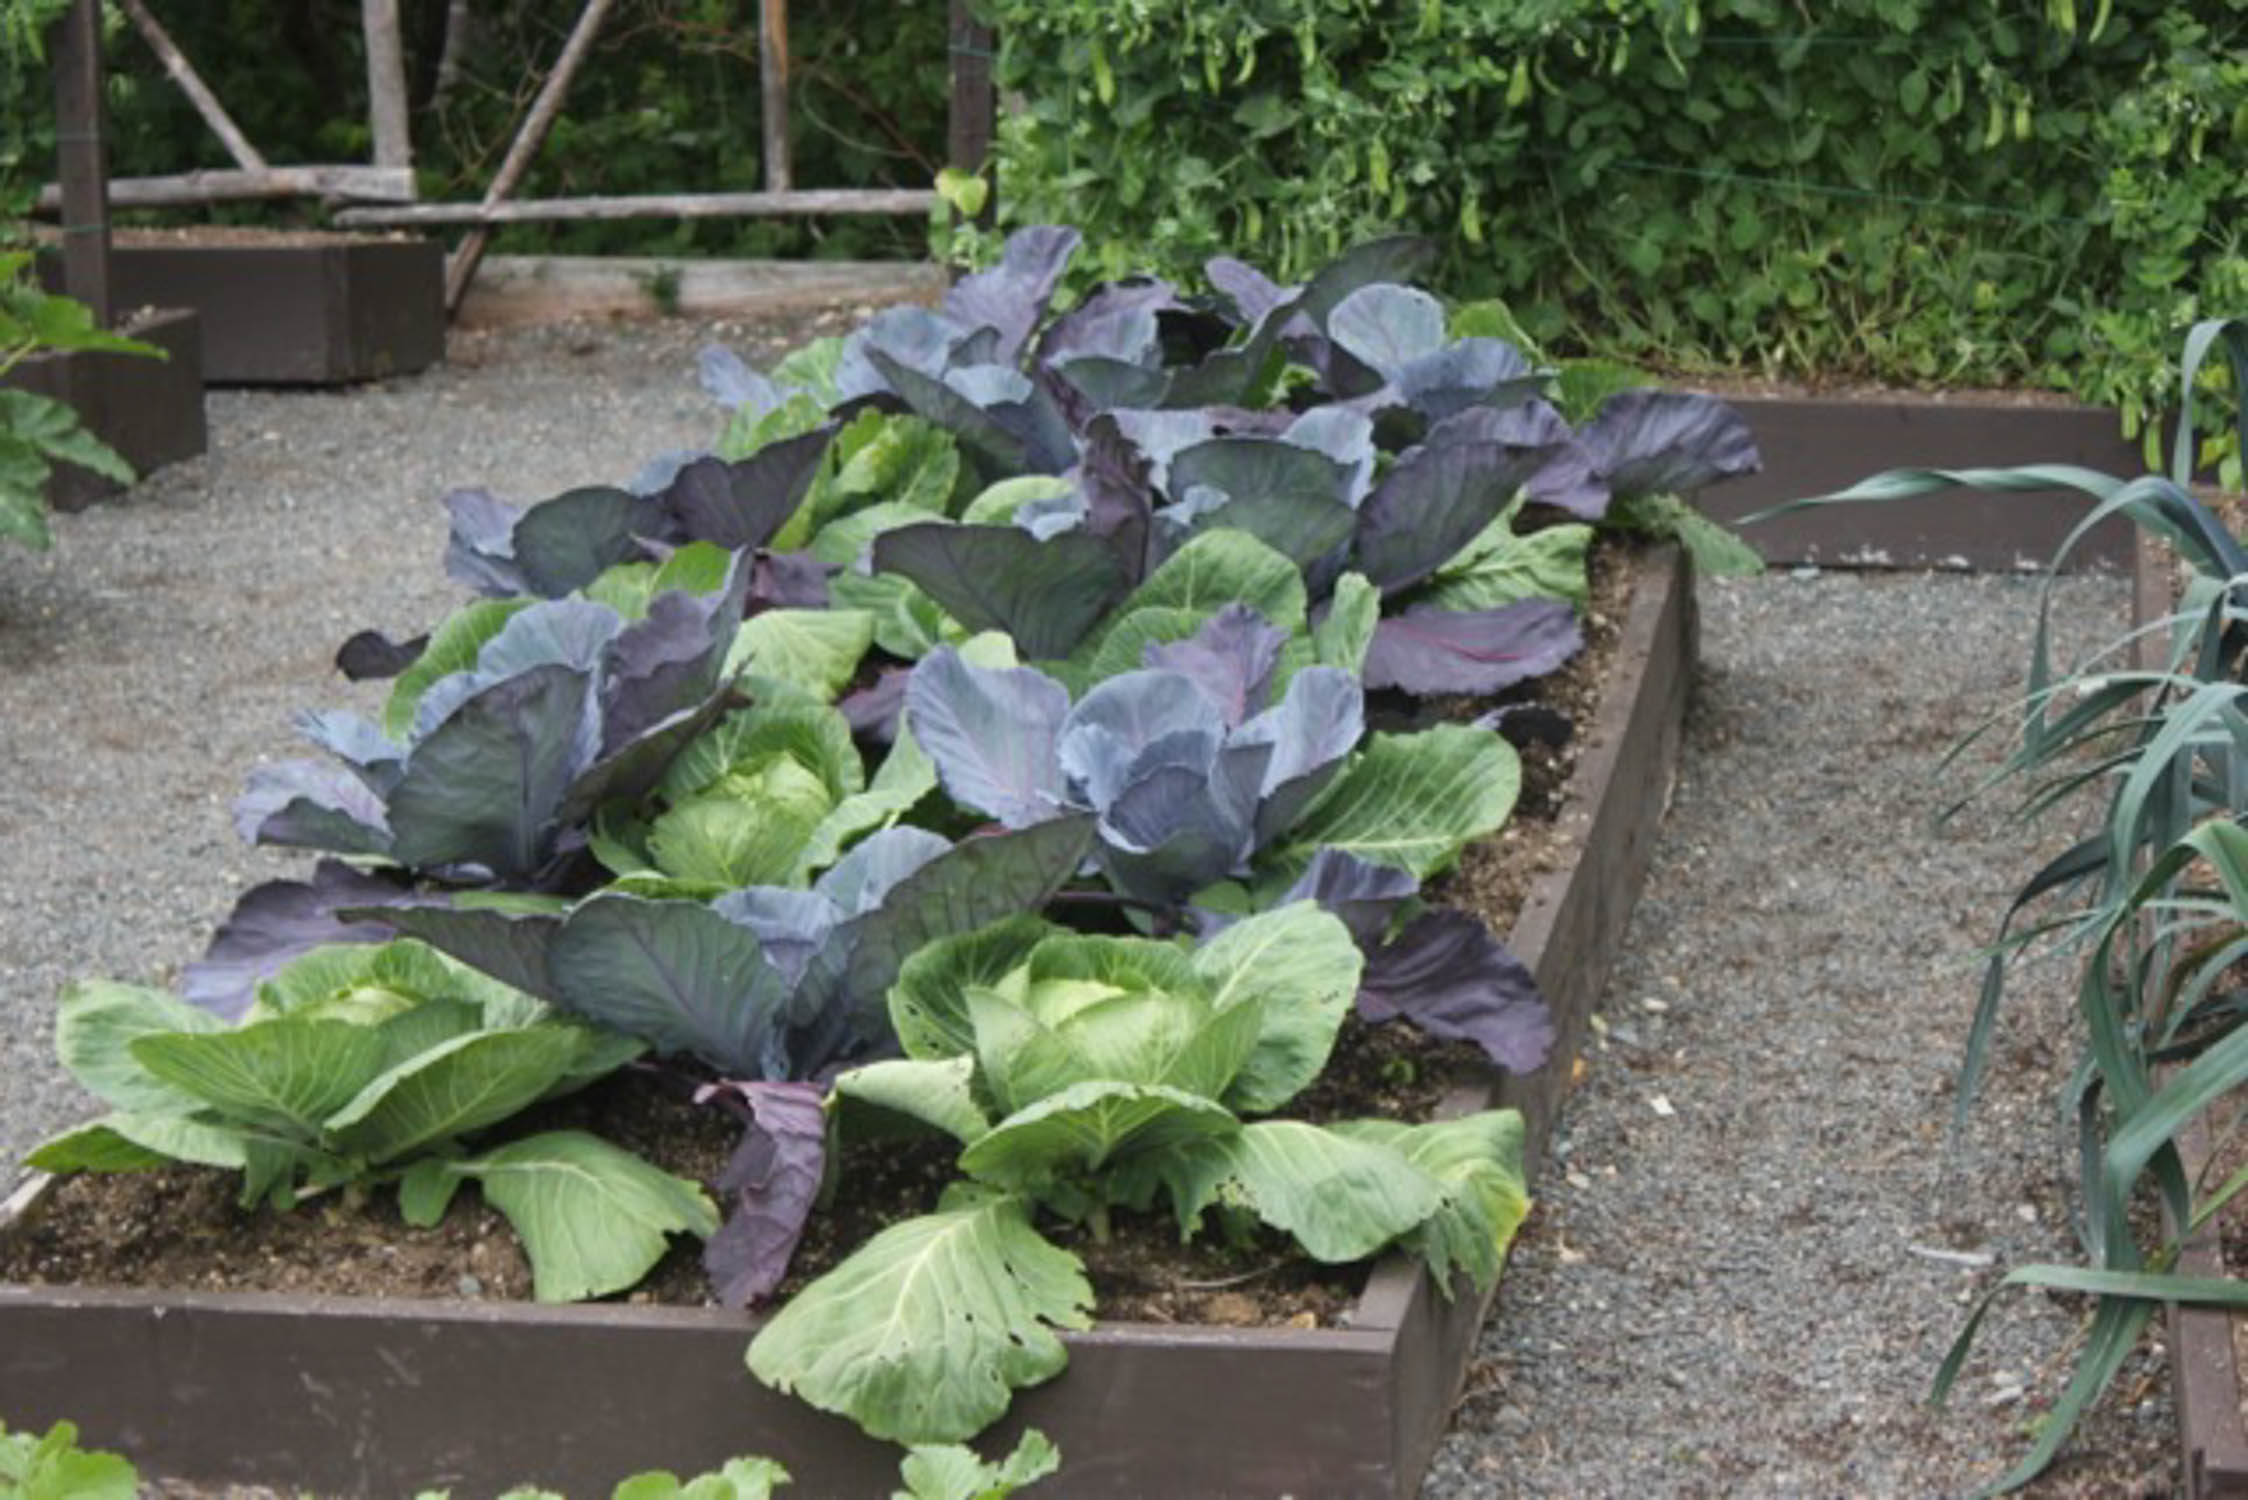
Make raised beds on the growing areas of your garden. (Recommended for far North gardens, very heavy clays, or if you have a short frost free season.)
A raised bed is simply a flat-topped mound of soil higher than the natural grade of your garden. Use soil from the permanent paths to build up the raised bed. Raised beds have better soil structure and drainage than ground-level gardens, which is why they thaw and warm up faster when exposed to sunshine in spring. Warm soils are better for seeding and planting, so you can start gardening earlier than you could in a ground-level garden.
If you need to import soil for your raised beds, make sure you purchase top soil. Top soil is sold in the bulk section of your greenhouse, not in a bag. Bagged soils (even those labelled top soil) are peat based and actually have no soil mineral content, so they are unsuitable for long term garden use. How can you tell you are purchasing real soil? Put some in a jar of water and shake it – if it sinks, it’s probably soil. We recommend purchasing either straight top soil or a top soil with compost mixed into it. You can purchase a wide variety of topsoil mixes but remember, the more extra stuff that’s mixed into the top soil, the less top soil there is by volume.
Raised beds can be framed if desired. Framed raised beds are basically bottomless boxes filled with soil. No liner of any kind is needed at the bottom of the box. Note that chemically treated lumber can leach chemicals into the soil, so choose wood carefully. Pine and spruce are inexpensive but tend to break down quickly. Cedar is long lasting but expensive. If cedar fits your budget, it may be a better option in the long term. Other framing options include straw bales (for really large gardens), concrete blocks, untreated logs, interlocking bricks or large rocks.
Place a layer of compost or well-aged manure on top of the soil in your growing area. Lay 3 – 6 cm (1 – 2 in) of compost or well-aged manure on top of the soil. Do not till it into the soil. At most, just lightly scratch it into the top 5 - 7 cm (2 – 3 in) with a garden fork or rake. Or, do nothing and let the microbial life in the soil do the mixing for you.
Install drip irrigation if desired. Drip irrigation is a very efficient way to water your vegetable garden. Install the tubing and emitters before you install the mulch. Otherwise, water with a hose. Watering using only a watering can is not recommended as this tends to water only the very topmost layer of the soil, which encourages shallow roots. Your plants are healthier if deep rooting is encouraged, so water deeply but infrequently. Apply 2.5 cm (1”) of water every week (unless it rains). An easy way to measure is to place an empty tuna can or two under the sprinkler. When the cans are full, then you have watered enough.
Mulch every last bit of exposed soil in your vegetable garden. Mulch prevents weed germination and improves the structure and health of your soil. To be effective, place at least 10 cm – 15 cm (4- 6 in) of mulch on top of your soil. For vegetable gardens, shredded leaves, herbicide-free grass clippings, straw or shredded newspapers make a good mulch. Shredded bark (the kind that arborists shred up after pruning) is a good mulch especially for trees, shrubs and perennial beds – or for permanent paths.
How do you install mulch?
- First, ensure the soil is weed free.
- Next, water the soil deeply. Mulch “locks in” the existing water, so make sure the soil is sufficiently moist.
- Then apply your mulch in a flat sheet about 4” deep. Make sure you keep it away from the base of existing perennials initially, though as the years progress this will become less necessary with herbaceous perennials.
- Lastly, water the mulch, especially if it is very dry. This seems redundant, but you want to start with mulch that is as moist as a damp sponge. This will not only help it break down to improve your soil faster, it will also ensure that when it rains, the mulch allows water pass through it to ensure some moisture reaches your soil.
Heavily mulch the permanent paths. Mulch will keep your feet from getting muddy and keep weeds at bay. A more robust mulch like straw or shredded bark is good for paths. Do not lay cardboard or landscape cloth under the mulch as this will interfere with soil oxygen exchange. As long as the mulch is thicker than 10 cm (4 in), weeds will be suppressed.
Seasonal care for no-till vegetable gardens
Spring: Pull back the mulch, prepare your growing areas, plant or seed, and then put the mulch back.
- Start by pulling back the mulch to access the soil. Try using a garden rake with the tines pointing upward or a leaf rake to move the mulch. In this way, you are less likely to mix the mulch into the soil, which is not recommended. Set the mulch aside on a tarp or plastic bag.
- If needed, maintain your growing areas by gently raking to level the soil surface. You may also add an annual 3 – 6 cm (1 – 2 in) layer of compost or well-aged manure on top of the soil before planting and mulching.
- Plant your seedlings and then re-apply the mulch. Keep mulch off your plants by placing a cardboard tube slit lengthwise around the stem of seedlings (i.e. tomatoes, peppers etc.) before spreading the mulch. Mulch which rests against the crown or stem of your plants can lead to rot.
- If you are seeding, leave soil bare temporarily. Cover bare soil with mulch after the seedlings come up.
- If you are planning to use row covers to prevent insect and rabbit damage or to increase production, install them early.
Spring to fall: Ways to extend the growing season even more (All gardeners can benefit from these methods. Recommended for far North gardeners and/or if you have a short frost-free season.)
- Cover beds with clear plastic sheet mulch in early spring to warm the soil before planting. Simply lay it over the bed and secure the edges. Clear plastic does a better job of warming soil than black or white plastic. Remove the plastic before planting.
- Install low tunnels over growing areas to prevent insect problems and to extend the growing season into fall.
- Another method to keep soil warm is using individual covers for your vegetables like cloches, hot hats or plastic milk jugs.
Fall: Leave some stubble after harvest. Stubble is an excellent way to trap snow in winter to supply valuable moisture in spring. Remove any diseased plant material but leave 15 cm (6”) or more stubble on existing vegetable plants like tomatoes or peppers. Smaller plants like leafy greens can be cut at the soil-line. In spring, it’s fine to pull up the stem stubble when it’s time to plant, but leave the roots in place as they will slowly break down and add organic matter to the soil. Some plants such as peas have nitrogen nodules on the roots that fix nitrogen in the soil – another good reason to leave the roots in place. You can still easily make holes to plant seedlings or simply seed on top of the soil.
Winter: Keep mulch in place. Make mulch a permanent feature in your vegetable garden. Mulch protects the soil over winter if snow cover is scant and again during the spring melt when soil is prone to water erosion. Less work for the gardener too.
The following spring: Top up the mulch. As needed to maintain a depth of at least 10 cm (4 in).