
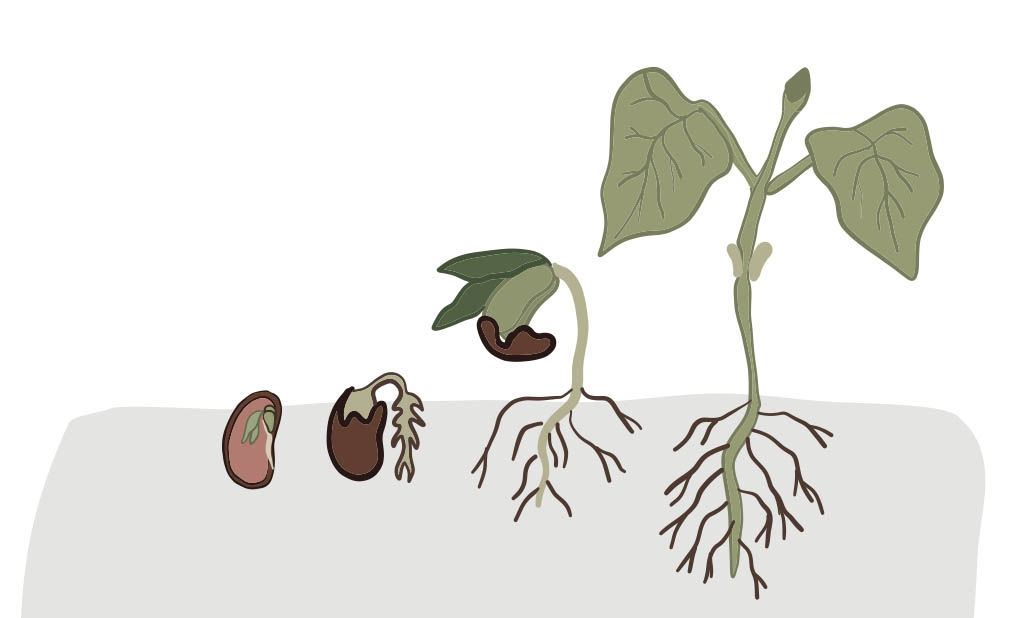
Starting seeds for indoor growing
When do you use pellets to start your seeds over direct seeding?
Starting Seeds with Pellets
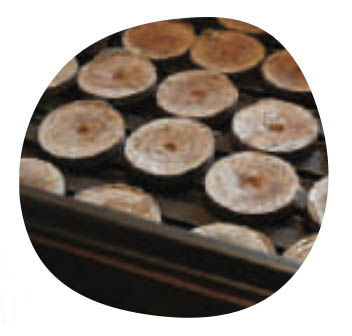
We recommend starting your seeds with pellets, sometimes called peat pellets or Jiffy pellets. Pellets come as compacts disks that swell up when the pellet is soaked in water. A pellet is made from sphagnum peat or coconut coir. Lime and a special fertilizer with a low ammonium content are added to the peat in order to stimulate growth. The pellets have a pH of approximately 5.3 and are wrapped in a thin, degradable net.
Pellet Benefits
Pellets hold enough moisture to germinate seeds but also drain well so as not to drown them. The netting surrounding the pellet allows air to circulate through the root ball. Pellets also minimize transplant shock, as there is minimal disturbance to the roots during transplanting.
To start your seeds, you will follow 6 basic steps:
Arrange pellets in trays, soak/expand your pellets, plant into your pellets, label your seeds, cover with your dome cover and then place under lights.
Once the seedlings in your pellets are big enough, they will be translated into larger 4” pots. Decide how many pellets you will need, based on the number of mature plants you would like. It is always a good idea to start extra plants and choose the strongest plants.
1. Arrange your pellets
Arrange your pellets into your black 1020 planting tray with the flat side down (leaving the side with the small dent facing up). It is best to arrange the pellets in rows of 5, or the number of seeds of each variety you want. This will make it easier once you mark you trays. You will be able to just mark the row, versus each individual pellet.
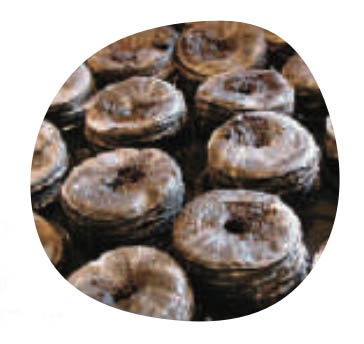
2. Expand/soak pellets
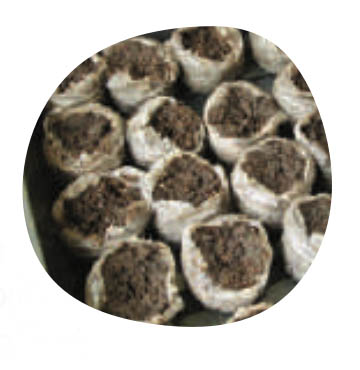
Pour warm water over top your pellets. Pour enough water to submerge your pellets. Water level will be about 2cm from the top of the tray. Peat pellets will take about 10 minutes to fully expand, though may take a bit longer depending on the temperature of the water. If more water is needed, add more water. After expansion, pour off the extra water so that there is no standing water in the bottom of your tray. You may need to give each peat pellet a squeeze to encourage full expansion.
3. Plant pellets
Slightly tear the top of the netting on each pellet. Use a pencil, toothpick or your baby finger to dig a well in the peat pellet where your seed will be planted. Plant your seeds in the well and lightly cover them with the peat/coir in the pellet. You can do this by giving each pellet a little squeeze. We recommend planting 2 seeds in each pellet in case one doesn’t sprout.
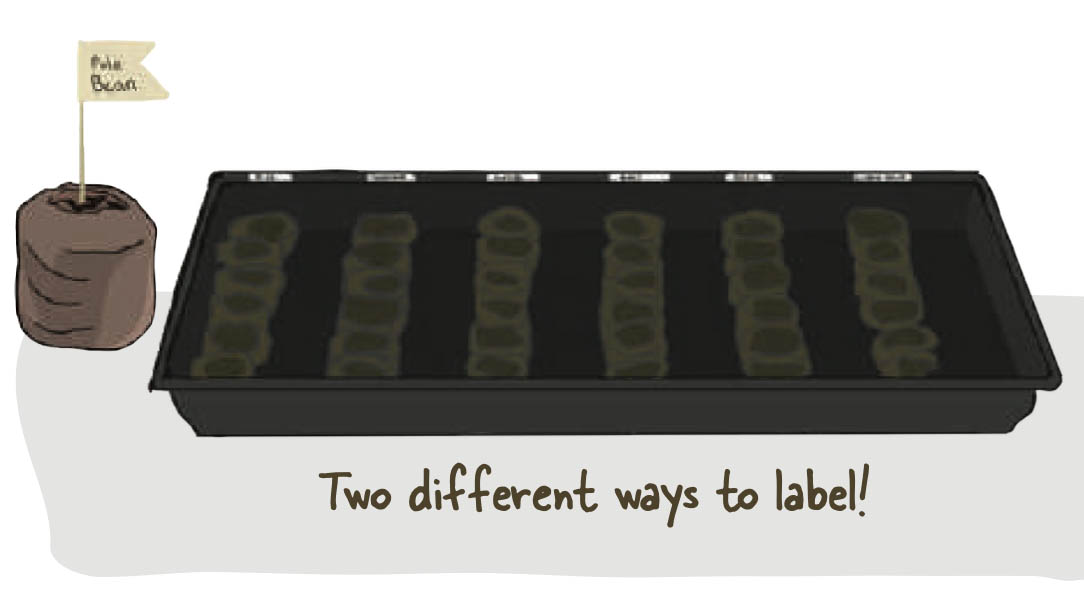
4. Label pellets
Always label your seeds! You can mark your seed row with a masking tape label on your black plastic tray, or you can label each individual peat pellet with a small masking tape and toothpick flag. Cut a small piece of masking table about 4cm long. Wrap around a toothpick as a small flag. Write the name of the seed on the masking tape and place into each individual peat pellet.
5. Cover pellets with dome cover
Cover your tray with your plastic dome cover. Place the tray into a warm place. Your garden seeds do
not need light to start, so they don’t have to be placed directly under the lights. You may choose to set your timer and lights now so that everything is set for when your seeds sprout. Only water the pellets once they are looking dry if the soil is a little damp to the touch, that’s perfect!
6. Place under Lights and Remove Dome
Once seeds have sprouted, take off the plastic dome and place planted pellets under your grow lights. If more than one seed sprouts in a peat pellet, simply pinch off or cut the other seedling so that you have one healthy plant per pellet. Cutting them off is the best option versus pulling the seedling out, because it doesn't disturb the roots of the sprout that you are saving. It hurts, but you have to do it! Otherwise, instead of one vigorous plant you'll have 2 or 3 weak, spindly plant. You may choose to leave 2 herb sprouts or 2-3 chard or kale sprouts growing in one peat pellet. These can be planted together in the same pellet.
7. Transplant pellets into 4” pots or growing boxes
Once seedlings have sprouted their first true leaves, you can plant into your 4” (10cm) pots. Transplanting into a 4” pots helps create more soil volume, so that plants dry out less quickly. You can continue growing your seedlings in pellets until they have 3-4 sets of true leaves and then transplant into your growing boxes, but your pellets will dry out very quickly under grow lights. Transplanting into small pots helps with moisture retention.
We recommend cutting one side of your jiffy pellet netting once you transplant. Though they are designed for the roots to push through this fine netting, we have found it is easier for the plant if you cut or tear one side of the netting before planting.
Direct seeding for indoor growing
We recommend planting lettuce, peas and beans directly into your containers. Peas have very sensitive root systems and so they do not like having their roots disturbed during transplanting. Follow the planting depth and spacing recommendations for your particular seeds when you plant directly into your soil. Make sure that you pat the soil down firm and water on top of the soil until the roots are established.
Thanks to Little Green Thumbs for providing the information and images on this page.
![]()