
Low tunnels
No till gardening is a system of gardening where the soil is mulched to prevent soil erosion, conserve water and reduce the pressure of weeds. Low tunnels support row covers and insect netting to improve plant growth in a no till garden.
Why use low tunnels
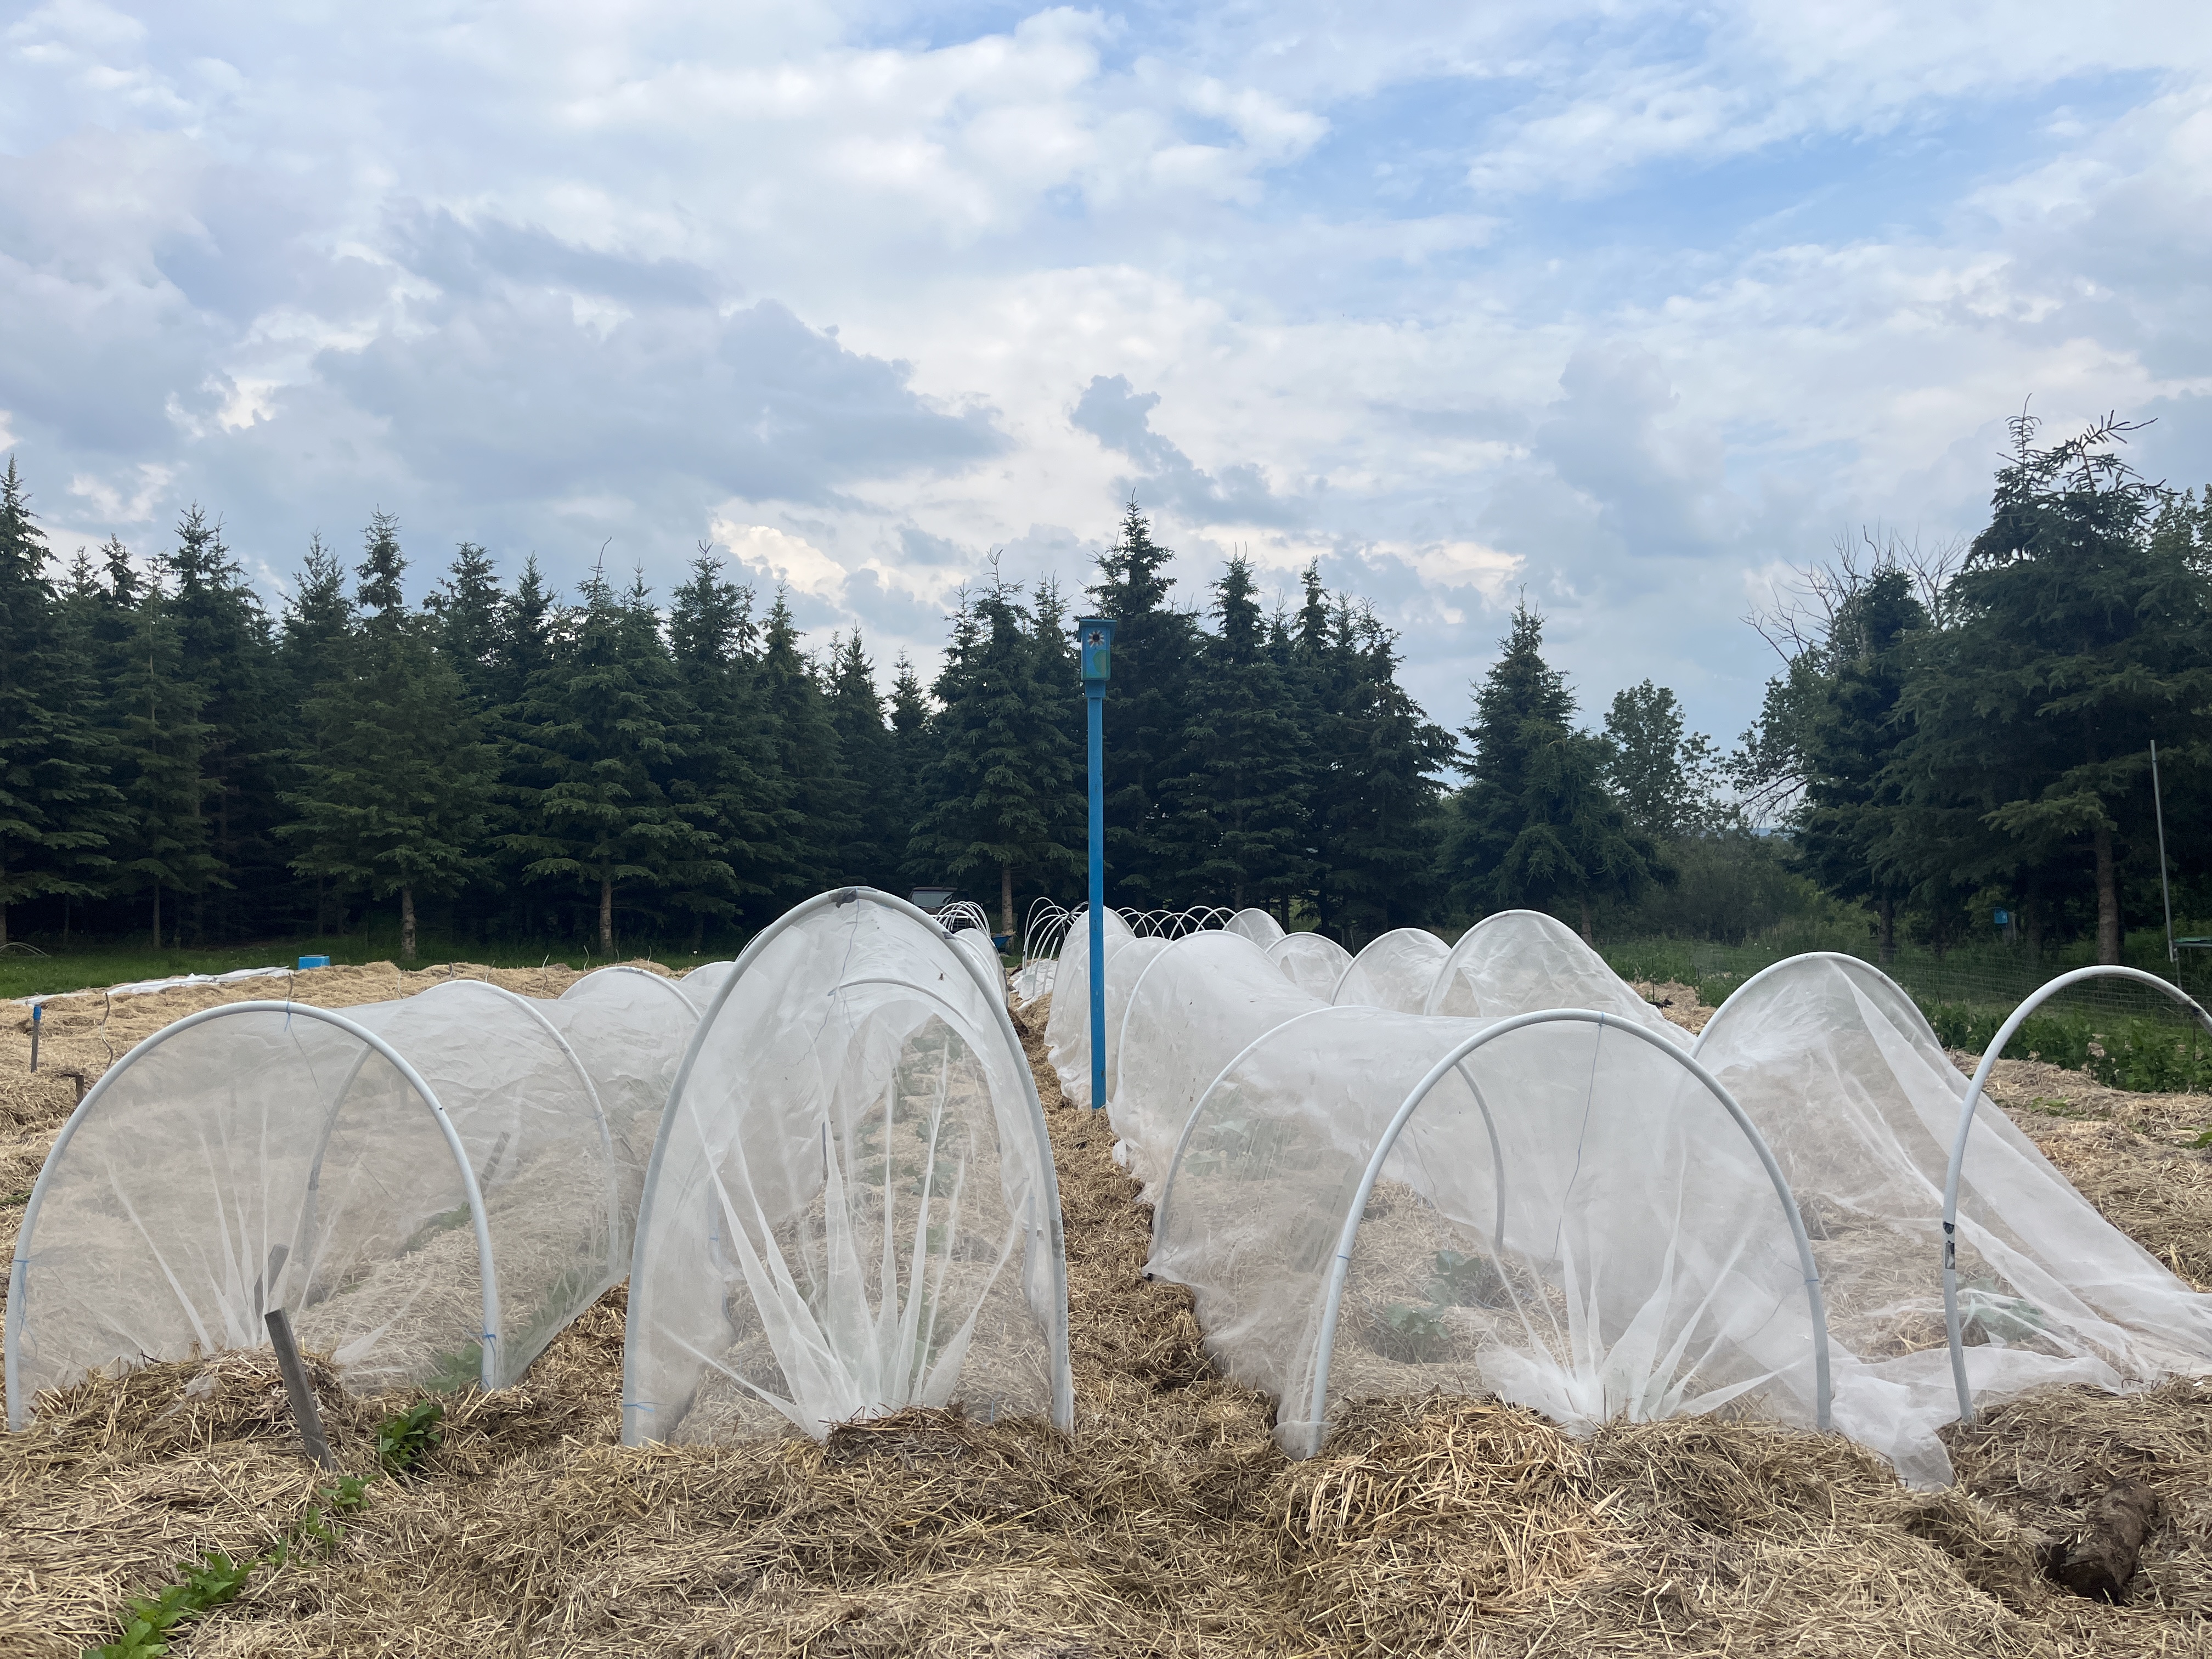
High tunnels and low tunnels are two types of small greenhouses that can be used in our gardens to support row covers. While high tunnels are essentially small open ended greenhouses which are useful for large crops of a specific vegetable like tomatoes, low tunnels are used on a single row of plants. Low tunnels are just big enough to cover the plant and they can be larger or smaller based on the size of the vegetable being grown under them.
Low tunnels can be used for season extension, protection from insects and to add additional heat units to heat loving plants like tomato and eggplant. Additional information on available row covers for use on low tunnels can be found on our row covers webpage.
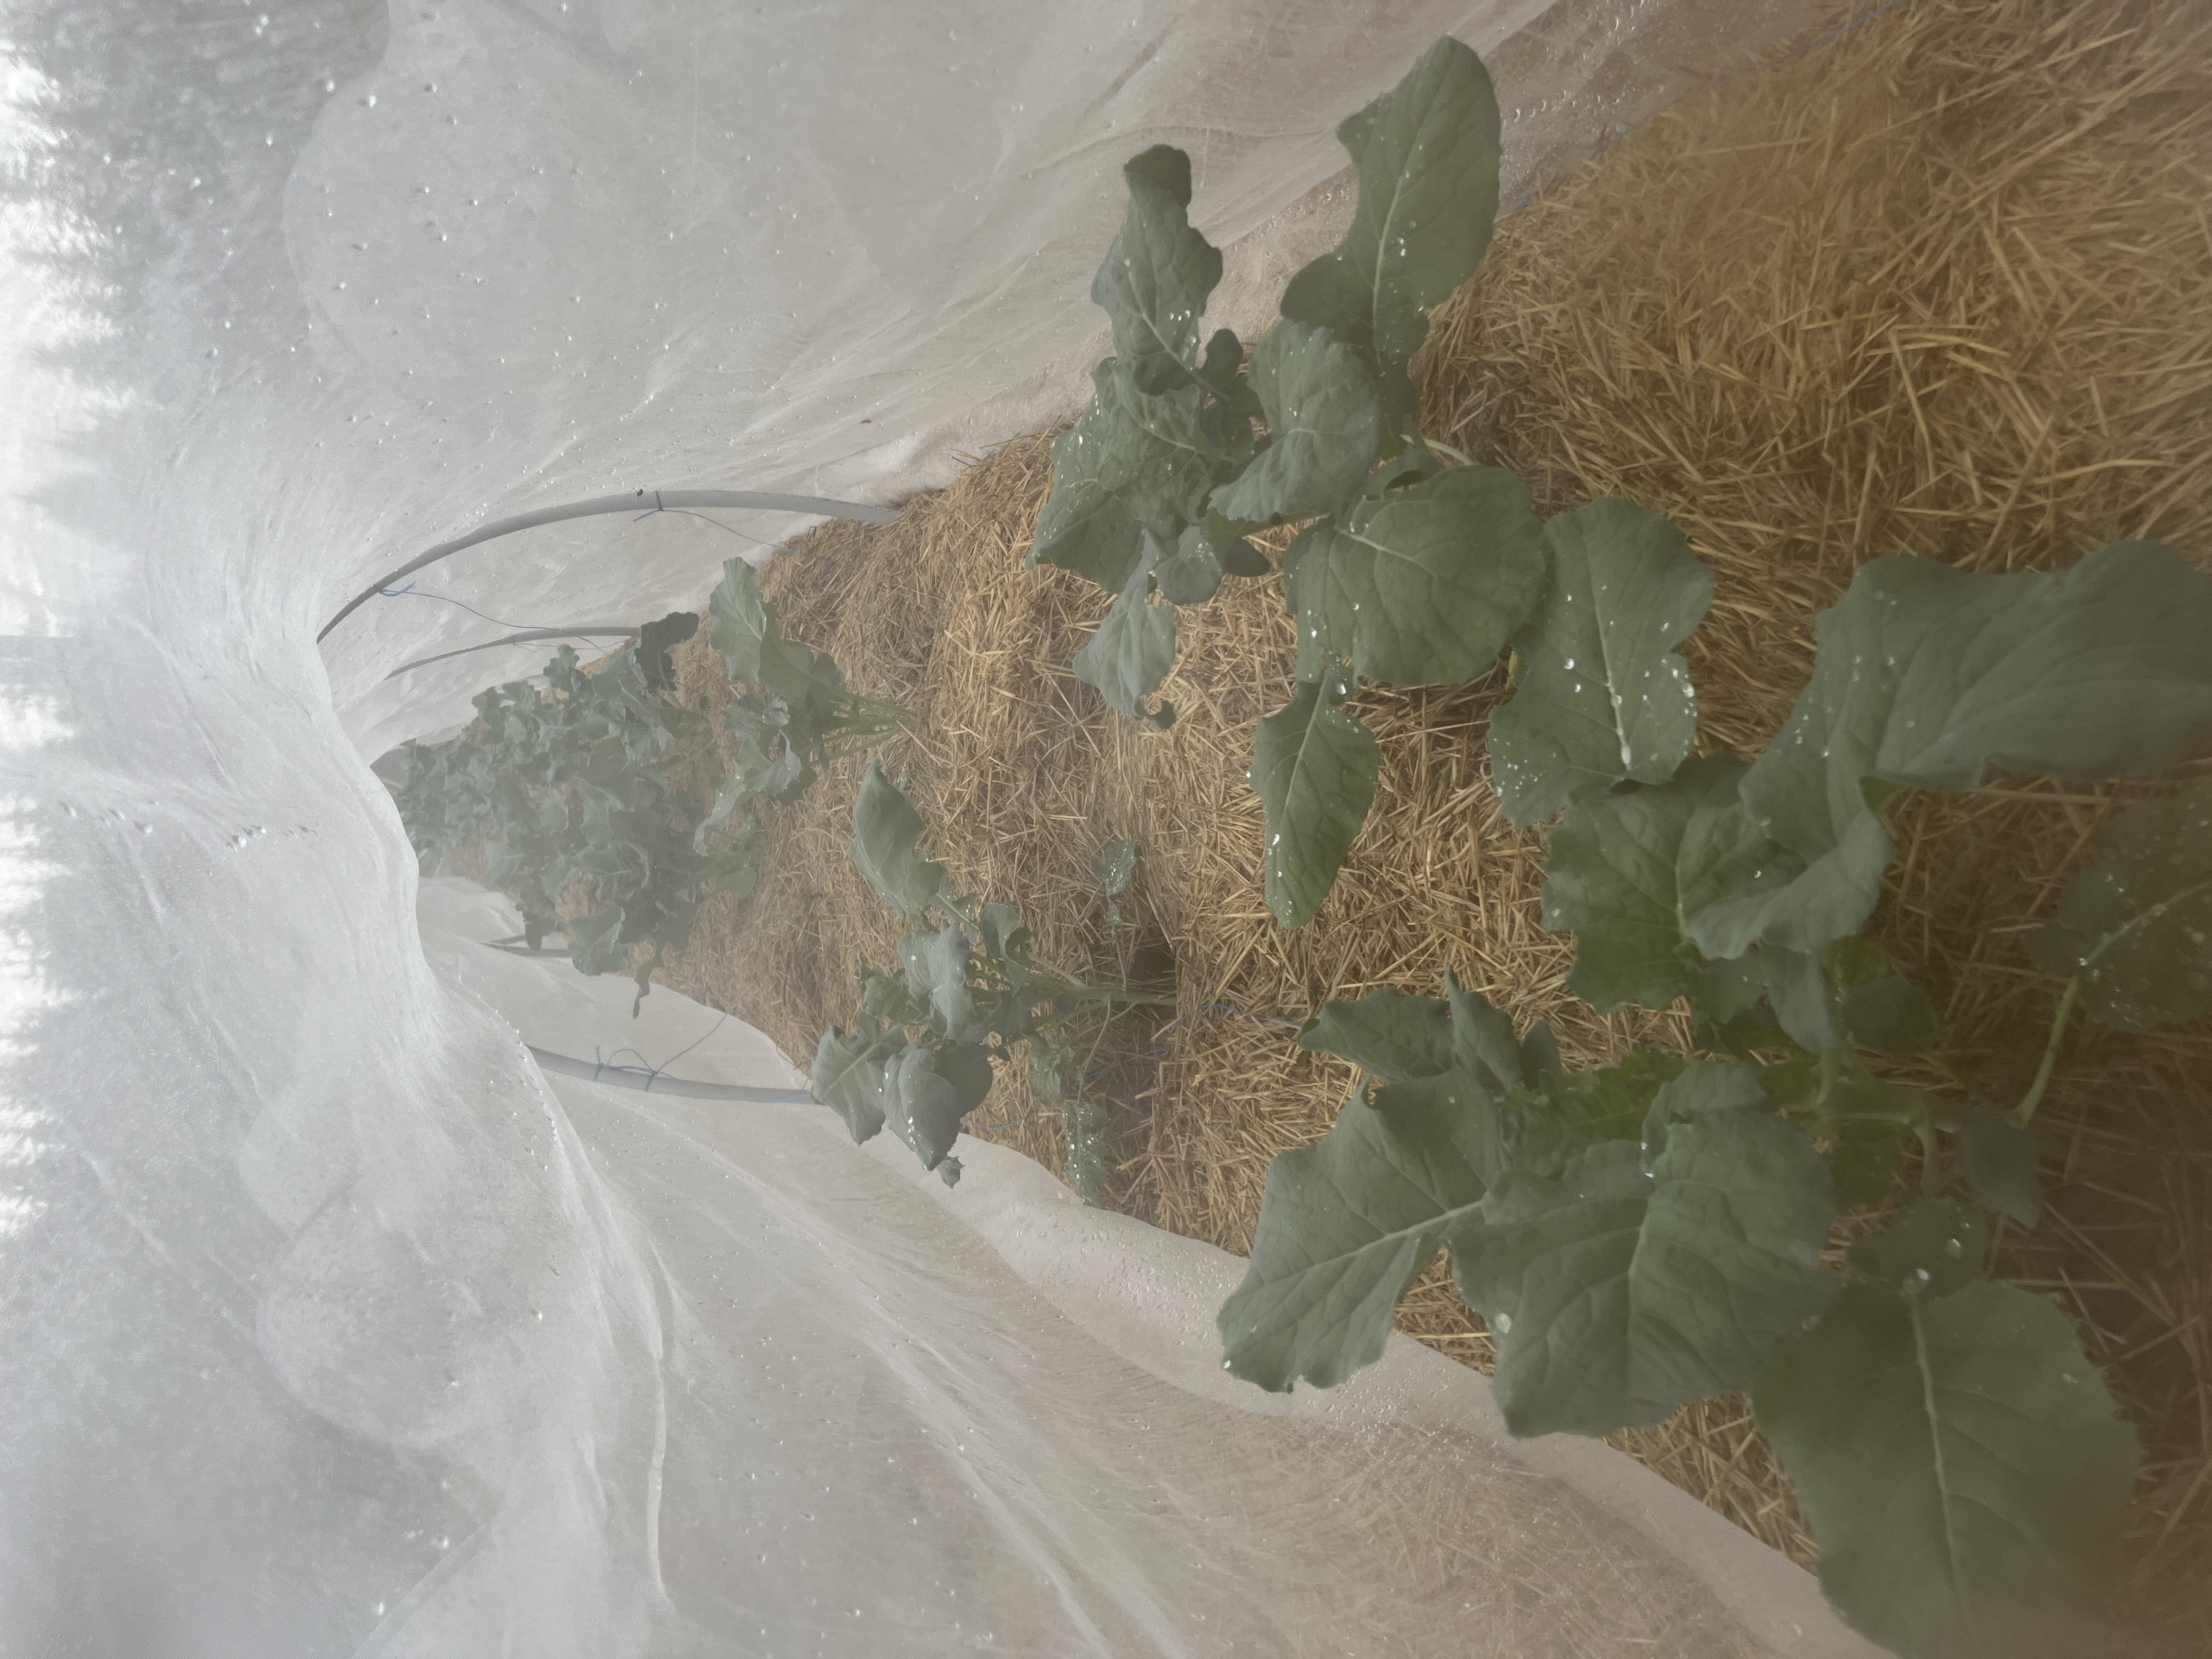
Brassicas like broccoli, cauliflower, cabbage, Brussels sprouts, kale and radish are suspectible to damage caused by cabbage moths. Low tunnels supporting insect netting can prevent damage to the plants which in turn permits a bountiful harvest.
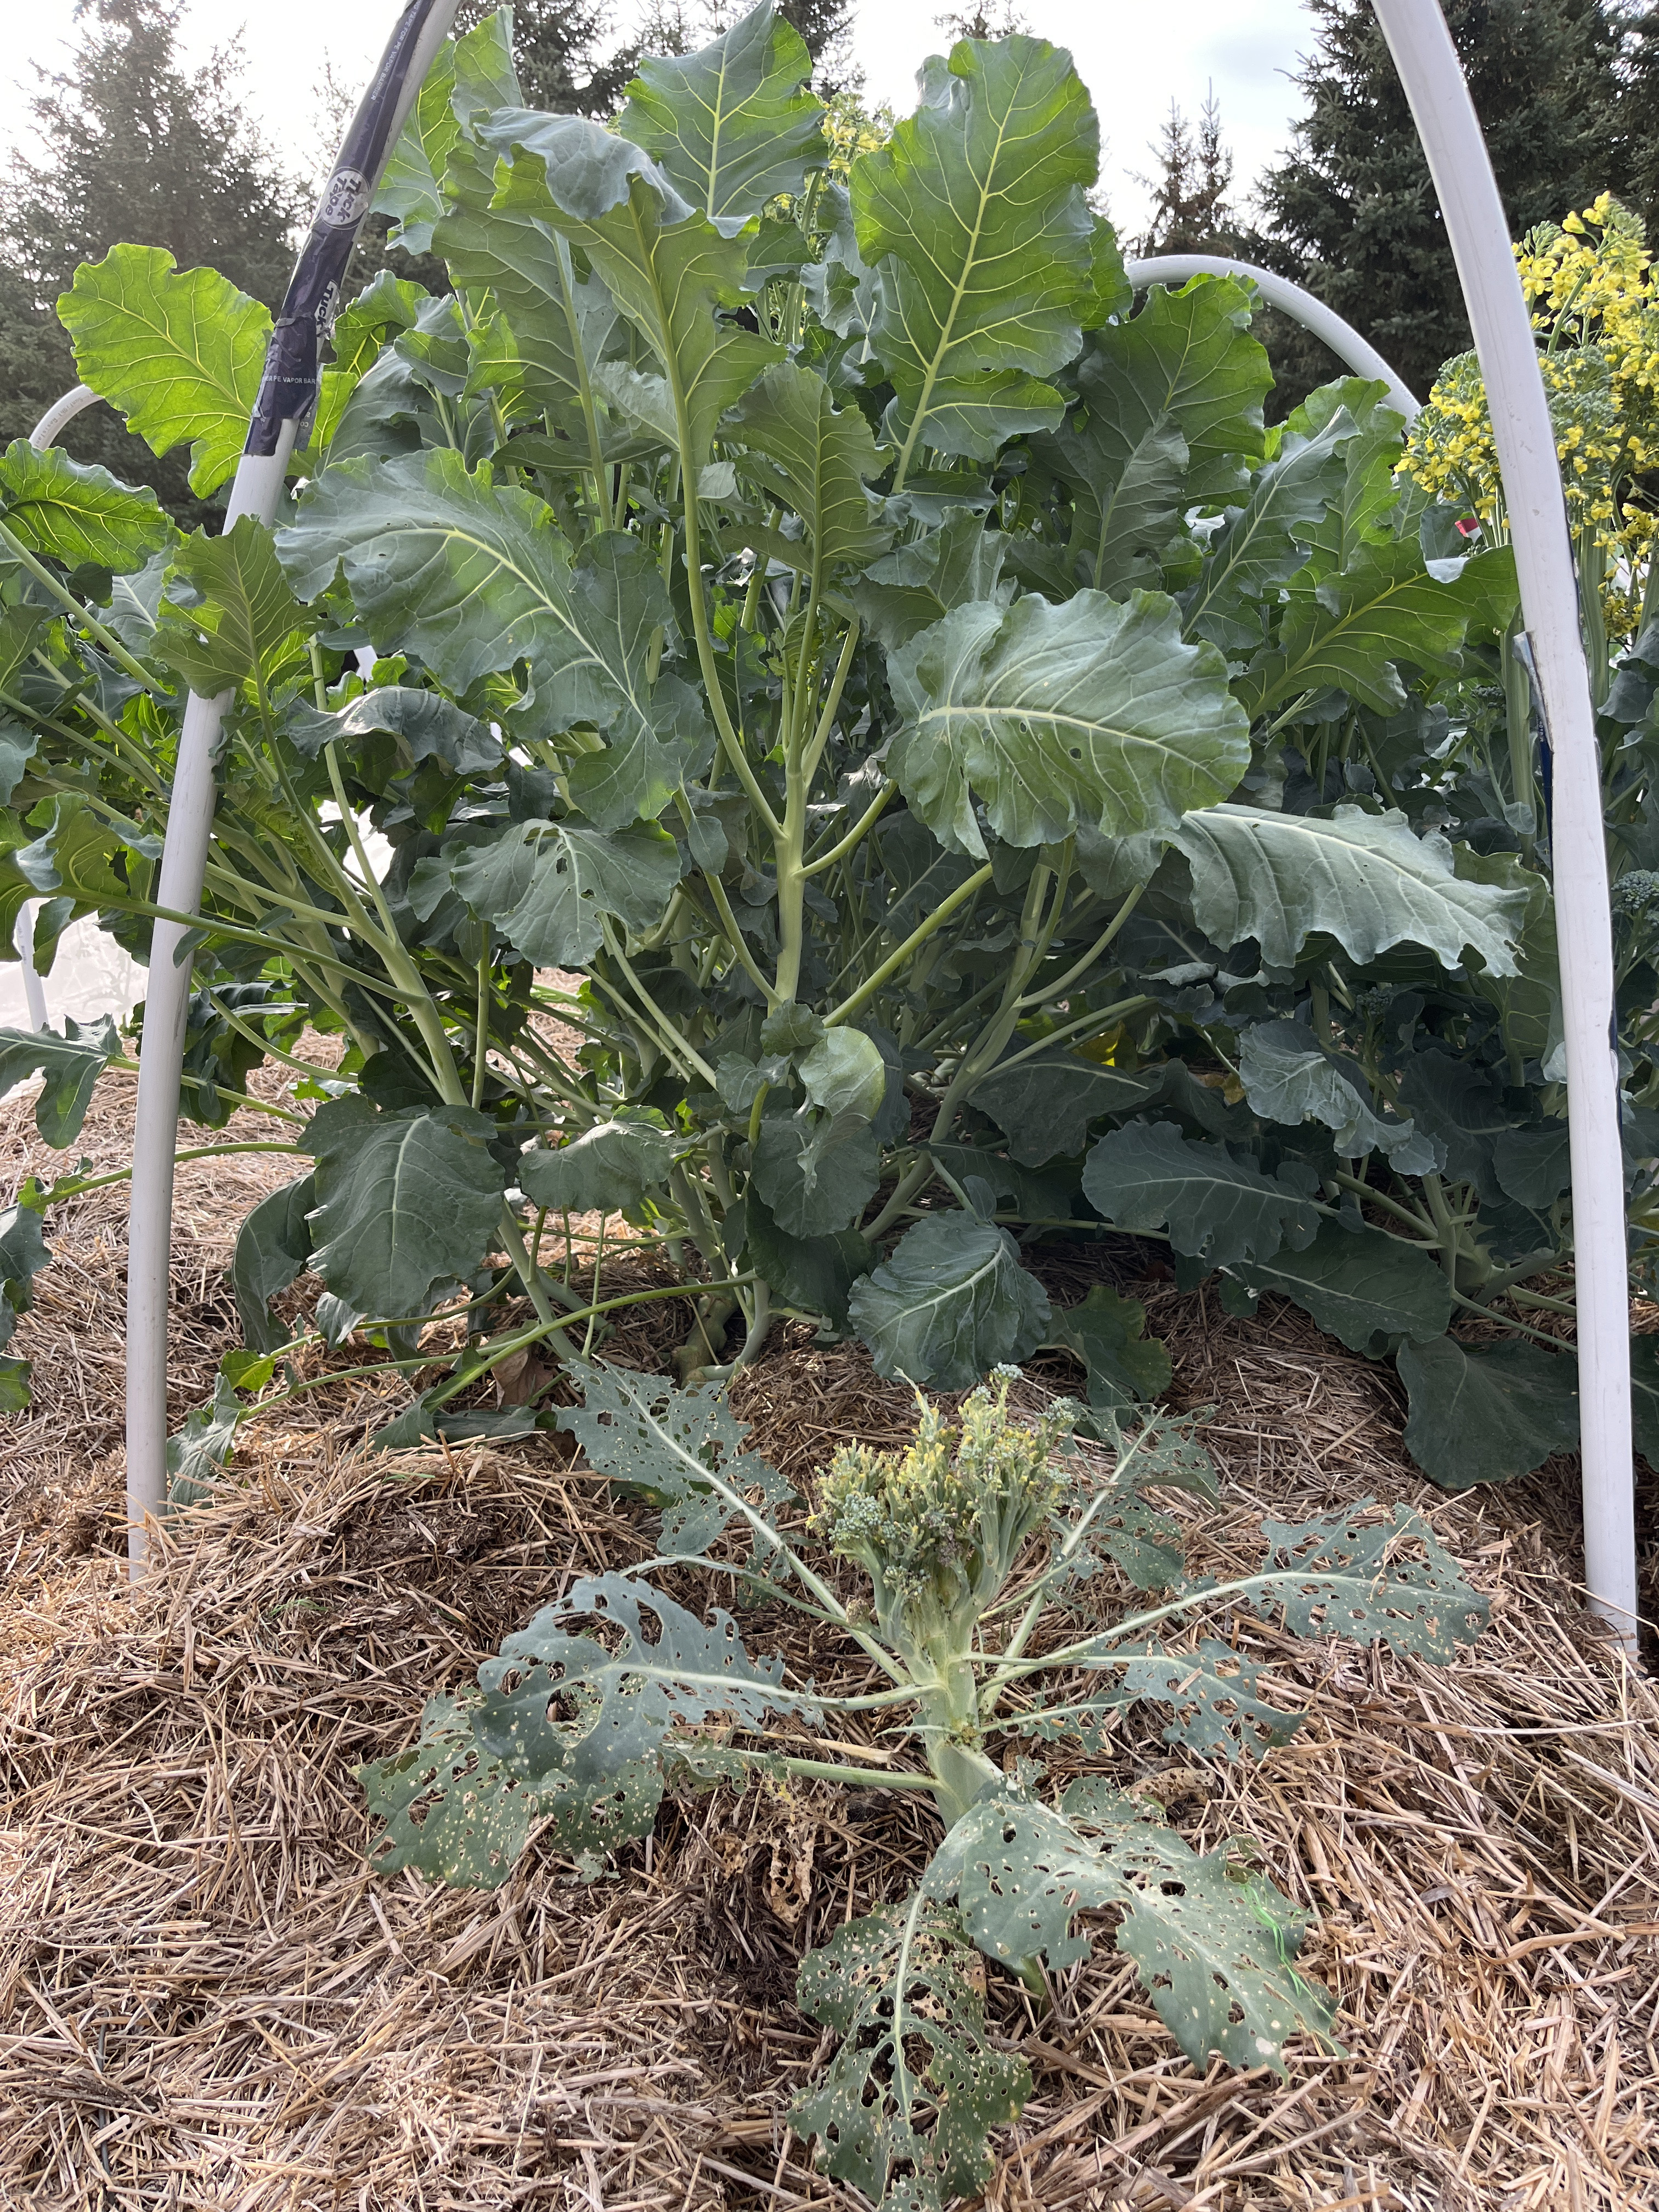
In the image below, the first broccoli plant was grown outside a low tunnel while the remaining plants were under insect netting in a low tunnel. The plants were all planted at the same time. The damage the cabbage moths cause signifantly reduces the plant size and there is no usuable vegetable to harvest.
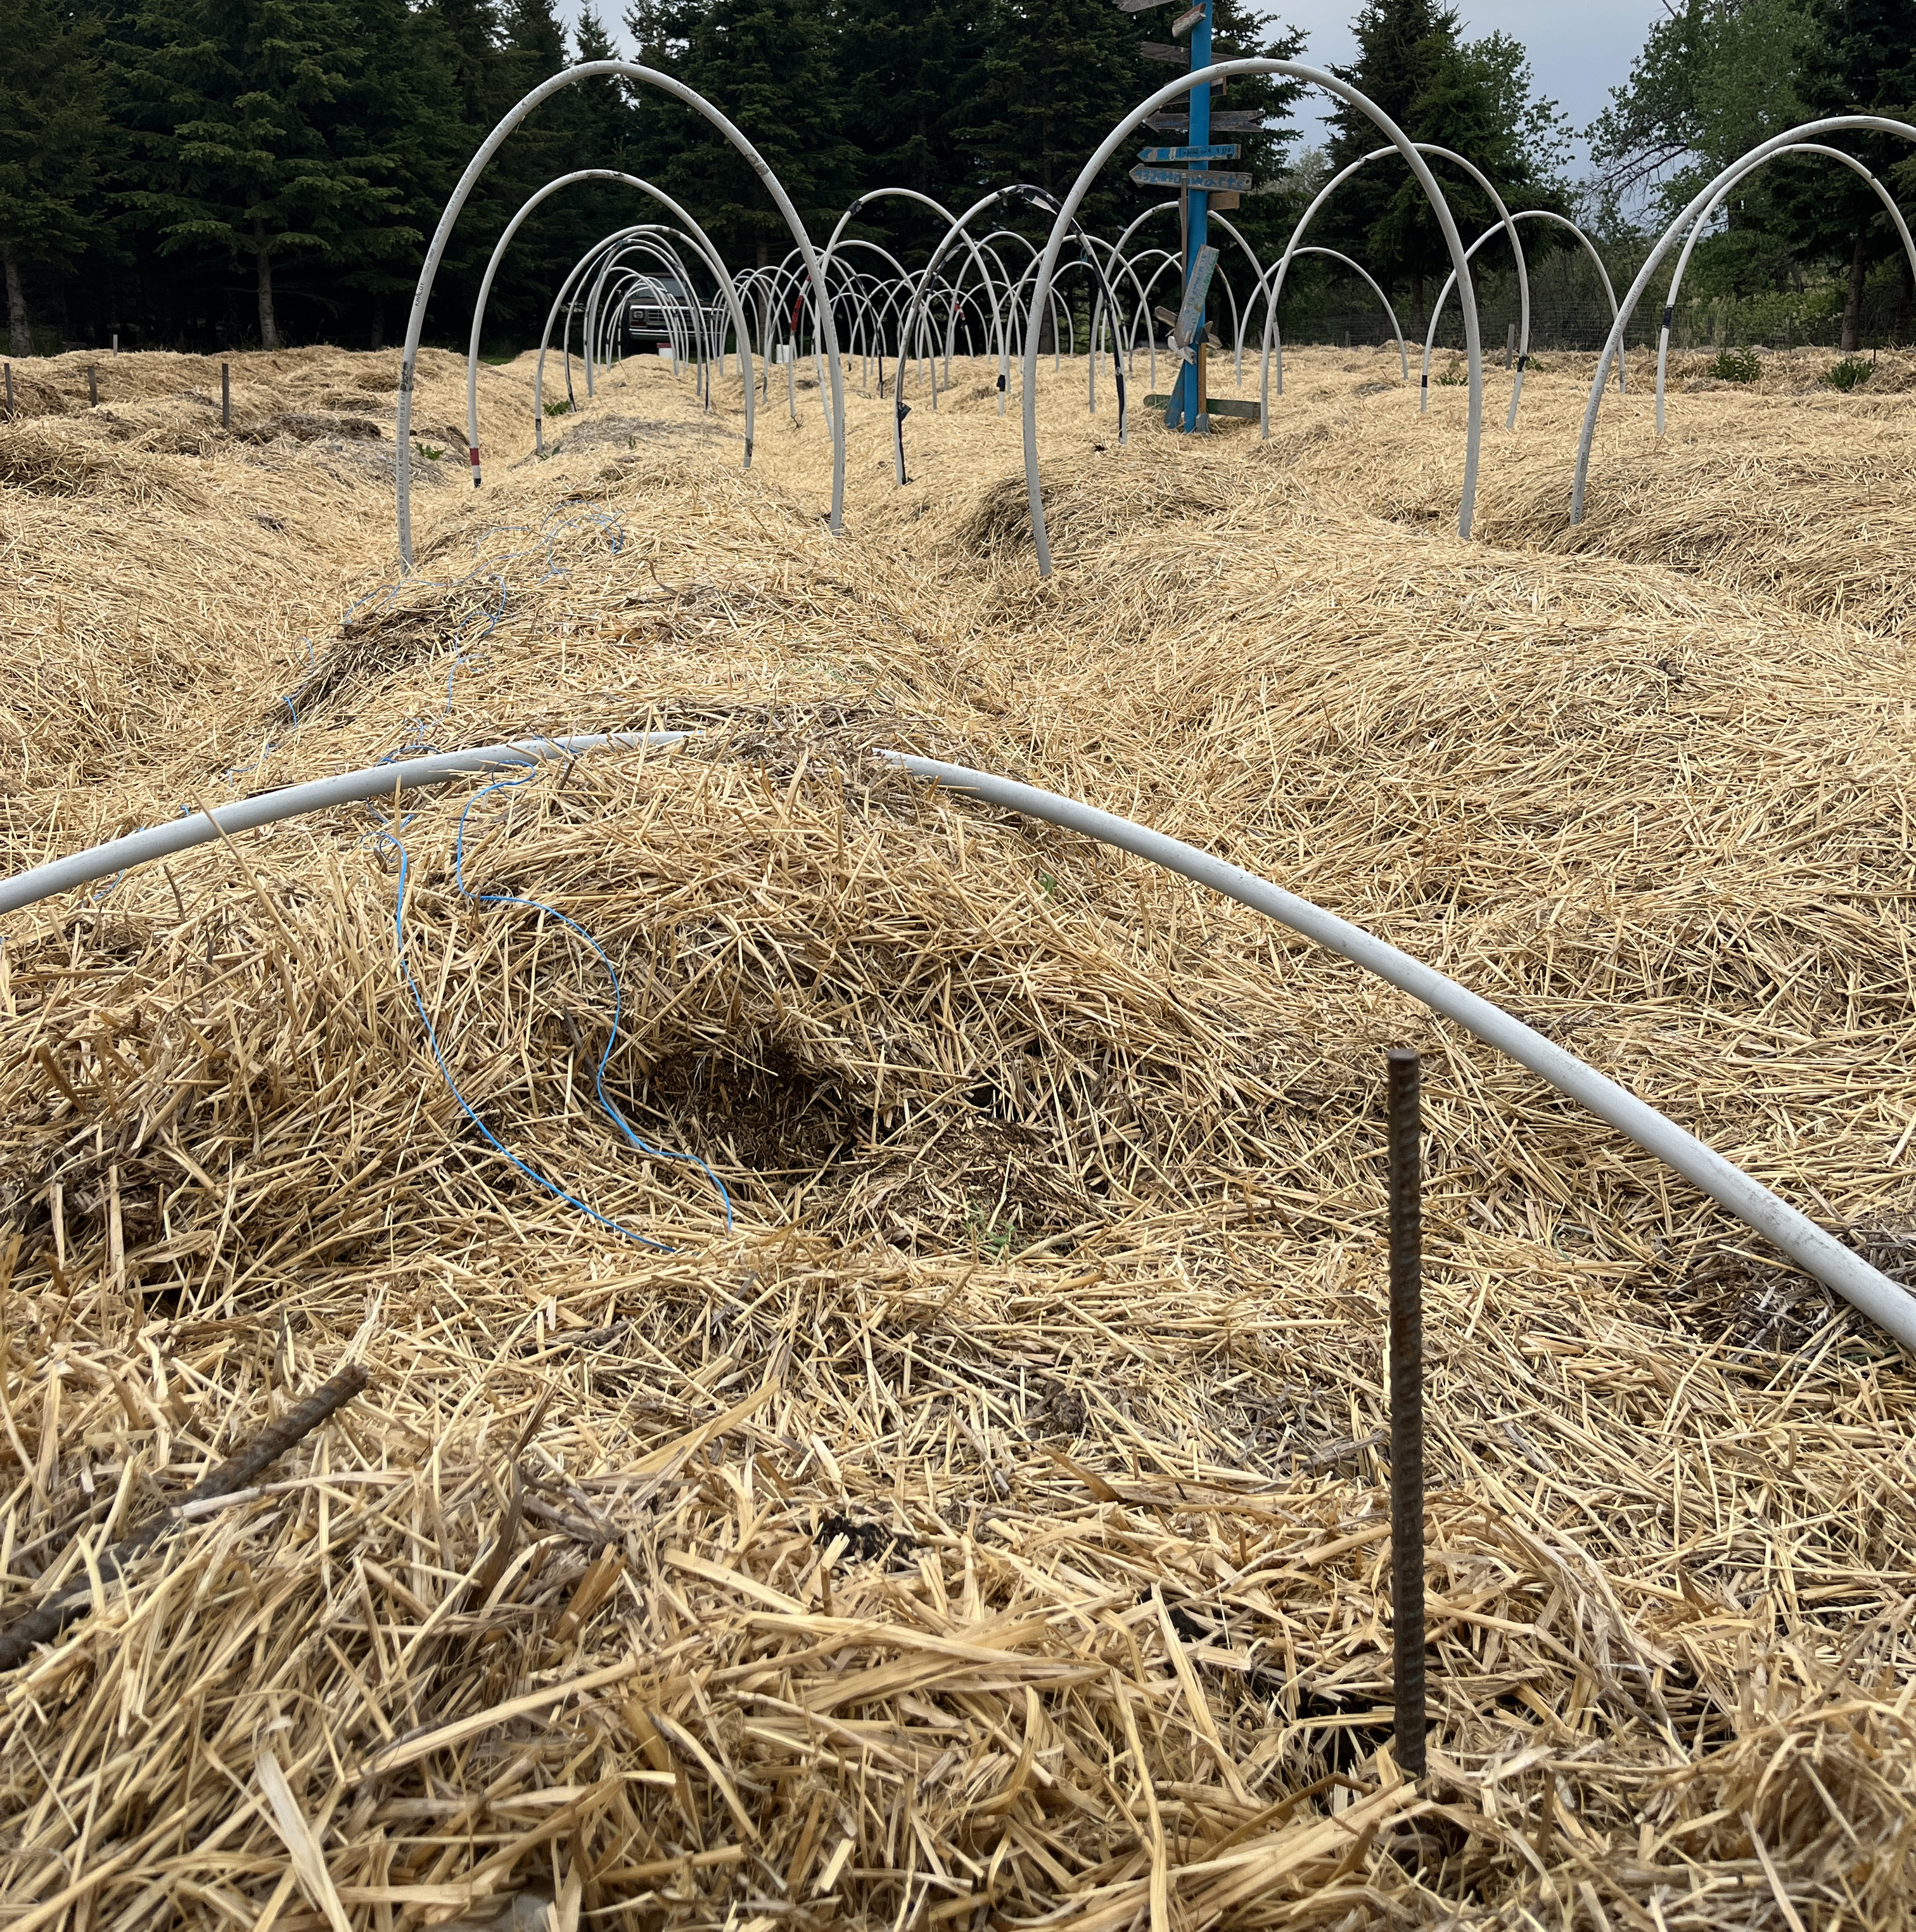
Anchoring in the hoops
Low tunnels need to stand up to the high prairie winds so they need to be anchored well.
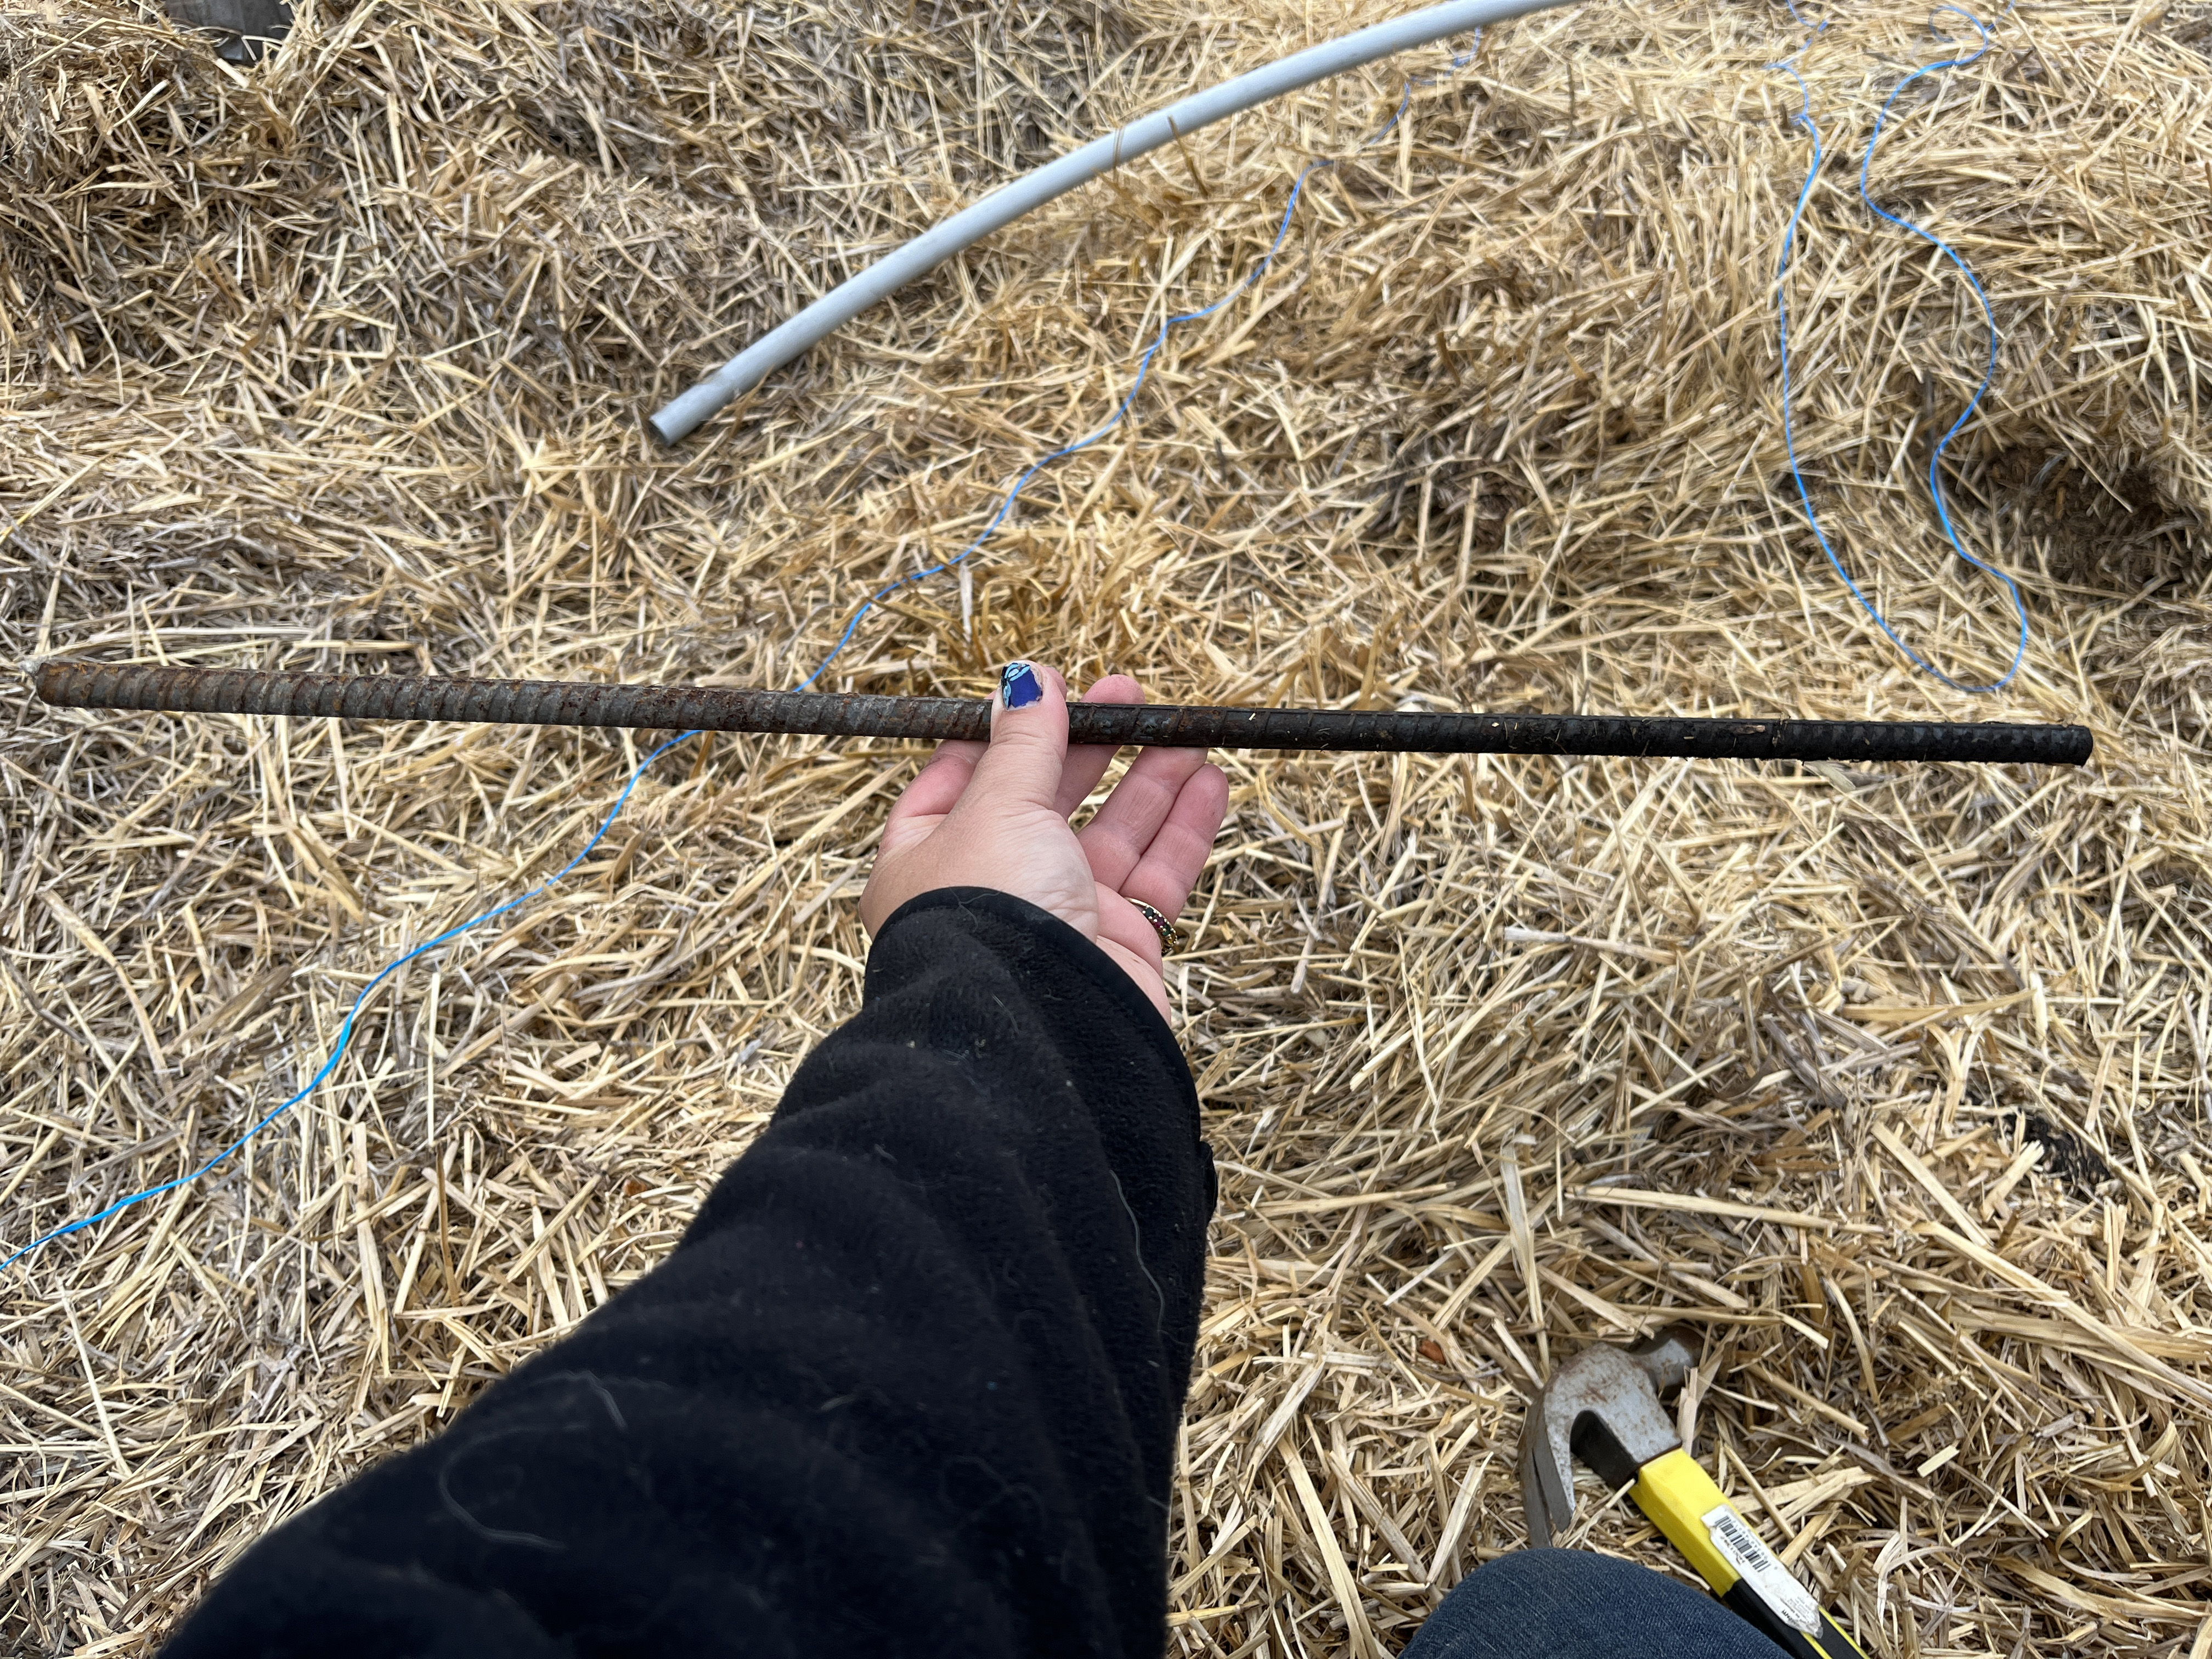
To start building a simple low tunnel hoop house, source anchors to pound into the ground. While a variety of styles of anchors can be purchased, simple rods of rebar will work as well. Local hardware stores that carry rebar will cut it to length for you.
To determine the length of anchors you need, start with a 3' length of rebar. Pound it into the ground with a hammer and push on it to see if it is loose. The healthier your soil, the easier it will be to move an anchor around. If you can easily move the anchor, move to a 4' piece of rebar or longer if needed.
Using a hammer, pound in the rebar into the ground so only 1' remains above the soil. Repeat this on the opposite side of the row to form anchors for a single hoop.
Add hoops
There are a wide variety of wire or plastic hoops available on the market for building low tunnels. The length of the hoops will be dependent on the width of your rows and the height of your low tunnel.
When planning on building a low tunnel, you will need to know how big of a plant you plan to put under the low tunnel. You can use a smaller hoop for small plants like radish, peppers and kale versus a larger plant like tomato or cabbage.
As an example, if you are planning on growing broccoli or cabbage and you have a 3' wide row, then an 8' hoop will provide ample space for the low tunnel to cover the plant.
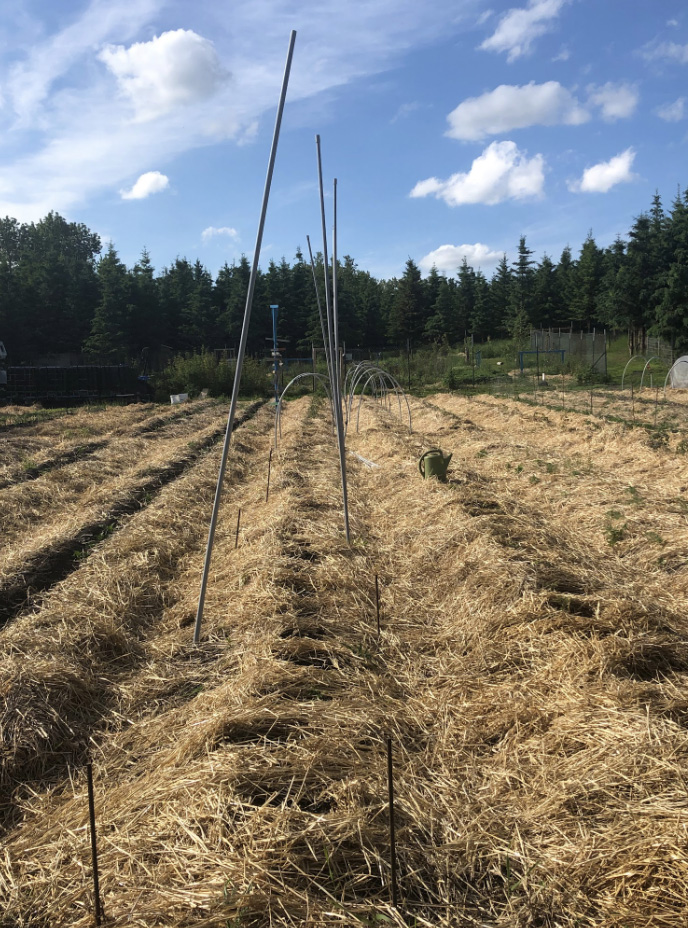
If you want to make the hoops yourself, you can use 3/4" metal chain link posts available at most hardware stores or a fencing company or 3/4" plastic PVC piping available from your local electrician. If you choose to use metal fencing posts, you will also need to source a metal bender to bend the metal posts into a hoop. The plastic will simply bend on it's own. You can also use a heavy wire although the metal posts or PVC pipe will provide a better support.
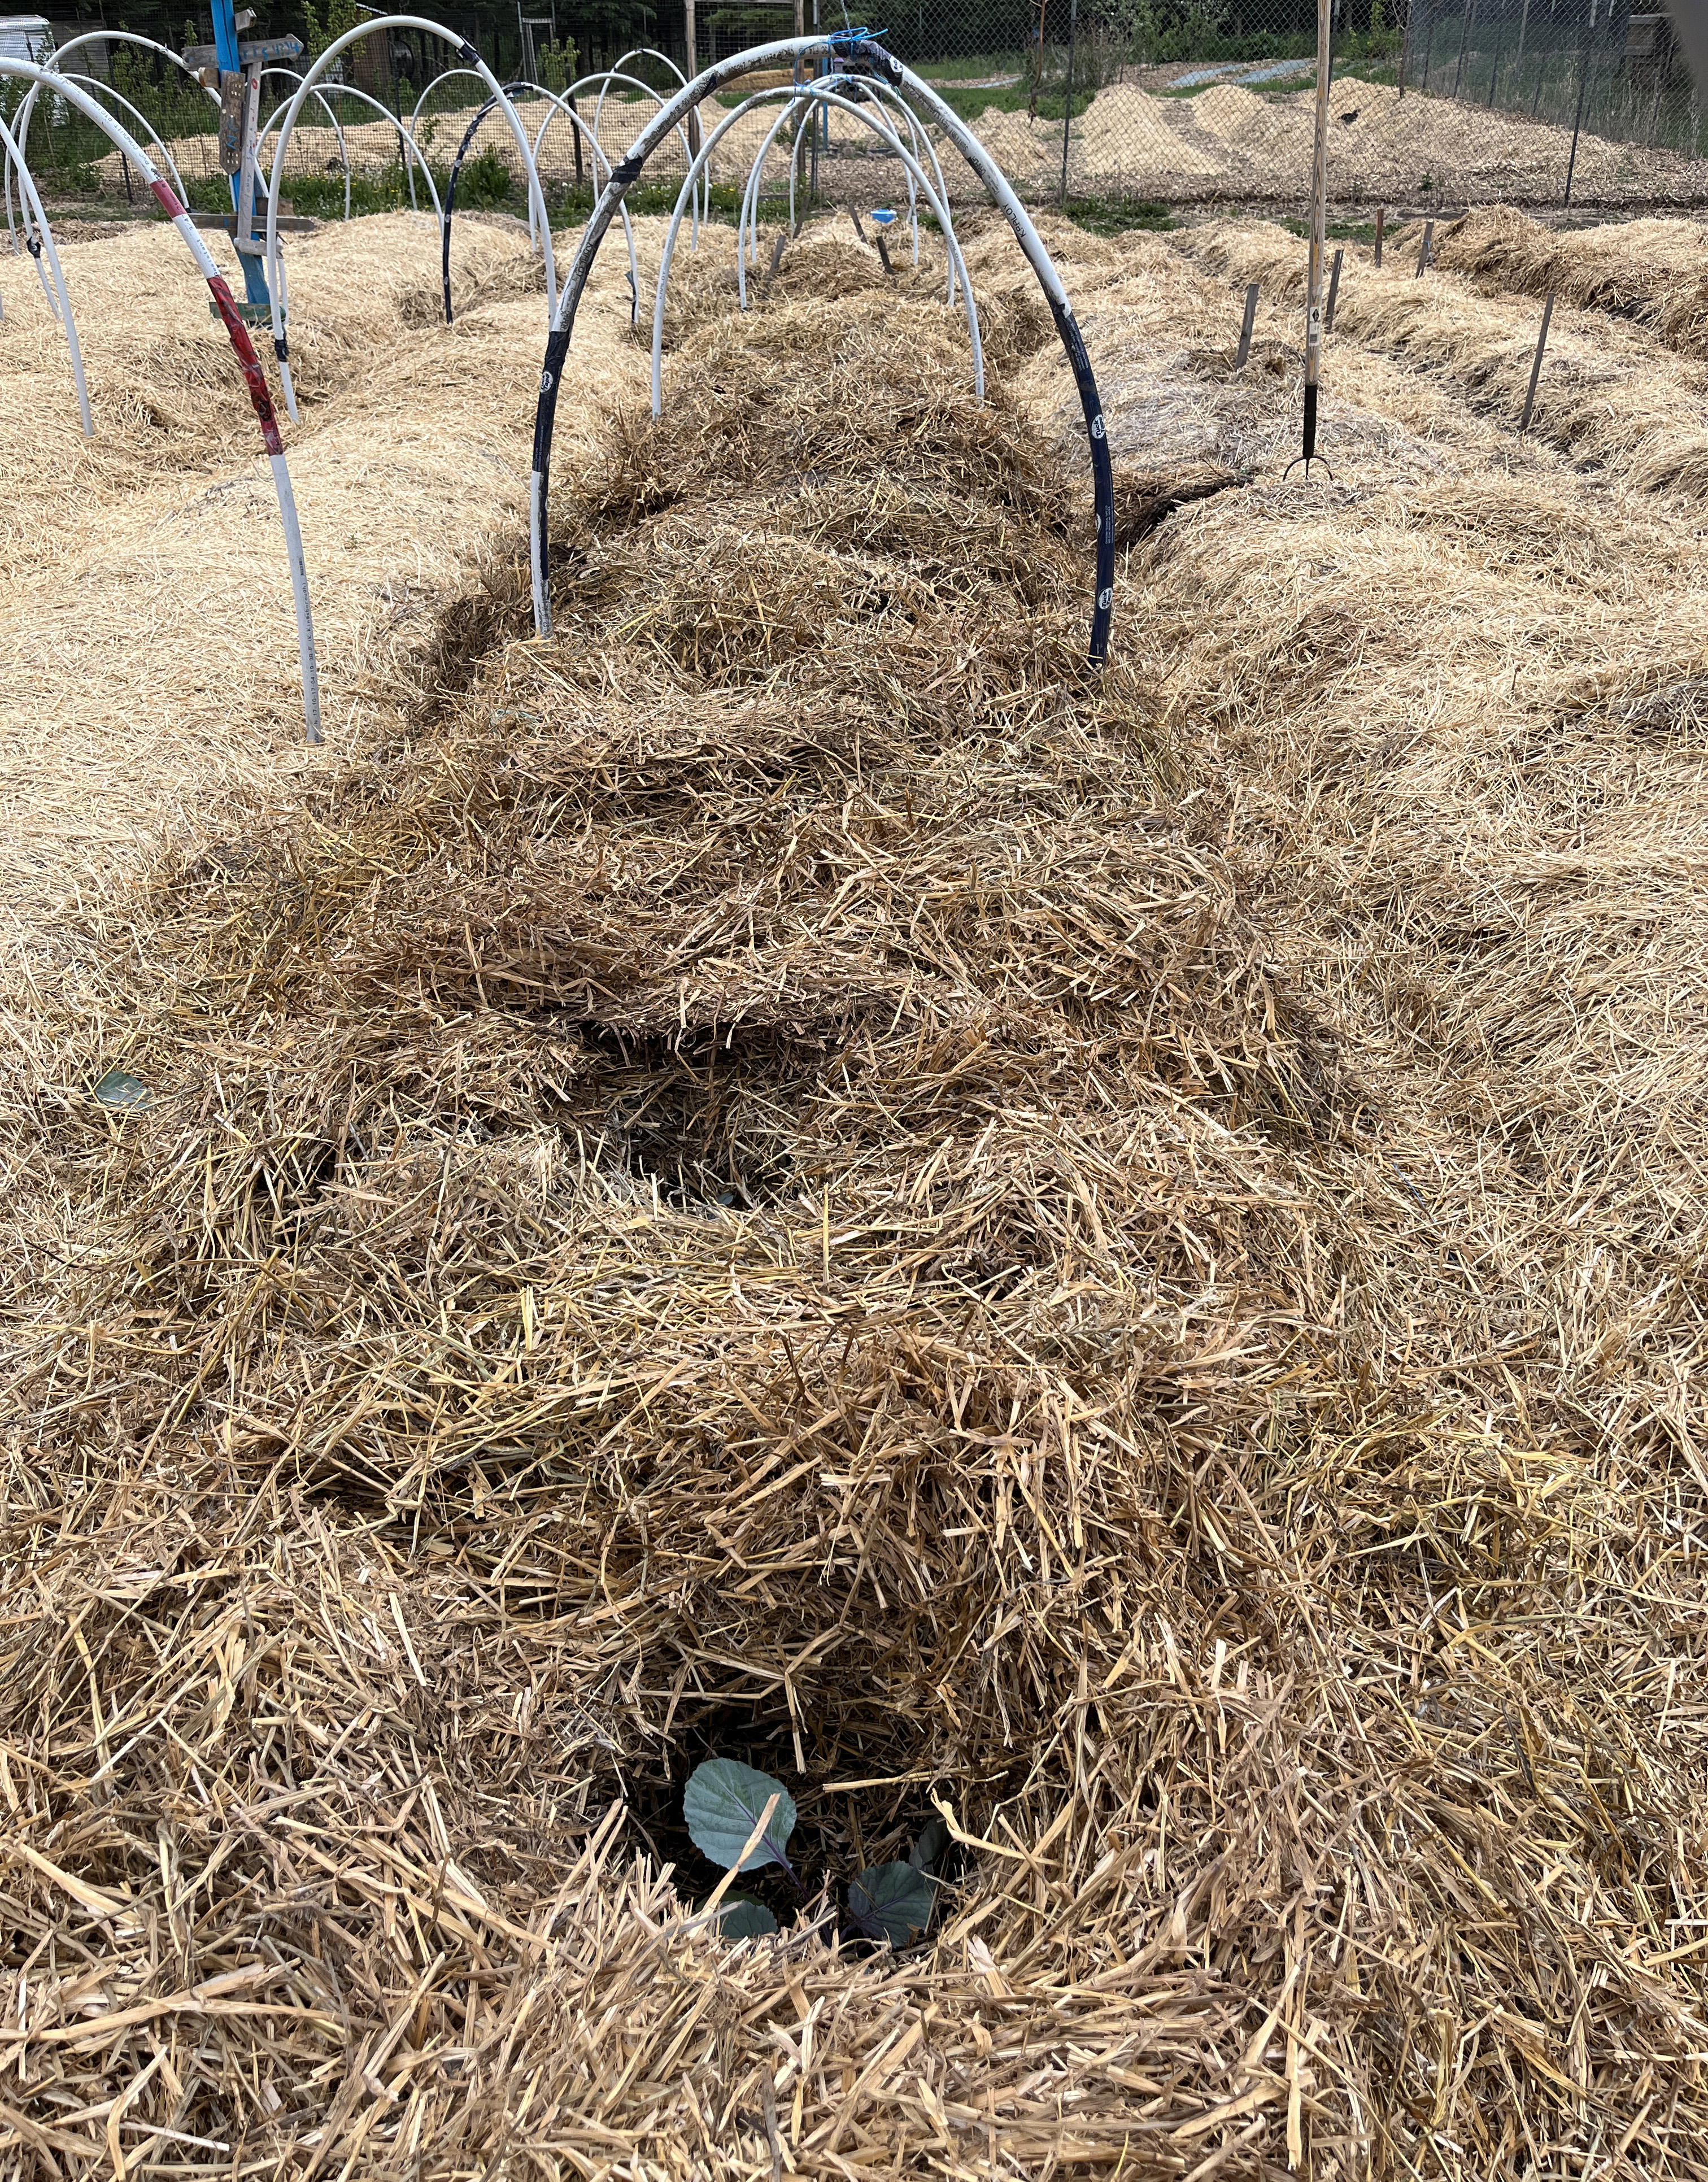
Once you have sourced the material for the hoop, just place the hoop over the rebar in the ground on either side of the row.
As the hoops support the row cover, you will want to space them roughly every 5' apart in the row with a hoop at the start and end of the row.
To increase the support of the hoops, tie them together with a durable twine. I tend to tie mine in three spots along the hoop as I have quite strong winds in the garden.
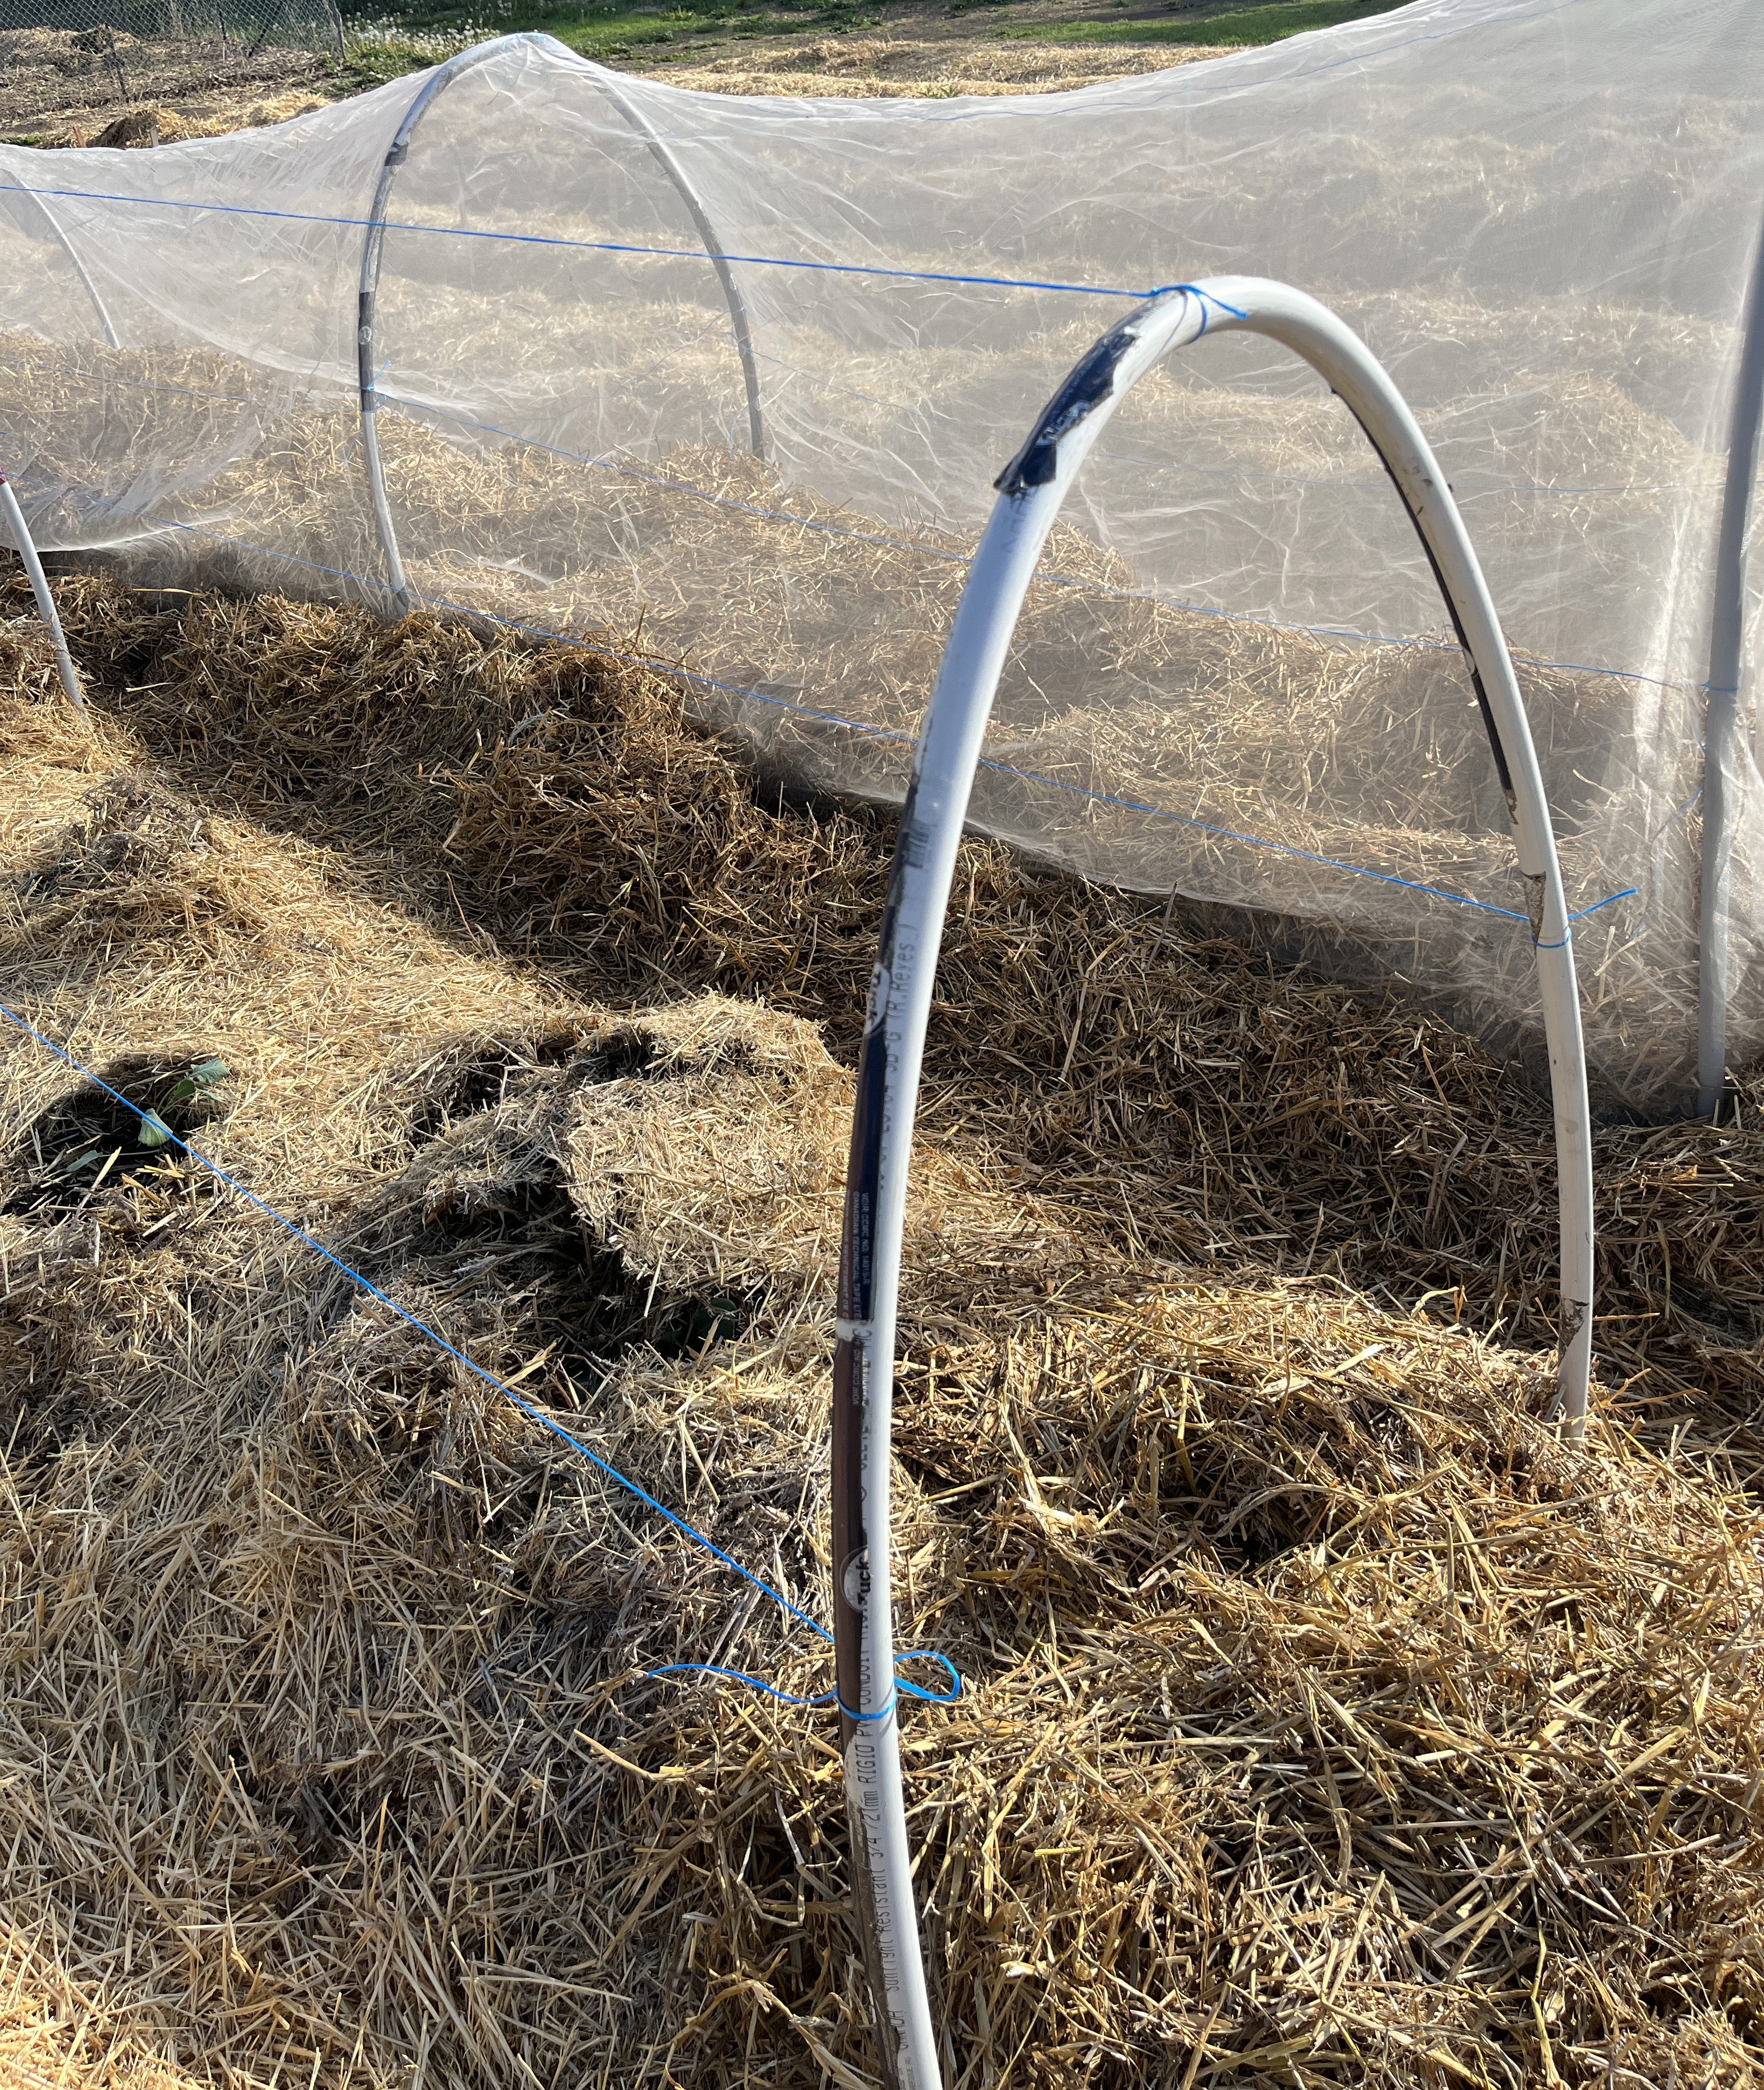
Attaching the row cover
Whether you are using insect netting to prevent cabbage moths from dining on your cabbage or plastic to keep pepper plants extra warm, the process for attaching the row cover on the hoops is the same. You can find a discussion on the types of row covers here.
As space is needed to tuck the edges of the row cover into the mulch, I use a larger row cover than the hoops are sized to. For example, I will use a 10' wide row cover with a 8' hoop.
Open up the row cover and pull it down along the edge of the hoops. Attach the end of the row cover below the first hoop to hold it in place.
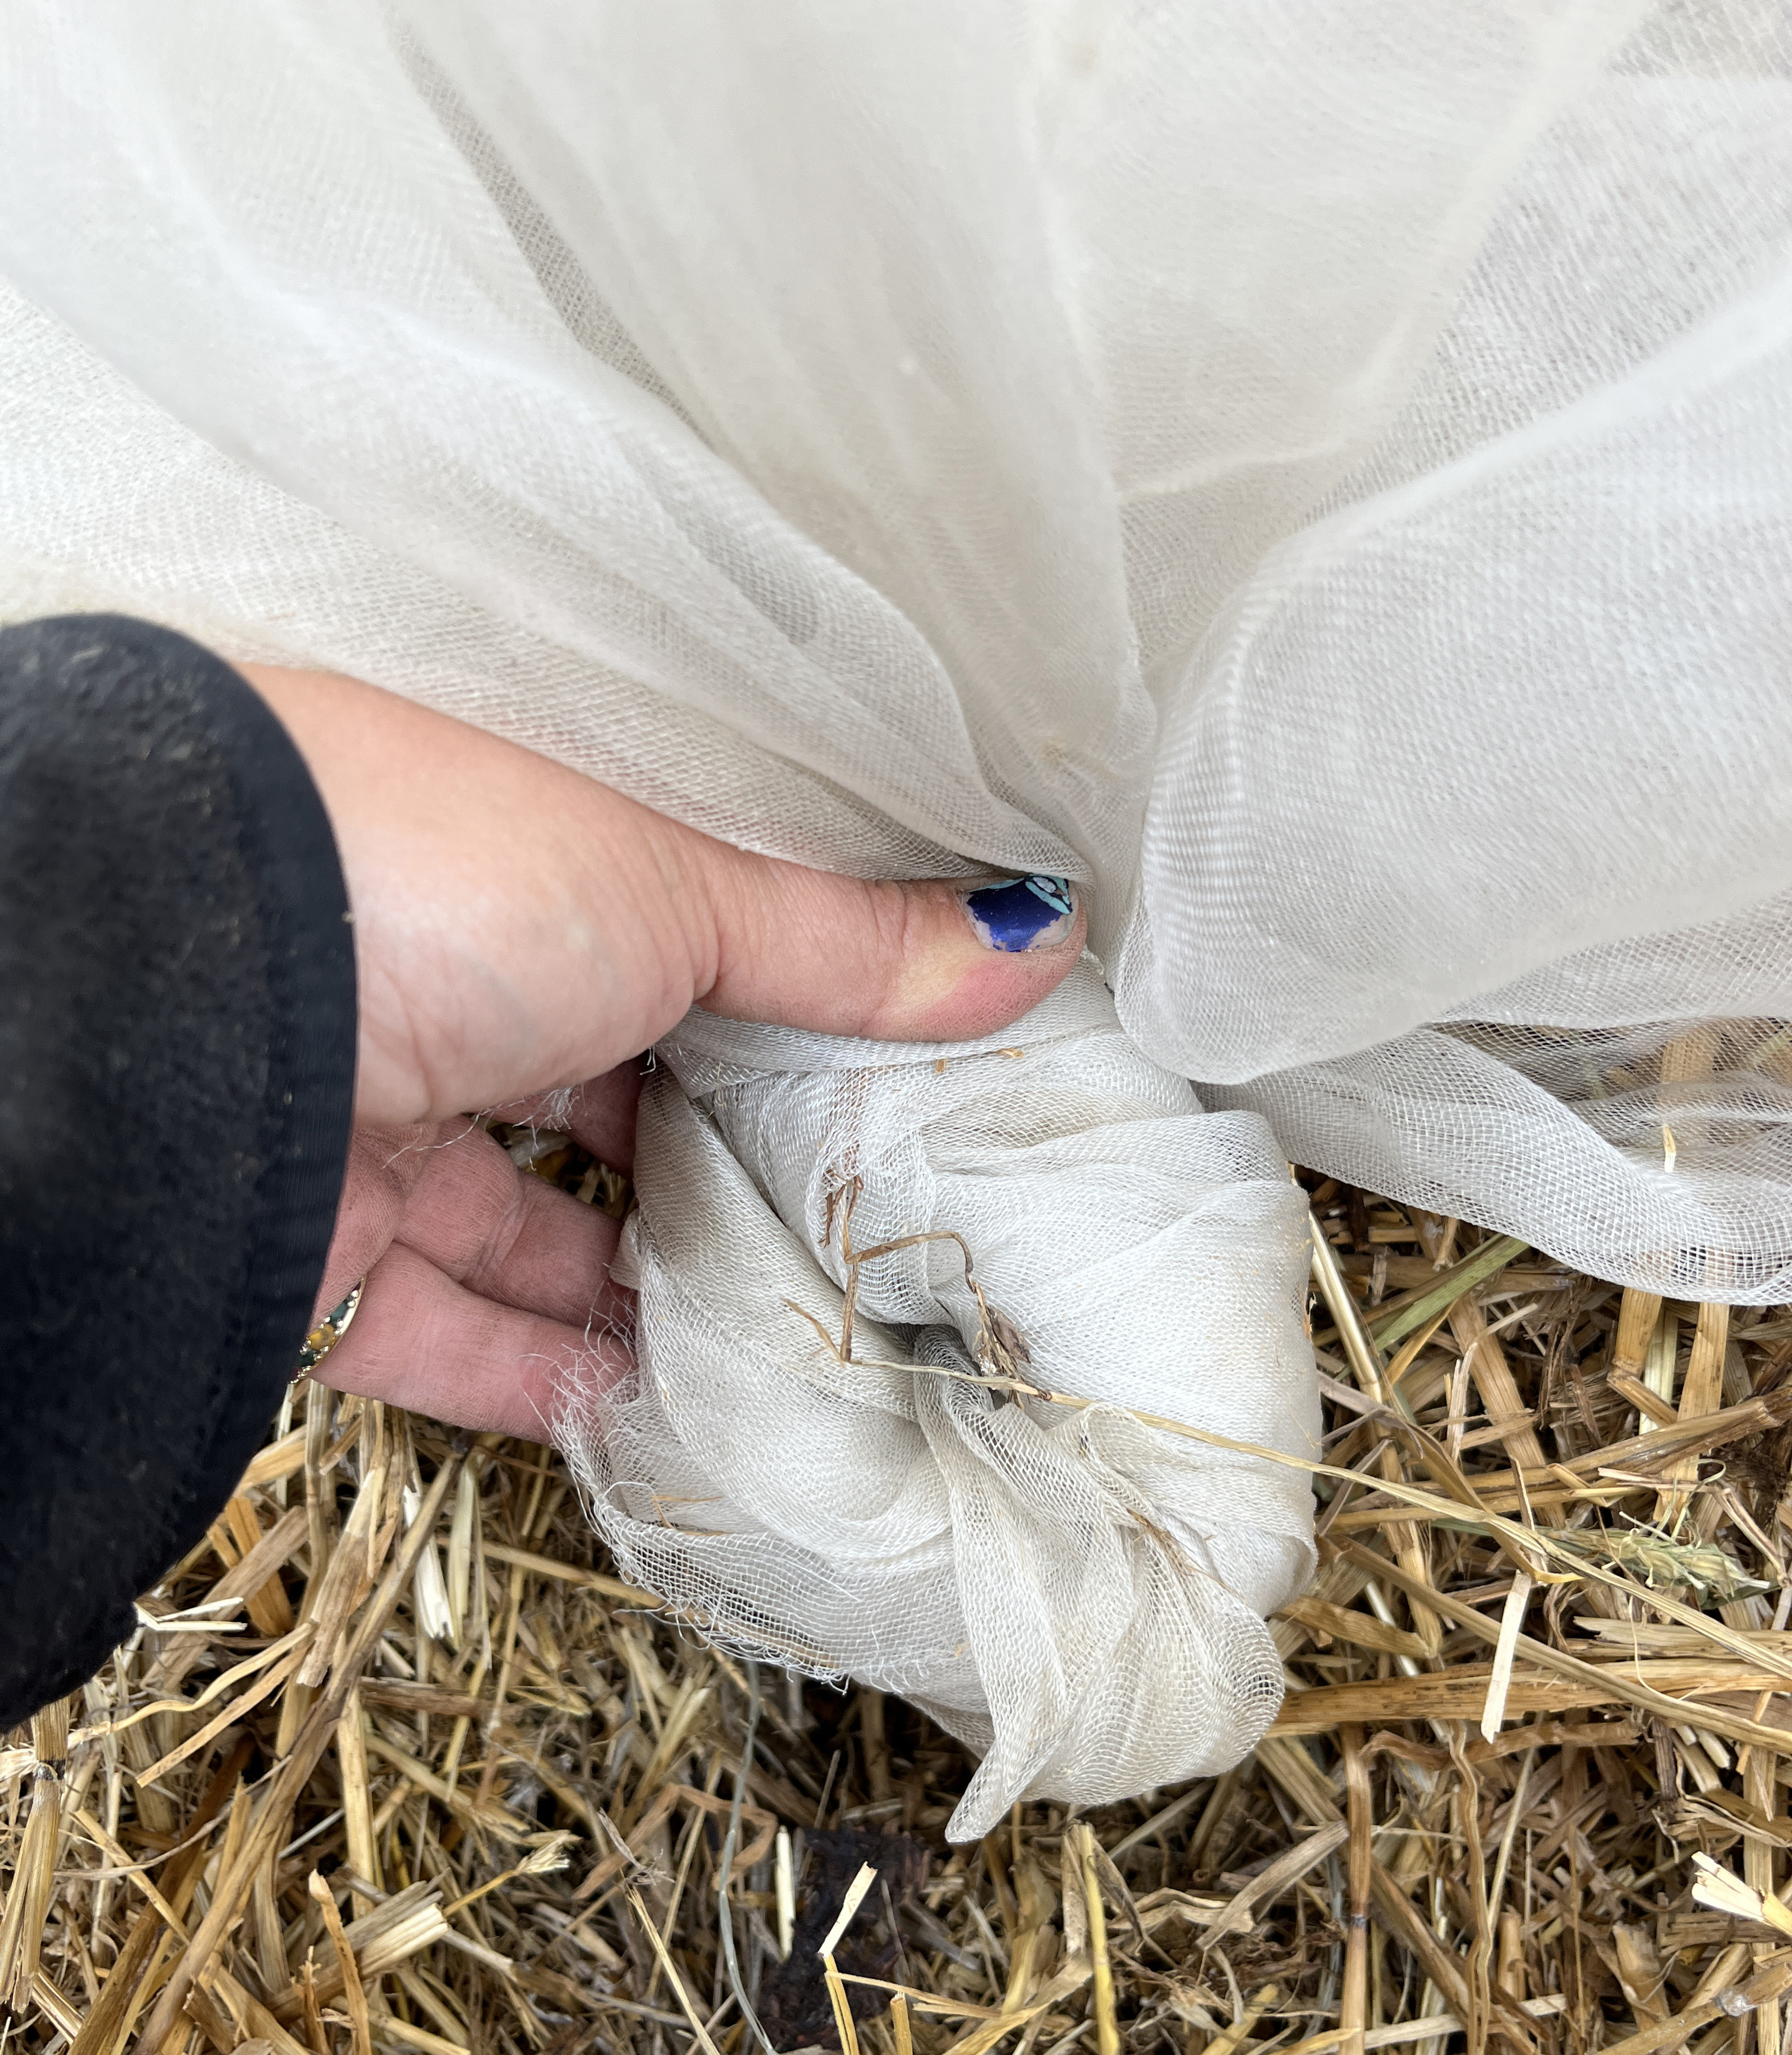
To do this, pull the row cover over the end hoop leaving a bit extra length to tie off the end. Anchor in the corners of the row cover and then twist the row cover tightly:
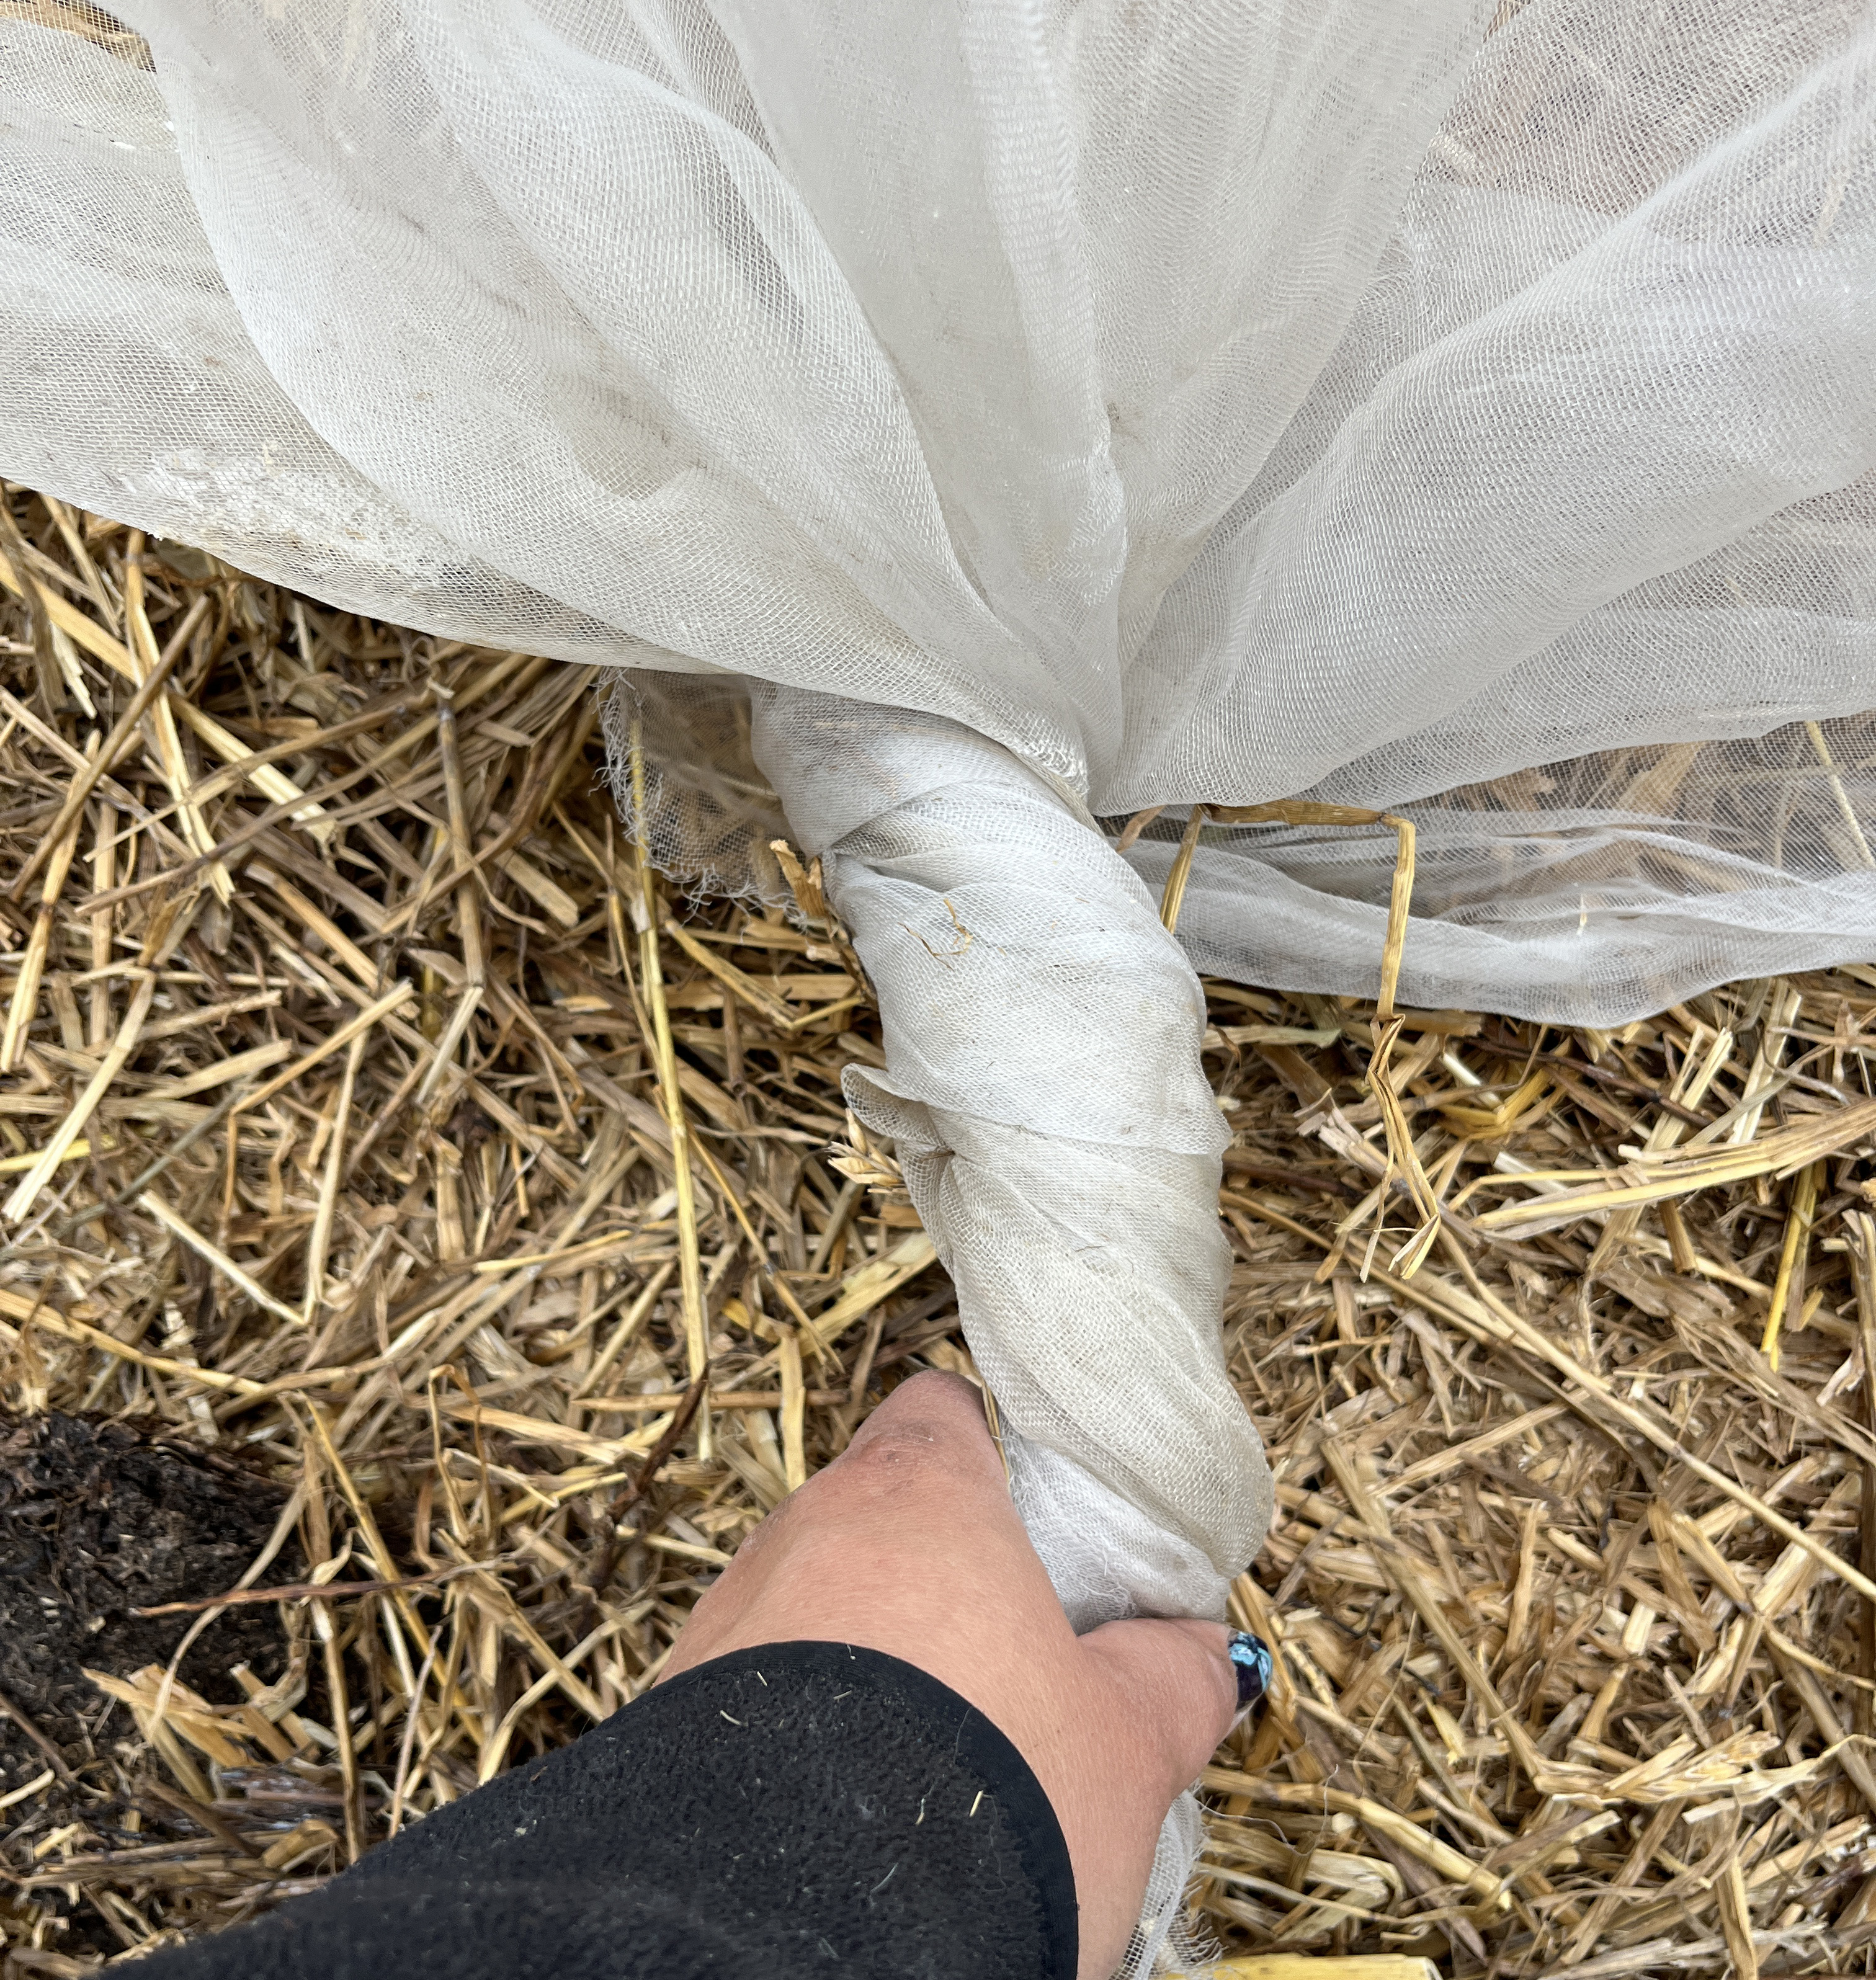
Fold the row cover under to form a small "knot" as this will keep the extra material tucked out of your way:
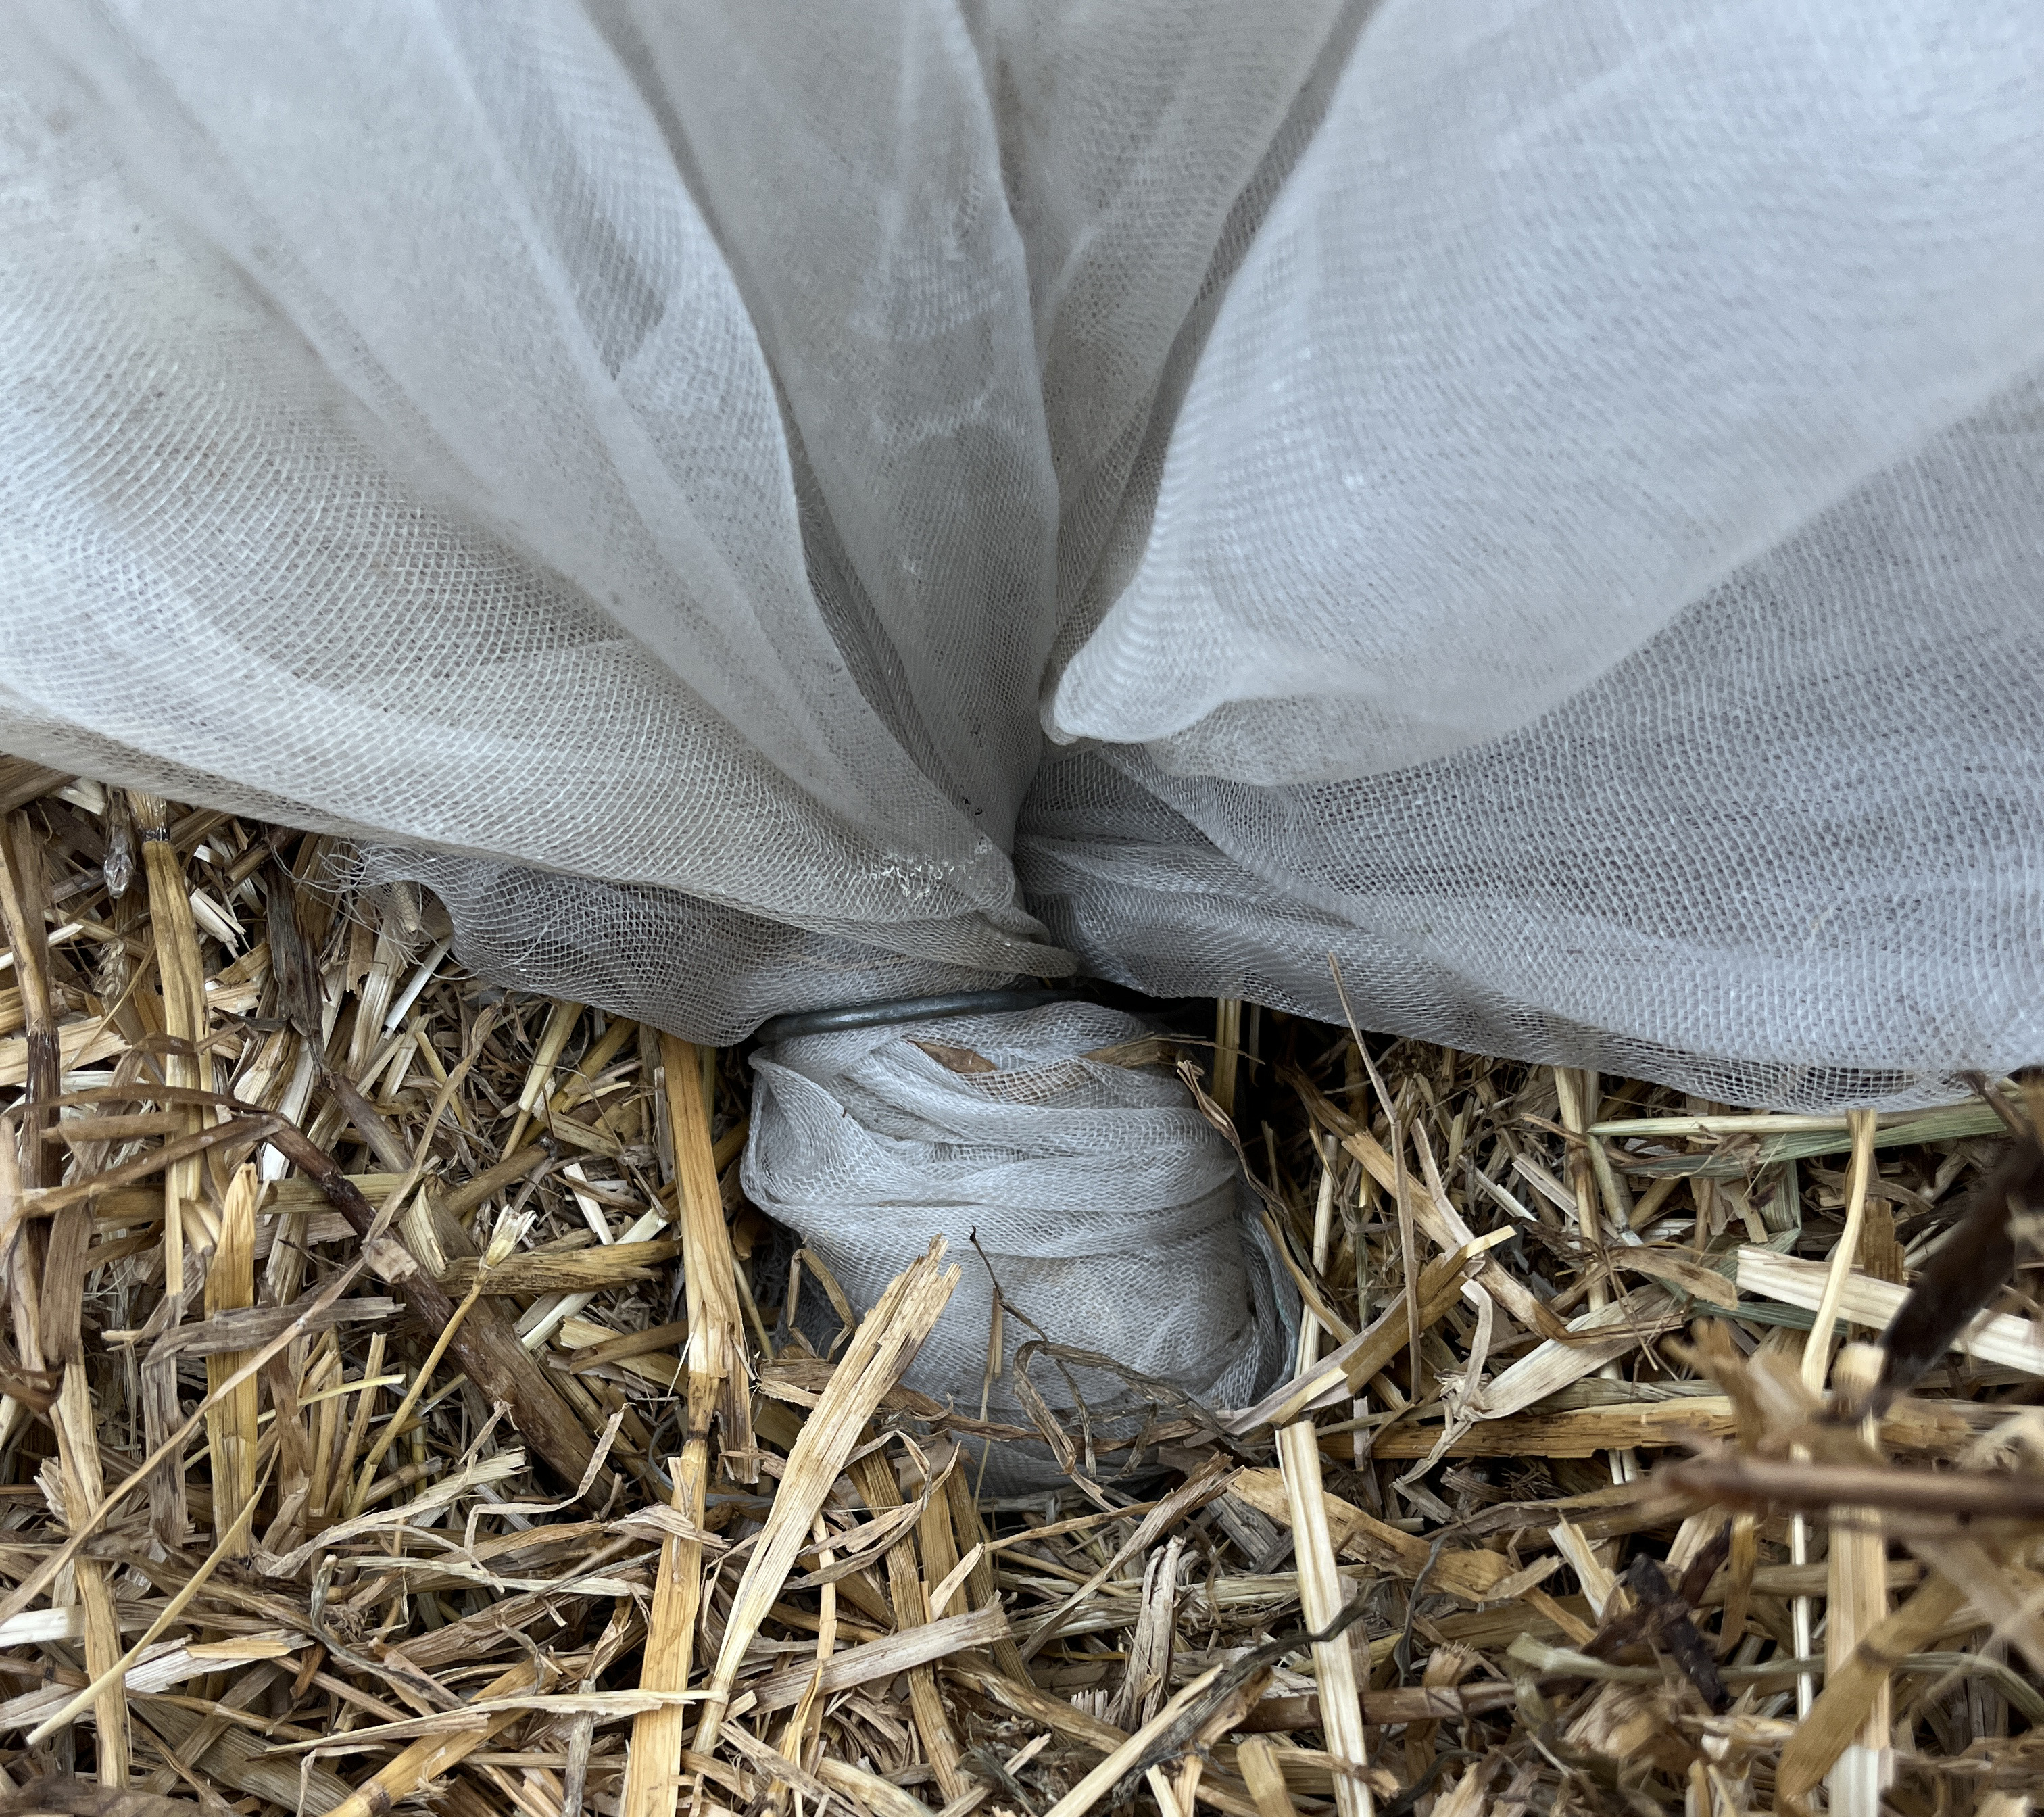
Attach an anchor to hold it into place:
Walking down the row, pull one edge of the covering up and over the hoops as you work your way down the row. This step is definately easier with an extra pair of hands.
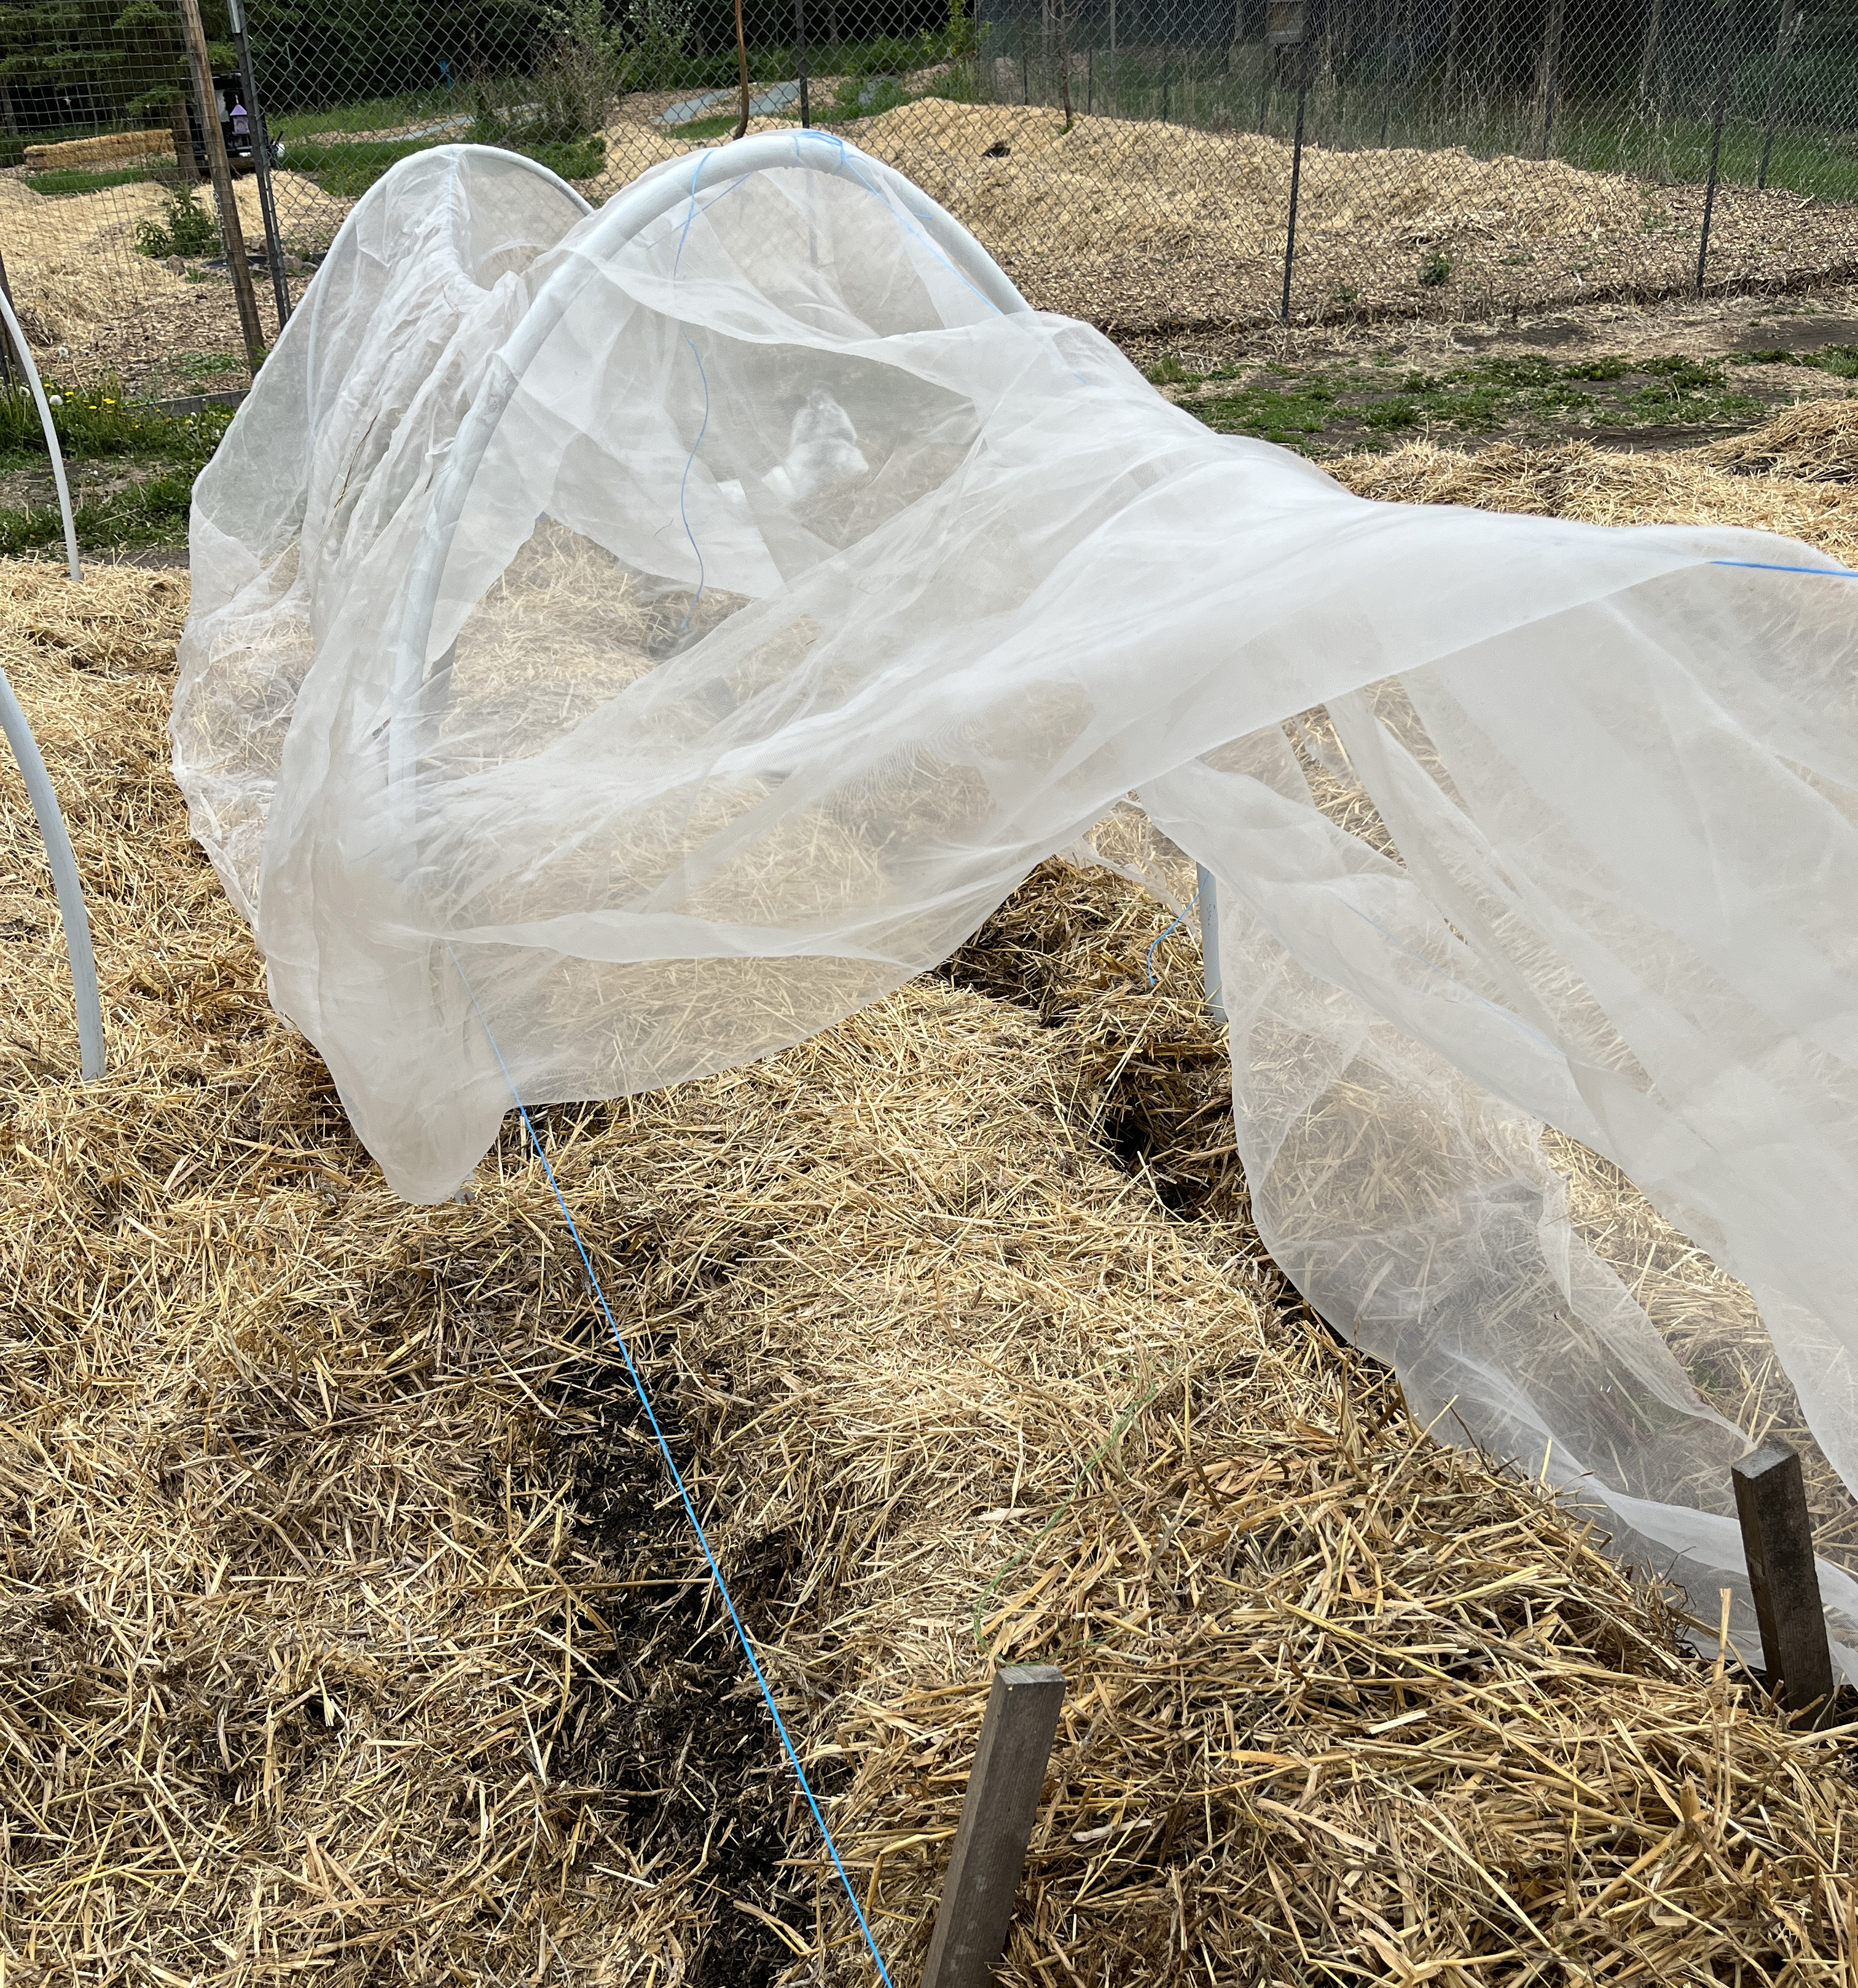
Once you have the row cover in place, repeat the steps above at the end of the row. Pull the fabric snugly over the end to ensure it remains snug against the hoops and can't catch the wind.
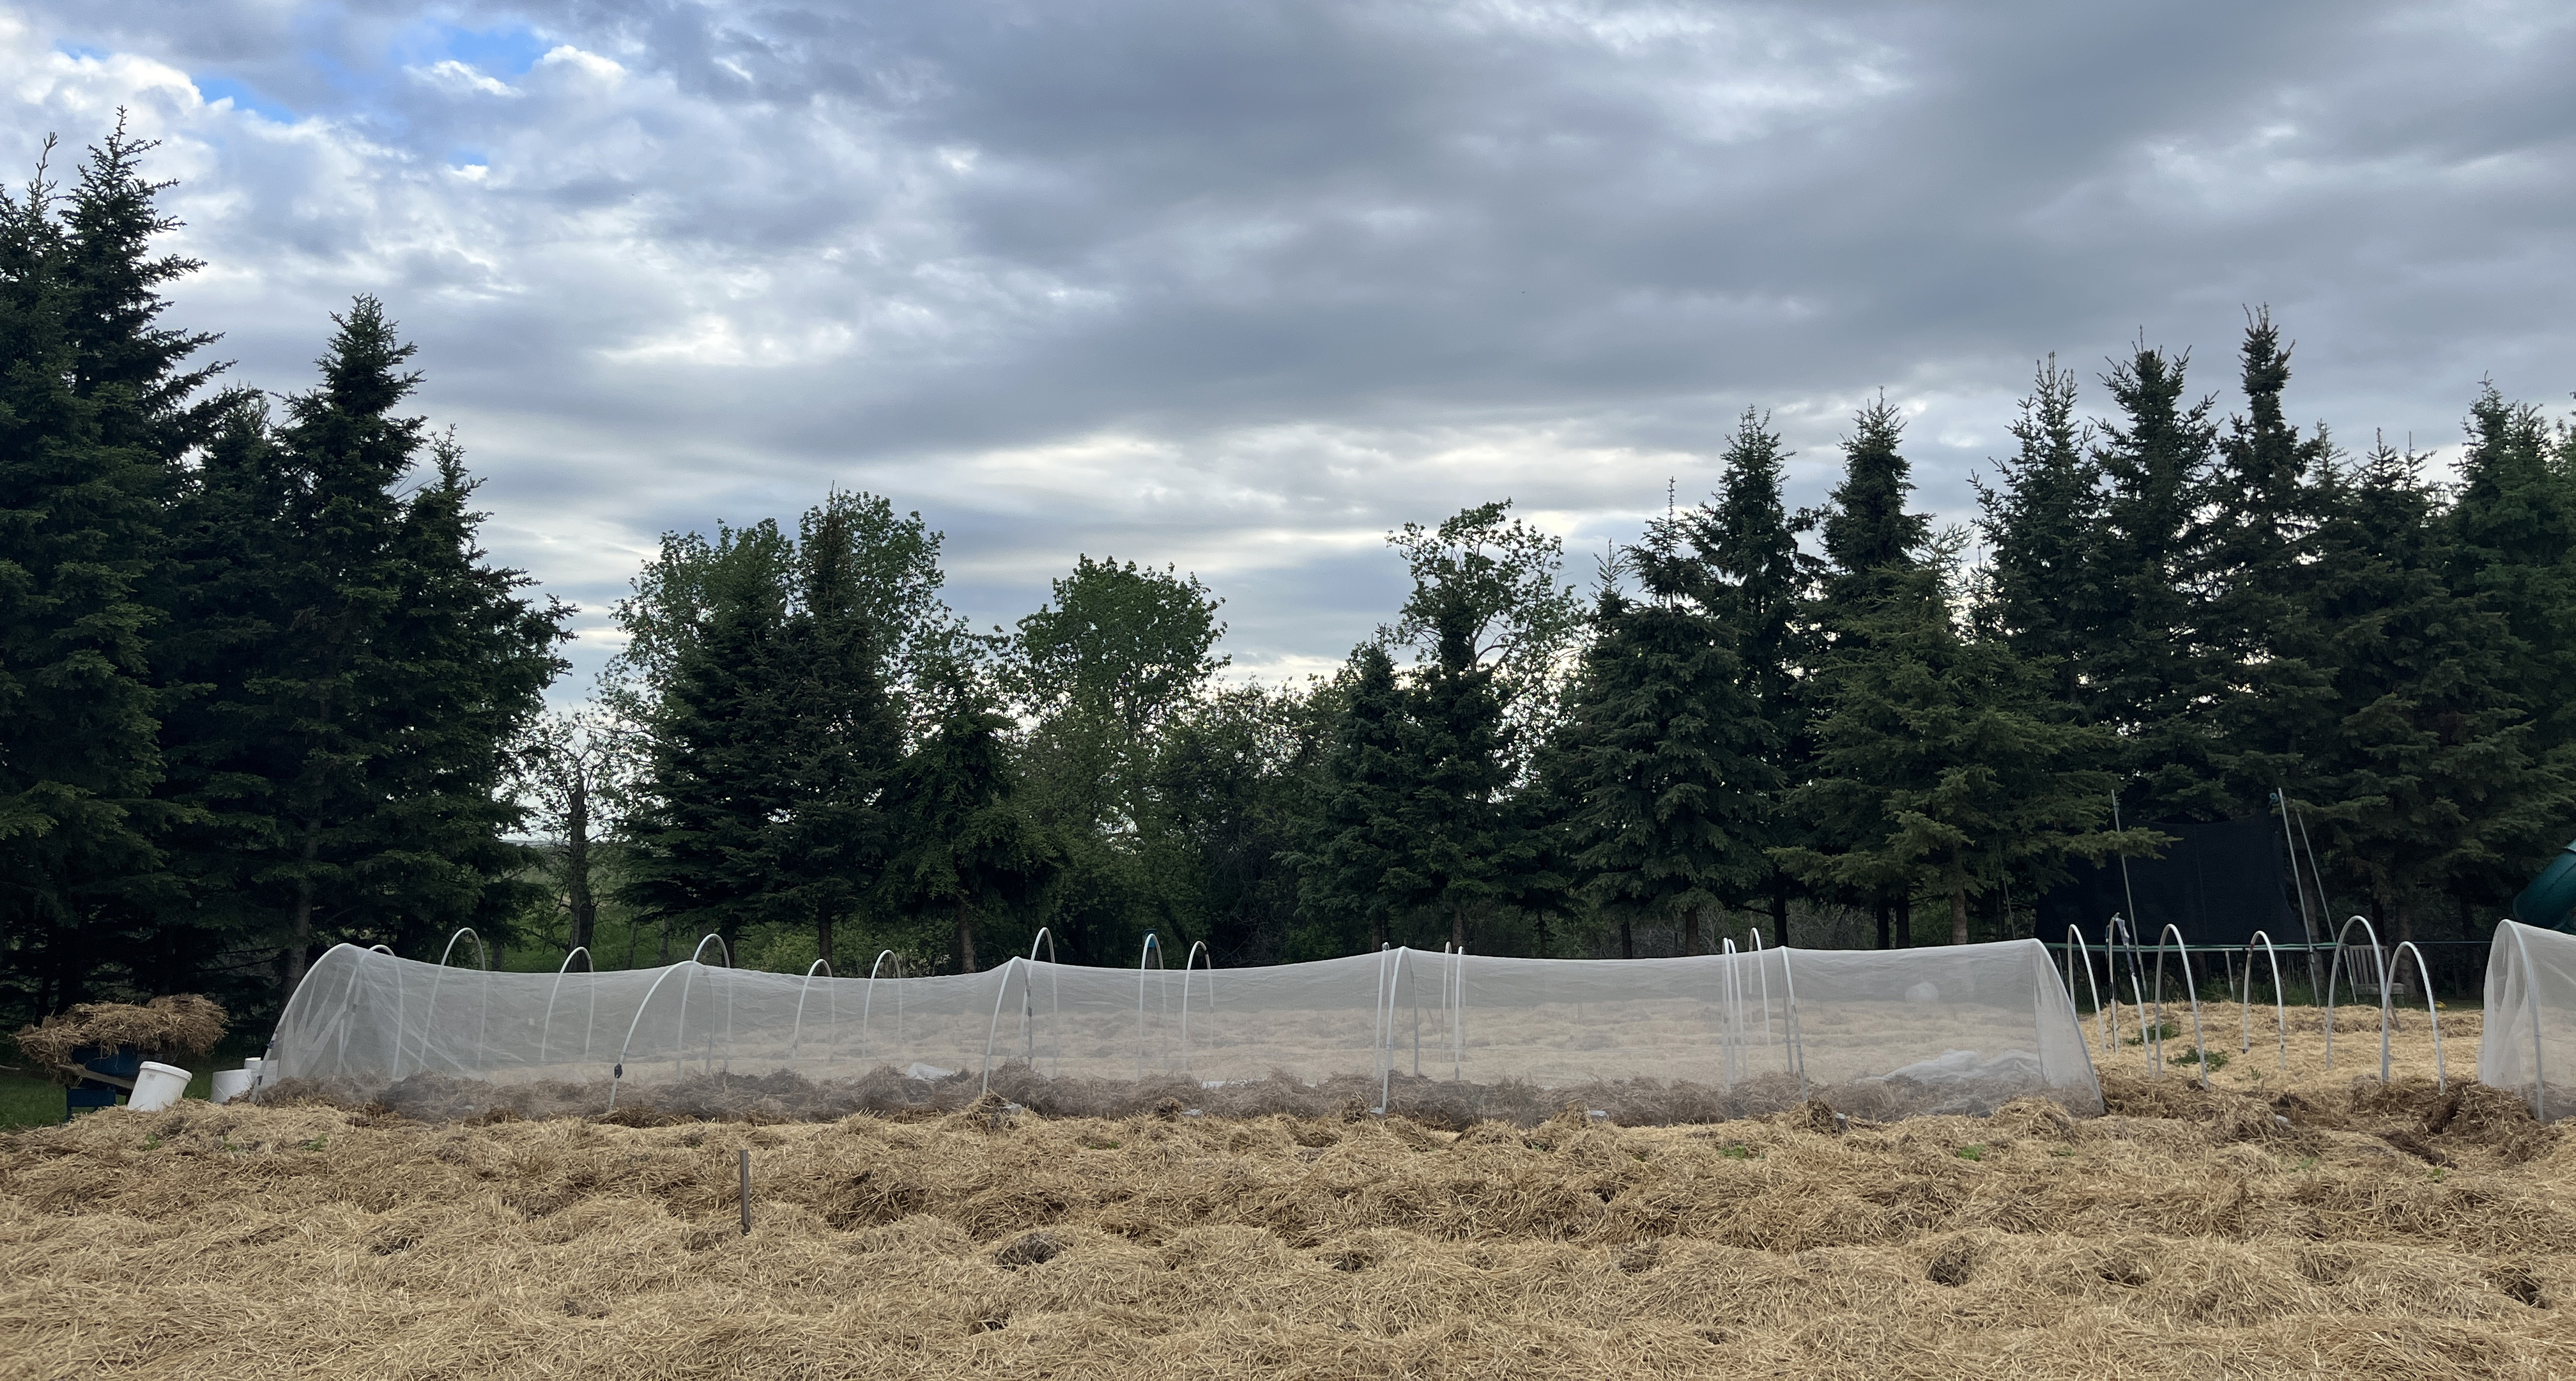
Anchoring down the row cover
The row cover must now be anchored to the ground and the edges covered to prevent insects from gaining entry.
There are multiple ways you can anchor your row covering; from sand bags, pieces of wood and earth staples.
Lay down sand bags, fence posts or other pieces of wood to hold the edge of the row cover down. Cover the edges with mulch to prevent it from blowing in the wind.
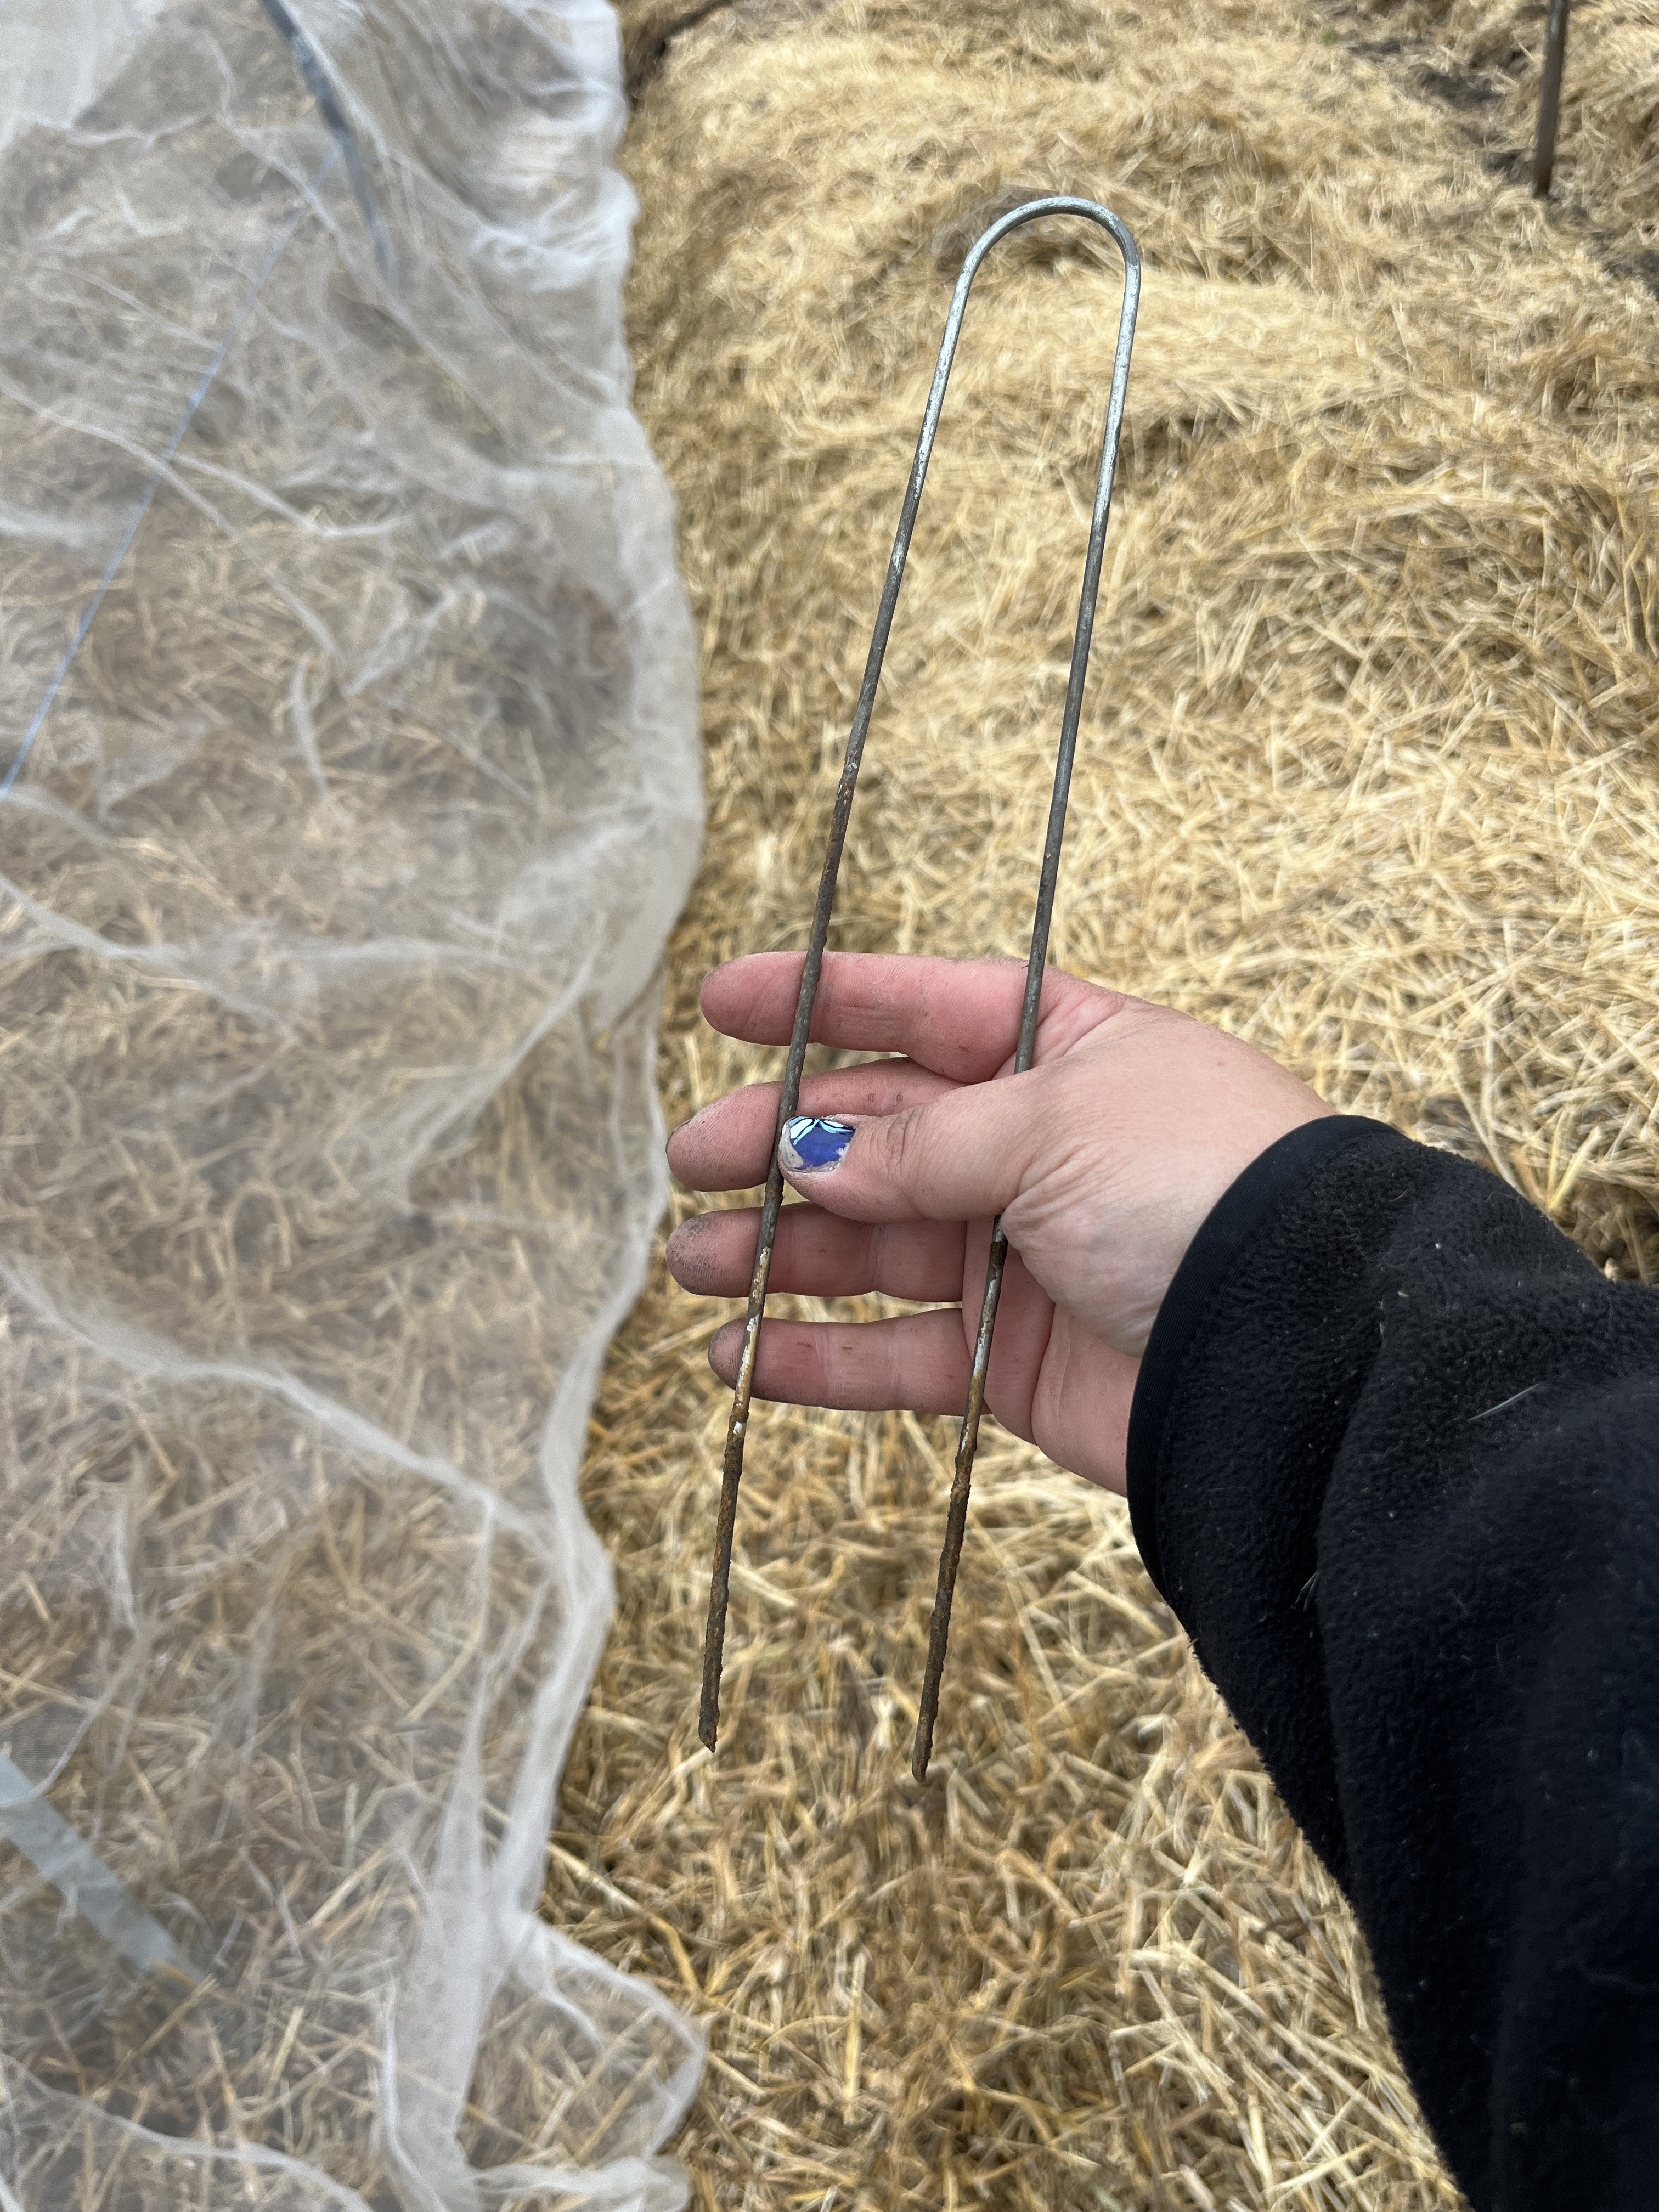
If you are trying to keep insects out, it is imperative to keep the ends tucked down and in tightly. Earth staples work perfectly for this. While they are available at gardening centres, it is easy to make your own using heavy wire and wire cutters. Simply cut about 12" of wire and bend it in half.
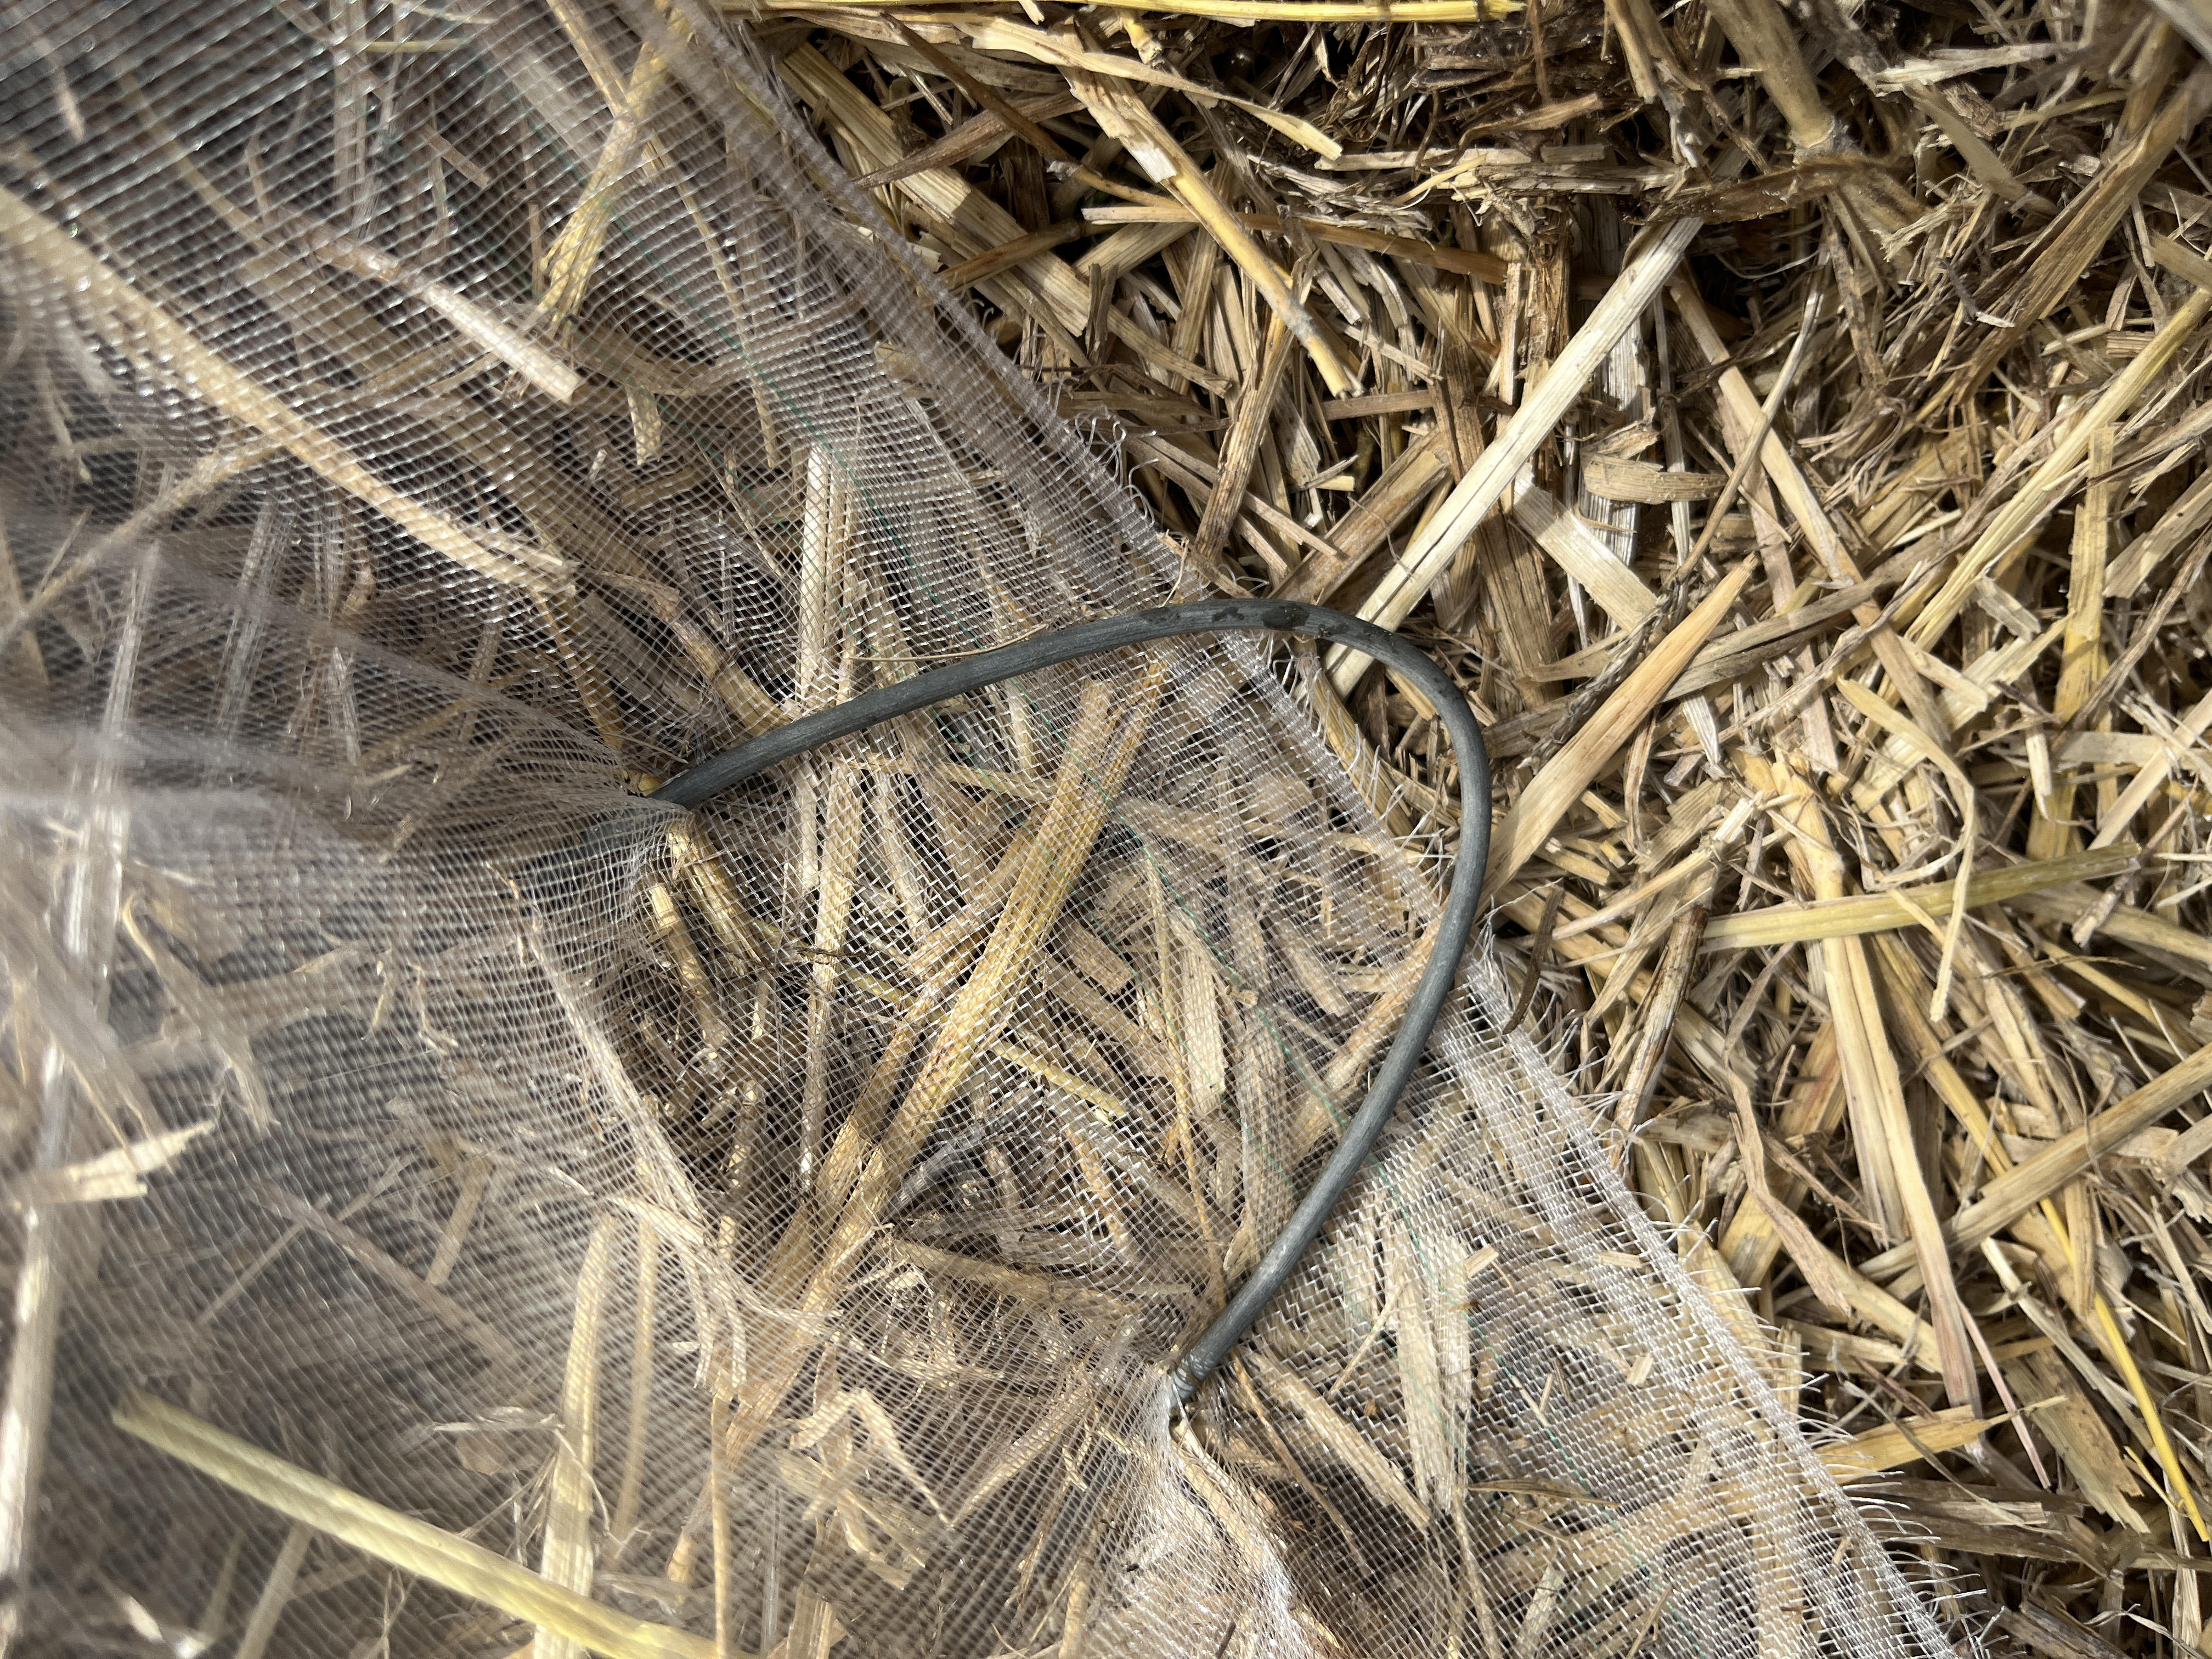
At regular intervals, adhere the row cover using an earth staple, press the staple through the row cover into the earth:
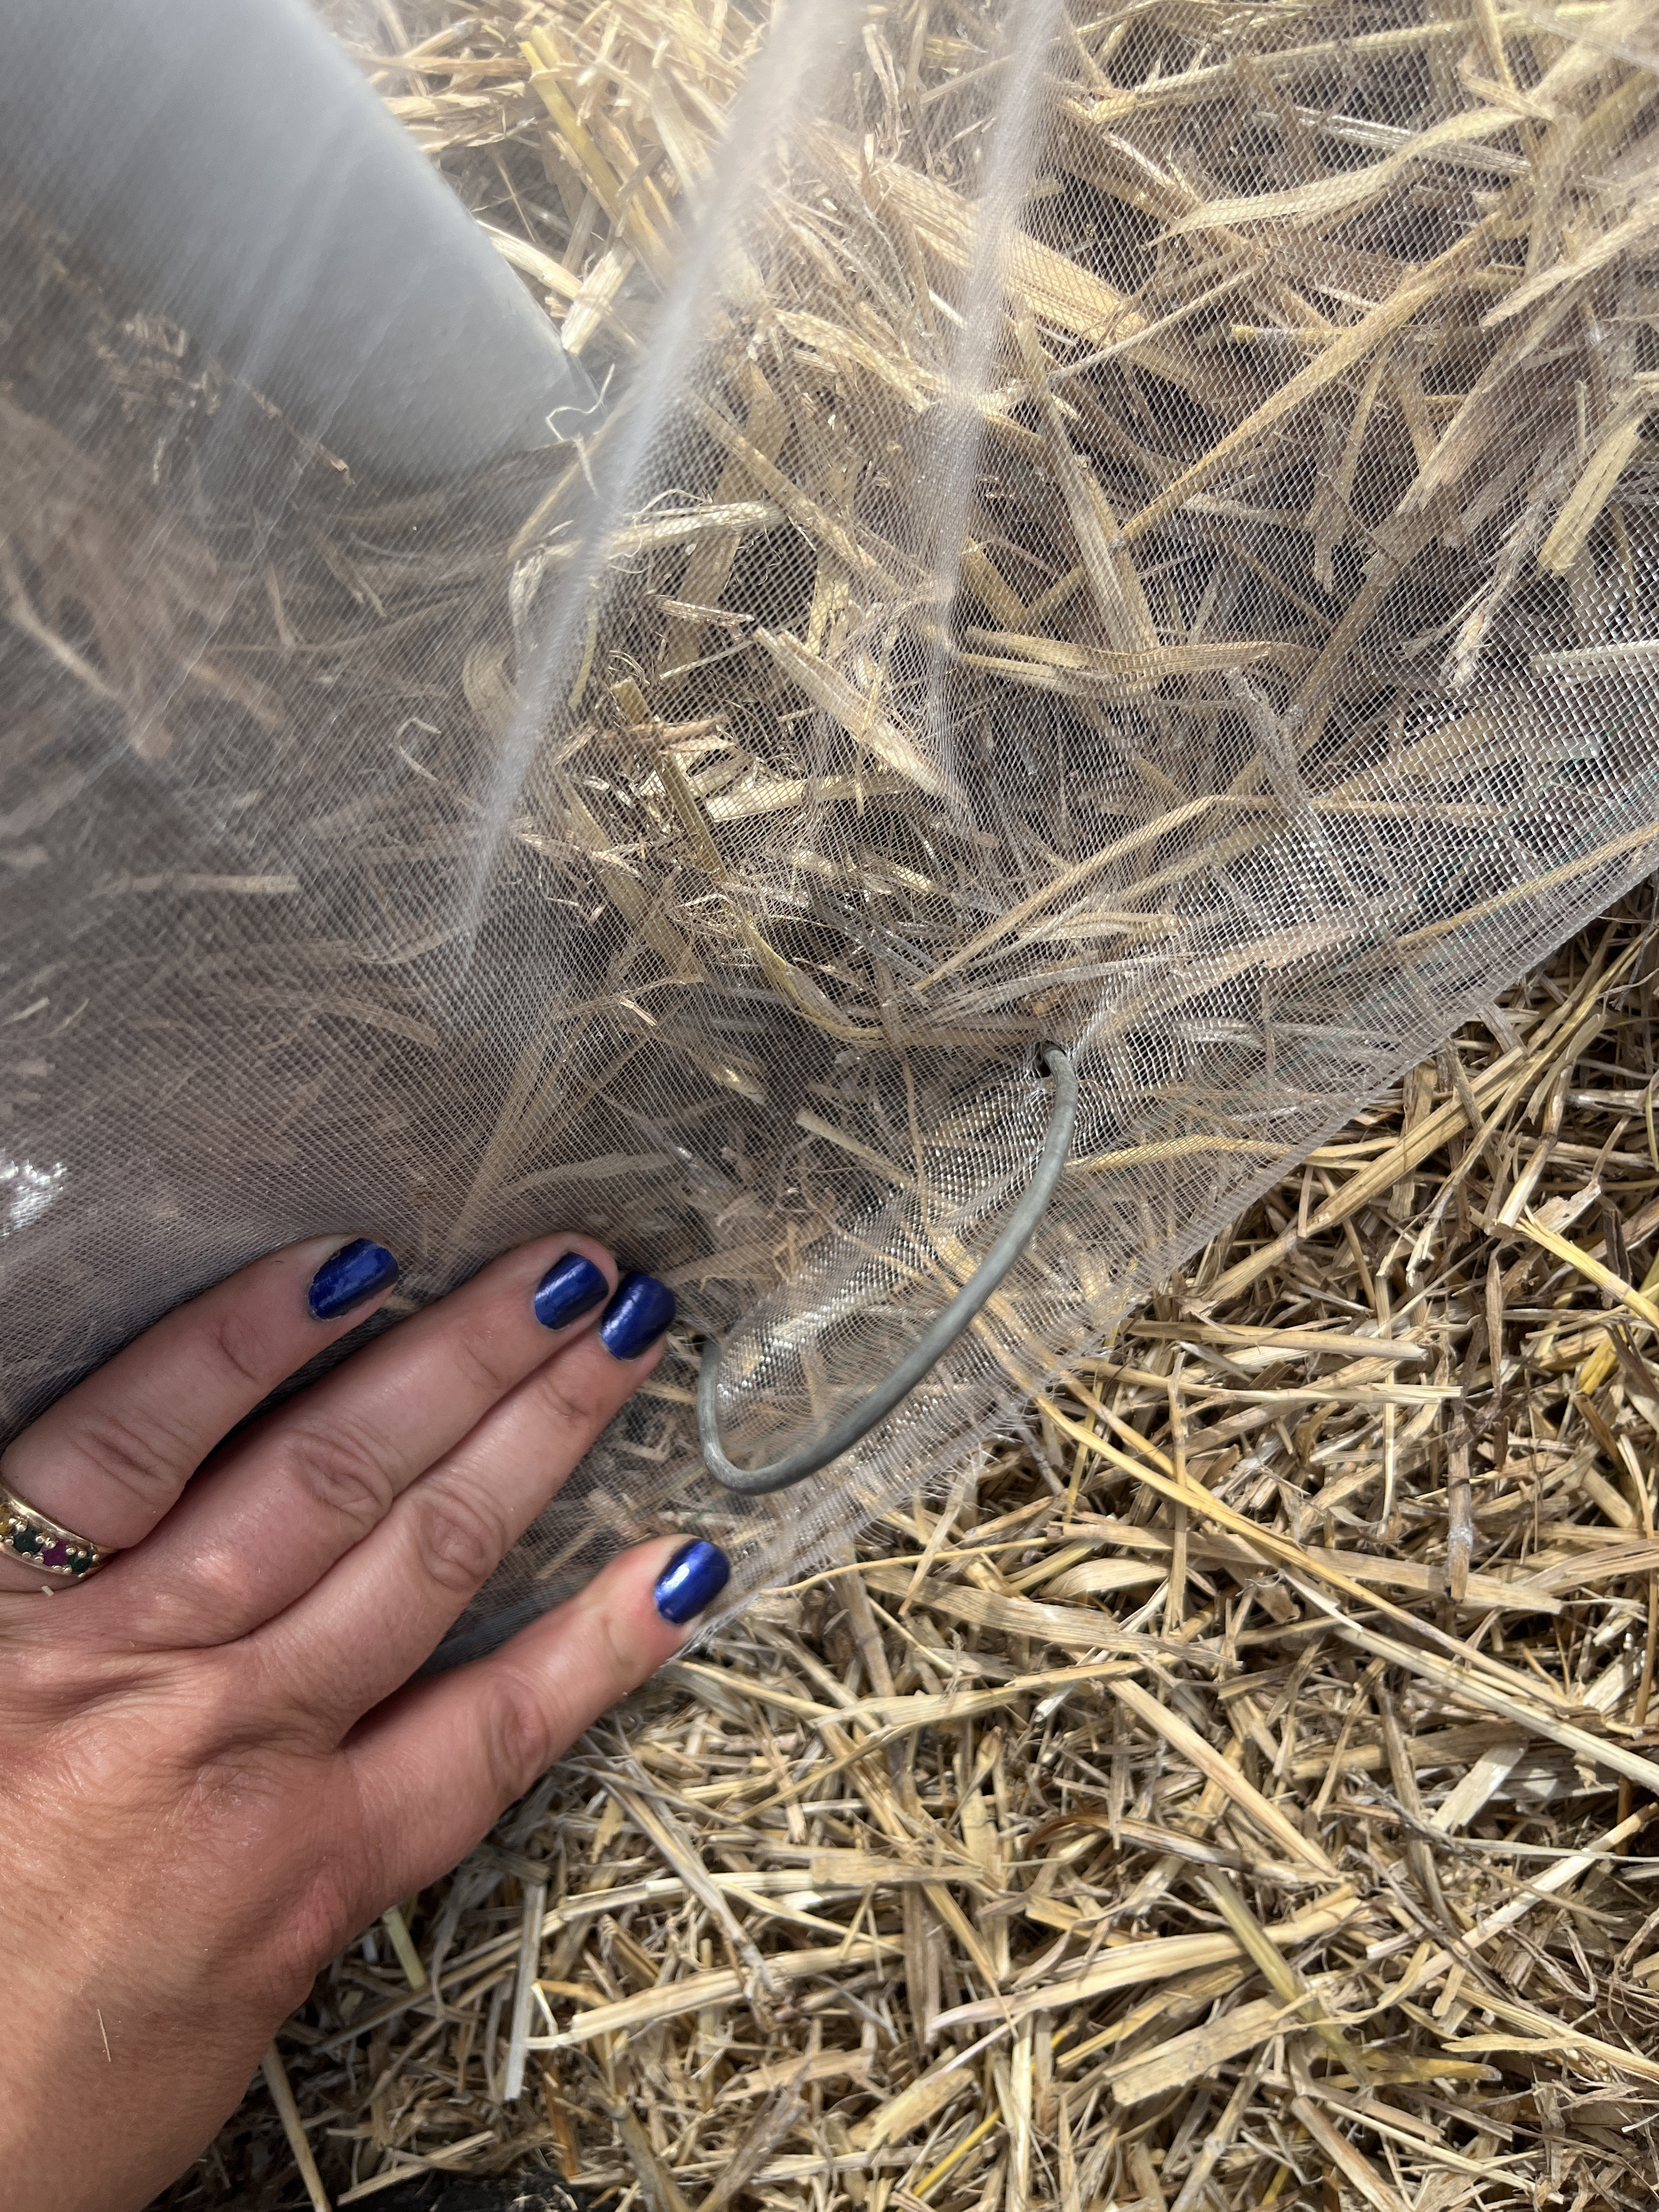
Then, bend over the top of the staple to ensure it can't work it's way out as the row cover pulls on it.
The last step is to cover the entire edge of the row cover with mulch. This will prevent the wind from lifting the edge up and providing entry to insects.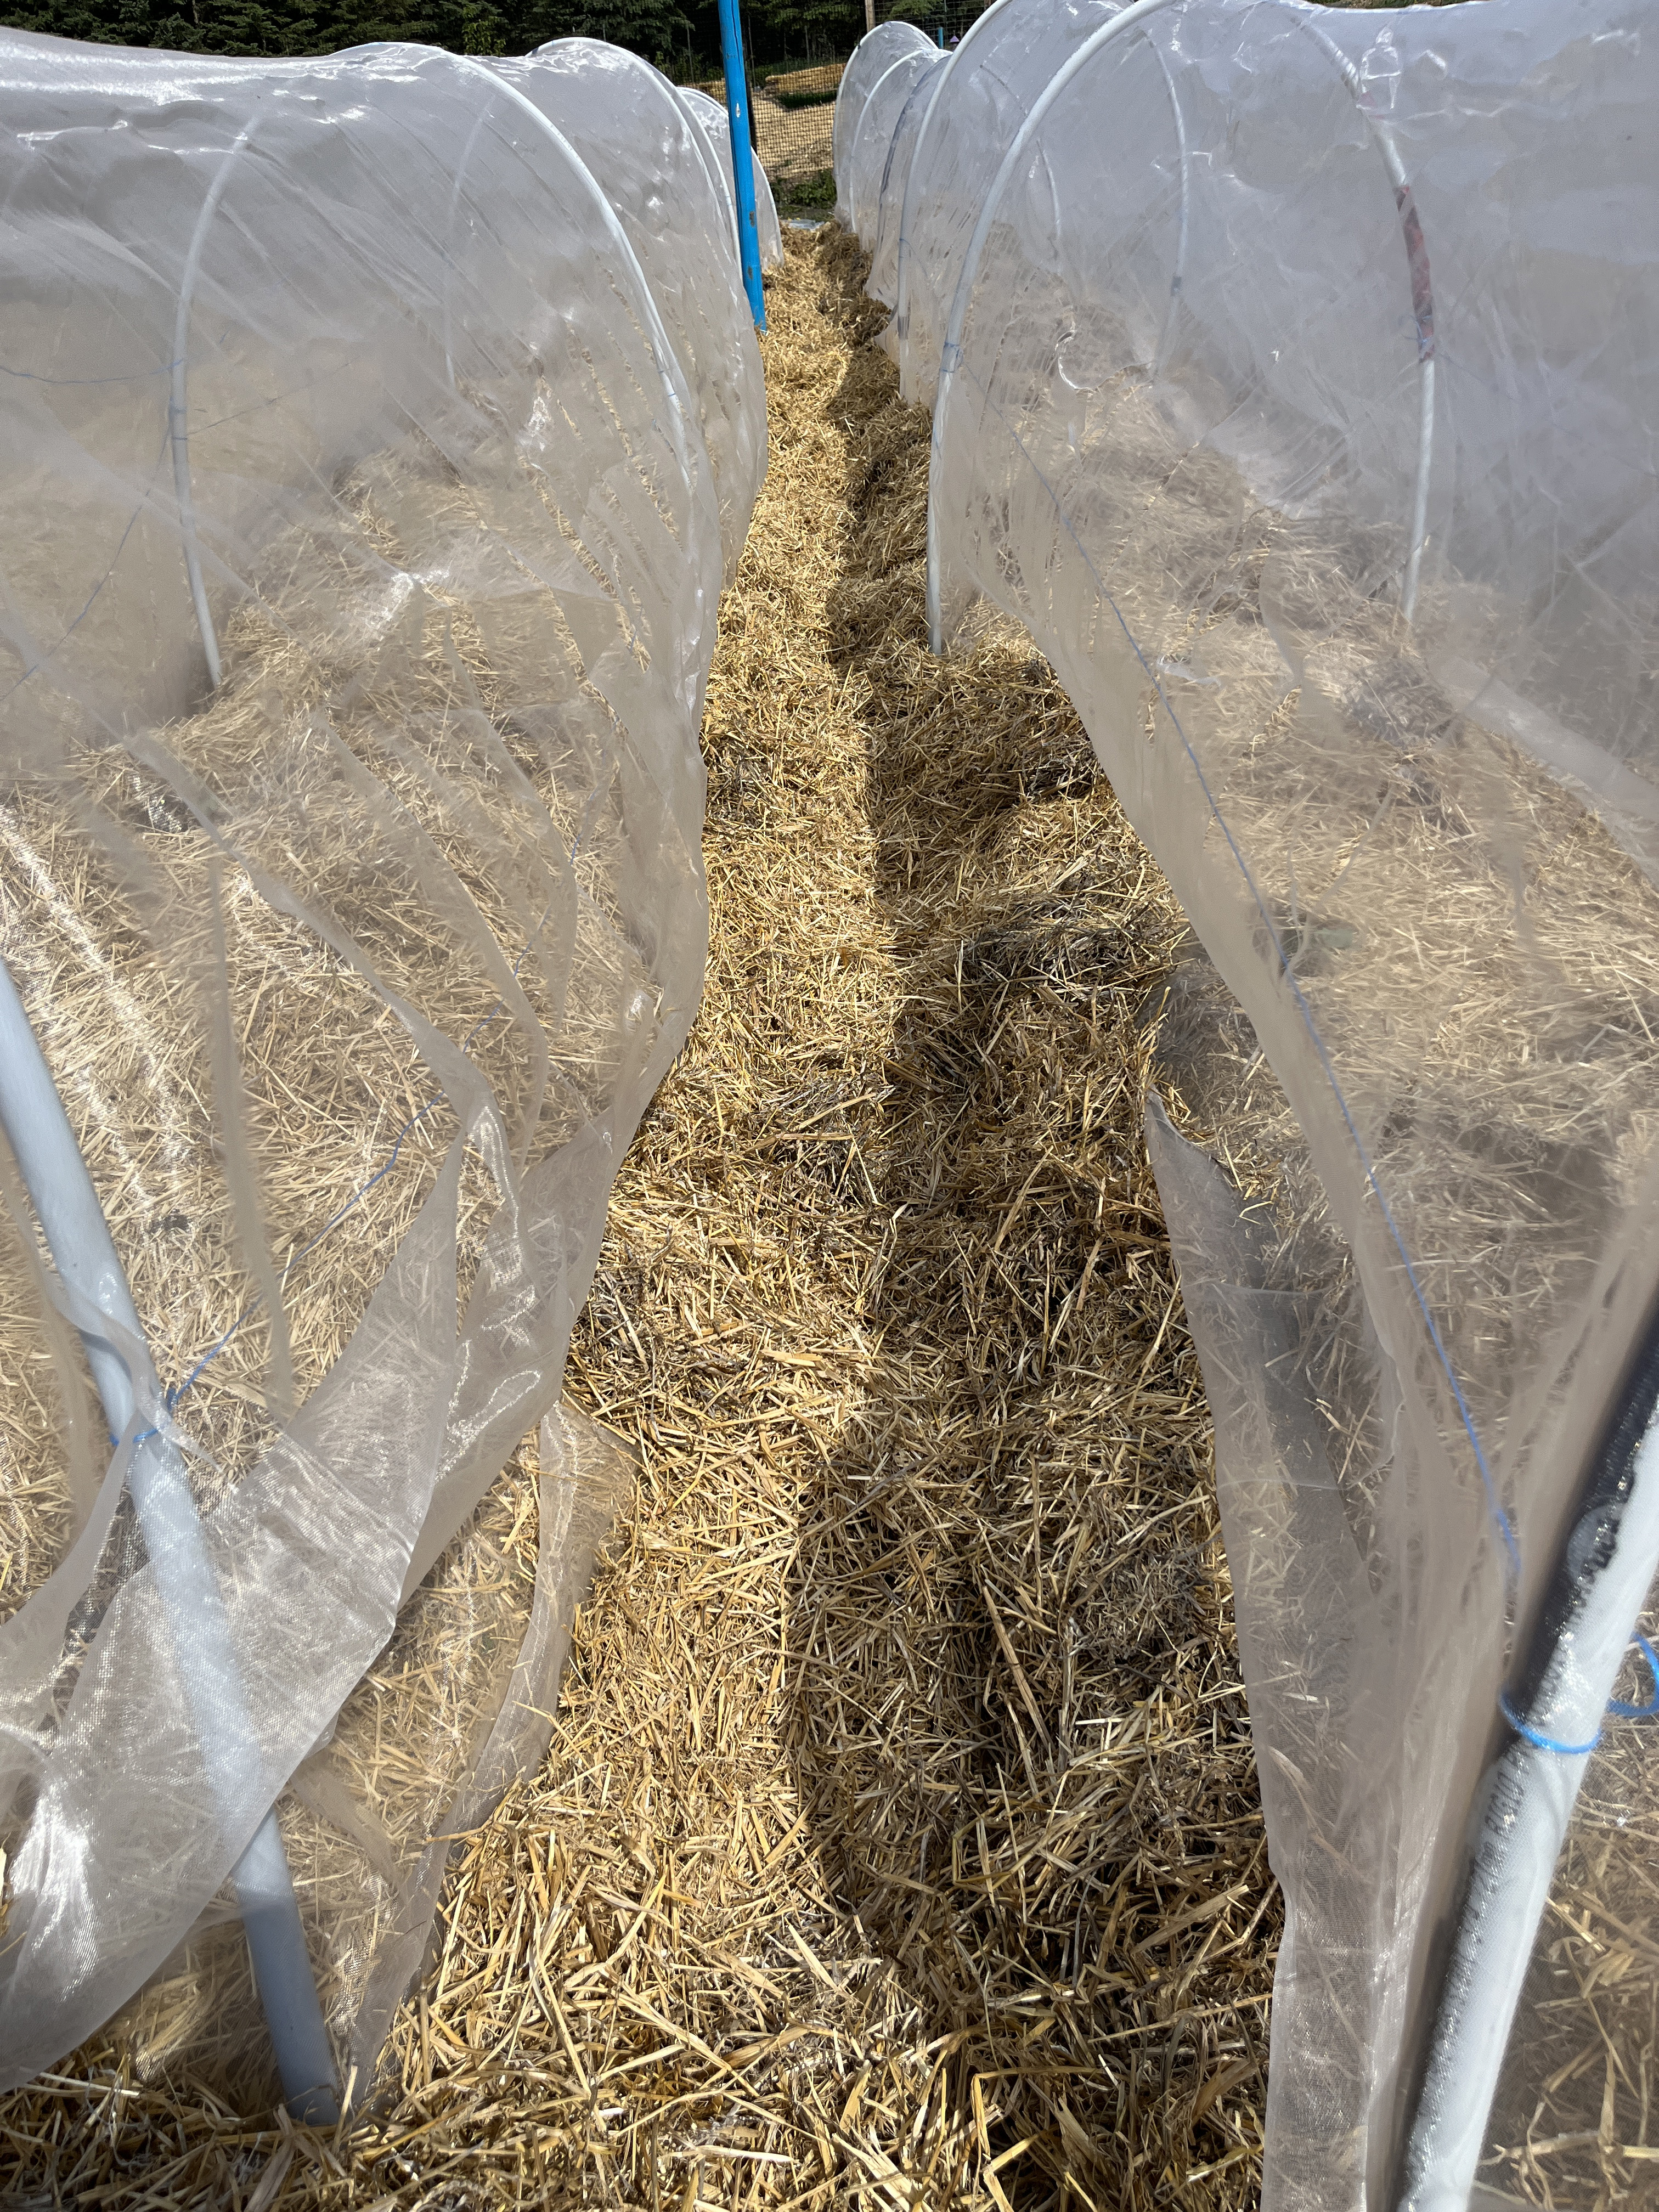
Once your hoops are up, regularly monitor them to ensure the wind has not worked a corner loose! If you are using plastic cover for eggplants or peppers, the plastic will need to be lifted to water the plants as rainwater will not get in to the plants.
When should low tunnels be built?
Low tunnels are used to support row covering that helps the development of some garden vegetables. If you live in a rural area and intend to grow a brassica crop like cabbage, broccoli or cauliflower, you will need to use insect netting. These plants are in the same family as canola and as such are suspectible to the same pests that infest canola. It is best to cover these plants as soon as you transplant them into the garden.
Heat loving plants like eggplants and peppers can be covered with plastic to ensure they maintain the heat units they need to grow to maturity in our short prairie summers. The low tunnels help to hold in heat during our cool prairie nights. In this case, low tunnels should be built and used as soon as these plants are transplanted into your garden.
For low tunnels that hold frost coverings, these are only needed to extend the season. The hoops can be placed in the garden at any time during the summer (prior to when the plants hit maturity is ideal to reduce damage to the plants) and frost covering can be added when the danger of frost is high.