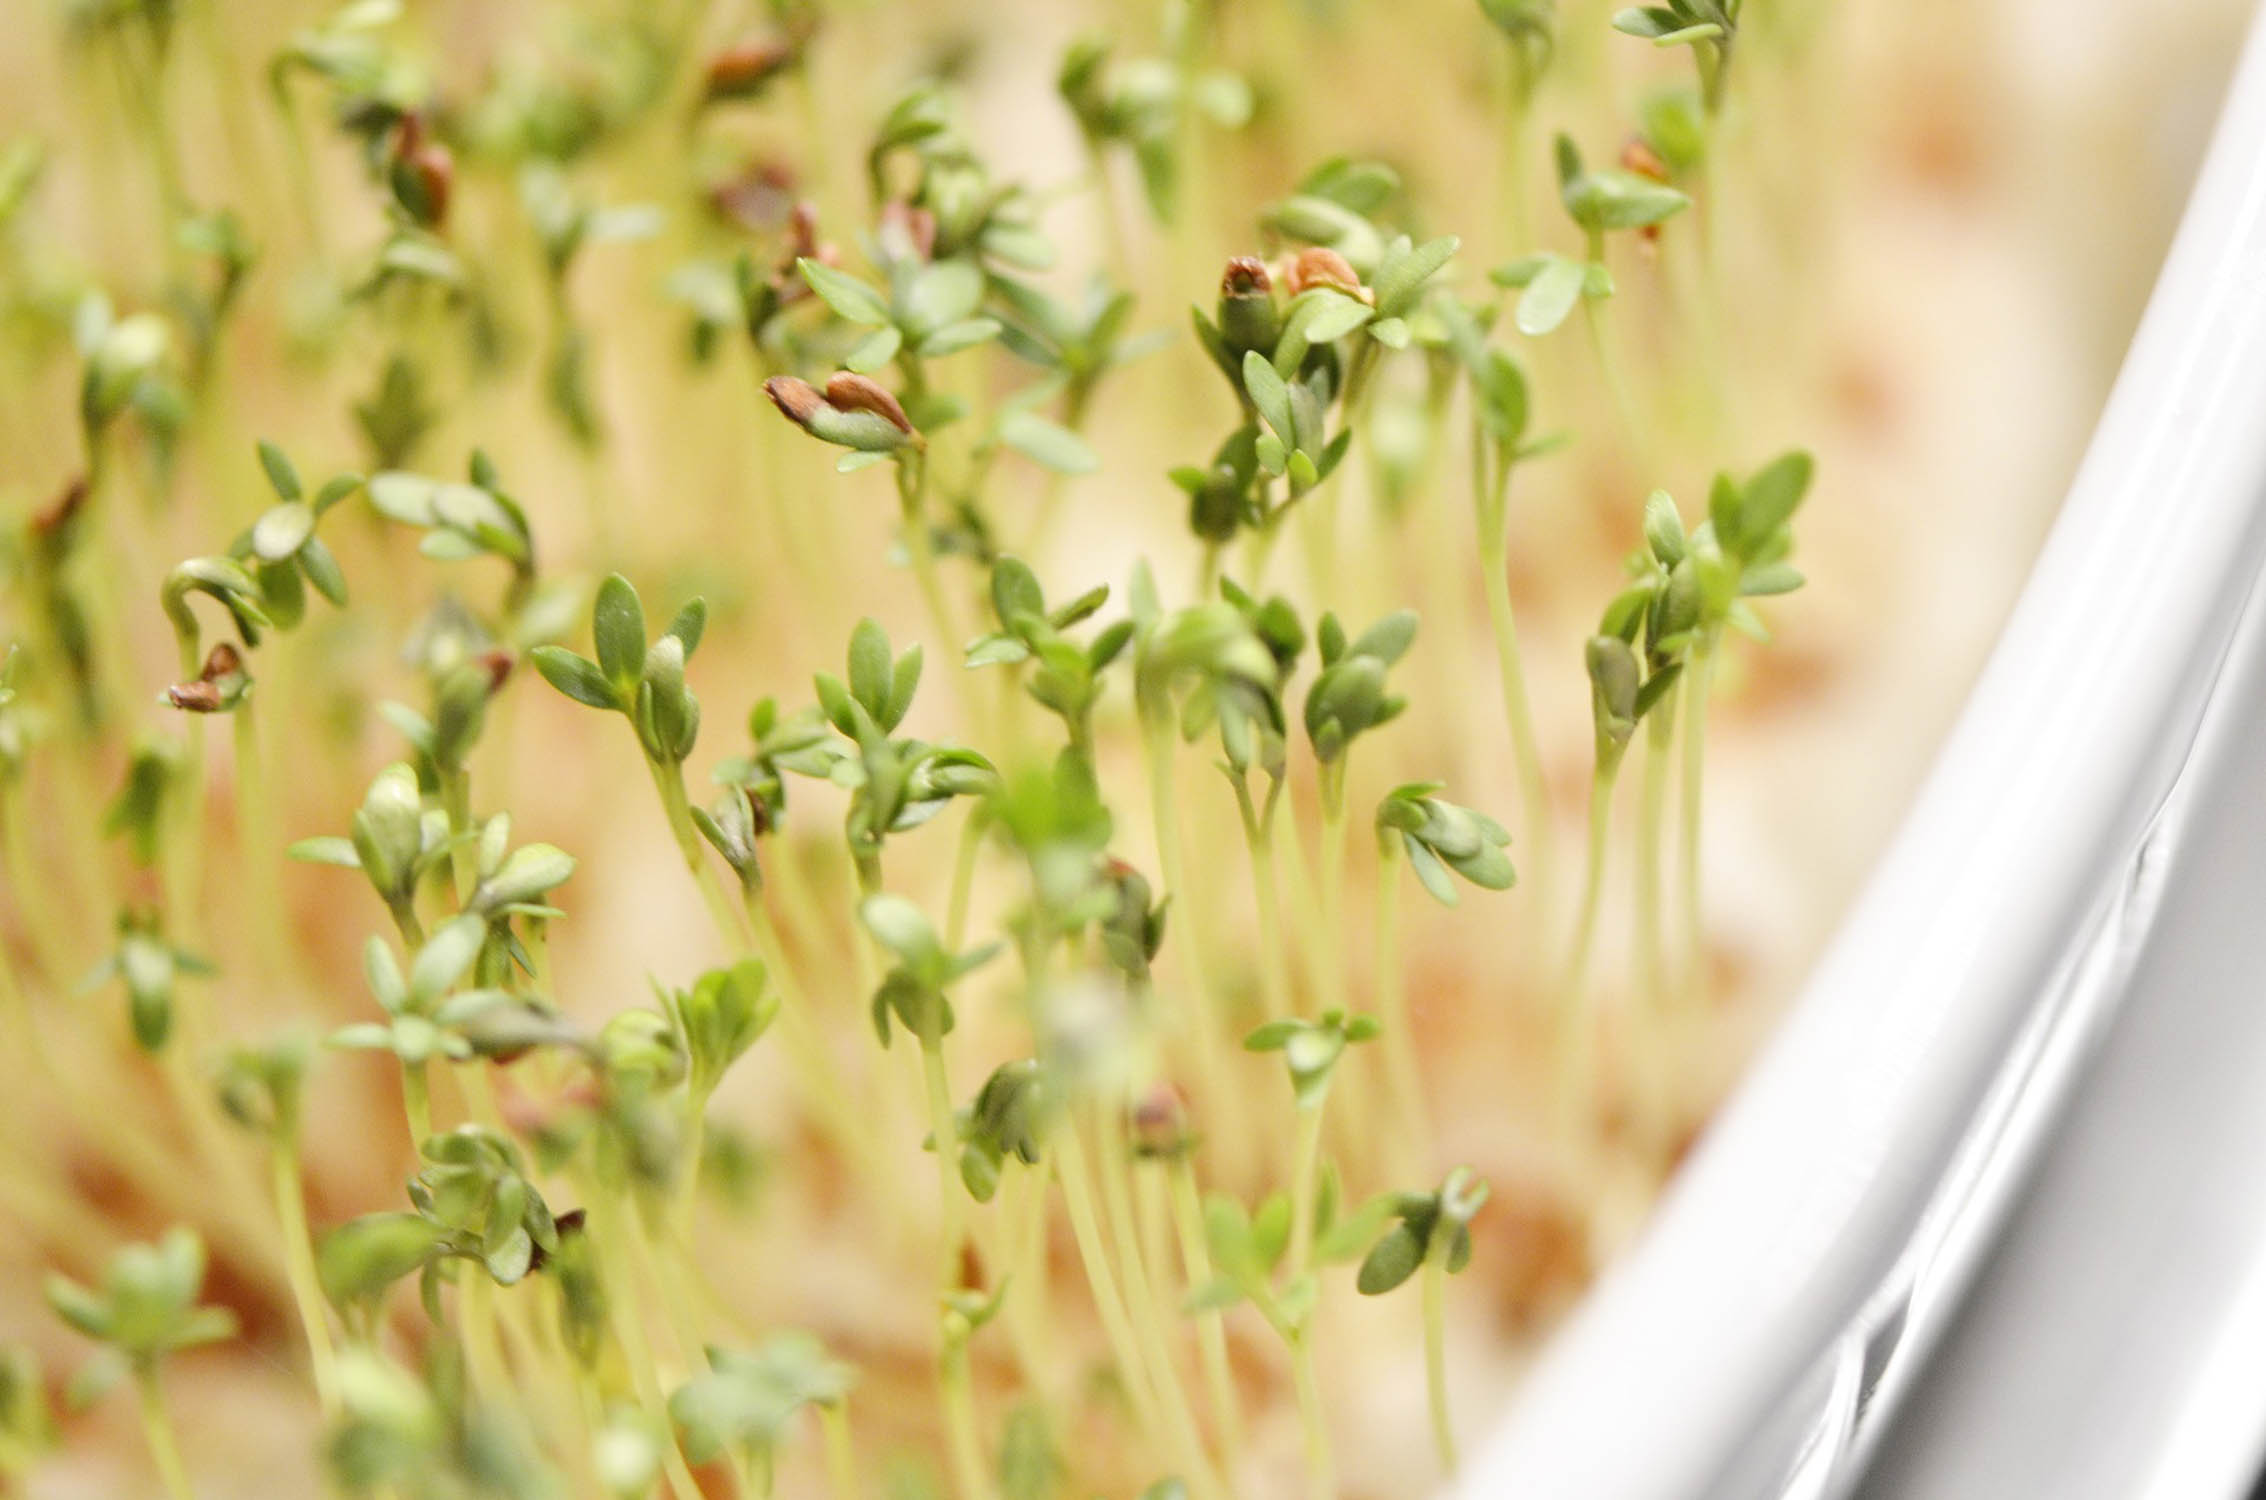
Microgreens
ongoing harvest
Micro-greens are grown in a potting medium. Plants are harvested very young – just after the first true leaves emerge. No fertilizer is needed - each seed contains all the nutrients it needs to germinate and grow. It takes 7 – 21 days from seeding to harvest, depending on the seed you choose. Grow your micro-greens in front of a sunny, south-facing window or use a grow light.
Equipment
- Container: any small, shallow tray with drainage holes in the bottom; re-use any clean styrofoam food tray, pie plate or plastic clamshell container
- A tray or saucer larger than your container to protect your furniture
- Potting medium: select one that does not contain soil – a mix of peat, perlite and vermiculite is ideal
- Seeds
- Plastic wrap or clear, plastic dome
- Spray bottle filled with water
- Scissors
Selecting seeds
Do not use seeds that have been treated with a fungicide. Seeds labelled organic are a good bet but read the package carefully. Check your kitchen cupboard for lentils, chia, beans, peas, quinoa or seeds purchased at a grocery store as food. Types of seeds to try:
- Leafy vegetables: lettuce, beets, arugula, spinach, broccoli, corn, cabbage, celery, chard, kale, peas, beans, radish, lentils, chia, quinoa
- Herbs: basil, chervil, coriander, cilantro, dill, parsley, mustard, sorrel
How to plant
- Use scissors or other sharp tool to make drainage holes in the bottom of your container.
- Moisten the potting medium if needed. It should feel barely damp.
- Carefully spread a 1” - 2” even layer of potting medium into the container. Gently pat the surface to remove any air pockets. Take care not to compact the potting medium.
- Select your seeds. Large seeds like peas, beans and lentils benefit from soaking overnight in a cup of water before planting.
- Sprinkle seeds on the surface of the potting medium. Gently pat seeds onto the surface. Use about 10 small seeds for every square inch of surface. If using large seeds, sow a bit thinner and press a bit deeper into the potting medium.
- Place the container on top of a larger tray or saucer to protect your furniture.
- Mist the tray until just damp. Do not soak with water.
- Lightly drape a layer of plastic or place a dome on top of the planting container. Seeds need high humidity to germinate.
- As soon as the seeds have germinated, remove the dome or plastic wrap and move in front of a sunny, south-facing window.
Caring for micro-greens
- If you see water droplets inside the dome or plastic wrap, remove and let it air out.
- Check your container every day. Potting medium looks dark when it is wet. Do the touch-test: it should be damp to the touch.
- If soil is dry, either mist or water from the bottom. (Another reason you need a tray!) Don’t let your container sit in water for more than 20 minutes.
Troubleshooting guide
|
Micro-greens are turning yellow or are leggy and long. |
Not enough light. Move to a sunnier location or use grow-lights. |
|
Dead leaves on plants. |
Not enough water. |
|
Fuzzy mould growing on micro-greens or the stems are turning black and falling over. |
Fungal disease. Discard (put in your compost) and start over with fresh potting medium.
Causes:
|
Harvest
The first leaves are called “seed leaves” or cotyledons. The second set of leaves are “true leaves”. Both are edible. Once your micro-greens have their first true leaves and are at least 1” tall, they are ready to harvest.
Cut your micro-greens using sharp scissors just above the soil line. Lightly rinse with water and dry before using. Use immediately or wrap loosely with a piece of paper towel inside a plastic bag or other container. Store in the crisper drawer of your fridge.
Fun ideas for kids
- Let kids choose what to grow. Try growing catnip for the family cat.
- Popsicle sticks make great labels for your container. Decorate using crayons or markers.
- Decorate the outside of the container before planting.
- Pretend your micro-green container is a tiny forest and make up a story about it.
- Take a picture of your micro-greens with your cell phone each day. See how much your crop has grown since it was seeded.
- Little kids love to harvest. Let them practice their scissor skills using blunt scissors.
- Make a Green Speckled Omelette: Use a plastic knife to finely chop a small handful of tender micro-greens like parsley or spinach. Use a fork to scramble one egg and one tablespoon of milk using in a deep bowl. Stir in the micro-greens. Microwave on high for one minute or until fully cooked. Serve with ham.
Source
http://veg.usask.ca/wp-content/uploads/Microgreen-Production-Trials.pdf
