
Note: Each section on this page contains multiple topics. Click on the tabs for more information.
- Peas are one of the easiest vegetables to grow in your garden.
- Peas are a cool season crop that can tolerate cooler temperatures. Peas can be planted in early spring, as soon as the soil temperature is 10°C.
- Plant peas every 2 weeks until mid-June to spread out your harvest.
- Peas are good grown as a microgreen.
- In addition to being good to eat, peas are good for your soil too. Peas fix nitrogen from the atmosphere in nodules in their roots through a mutually beneficial relationship with a soil bacterium called Rhizobium. If the roots are left intact to decay in the soil after harvest, the nitrogen is released into the soil to benefit the vegetables growing there the following growing season.
Peas belong to the Fabaceae family (sometimes referred to as legumes). The Fabaceae family includes peas, beans, soybeans, lentils, peanuts and others.
Fabaceae plants have the unique ability to fix nitrogen from the atmosphere in nodules in their roots through a mutually beneficial relationship with a soil bacterium called Rhizobium. In return, the plant supplies energy to the Rhizobium. If the roots of Fabaceae plants are left to decay in the soil after harvest, the nitrogen is released into the soil which will benefit the vegetables growing there the following growing season.
Since Fabaceae plants share a common ancestor, they all have very similar growing needs and are prone to similar problems.
While they are quite similar, there are some key differences, so to ensure best success we've broken these into separate articles for easier instruction.
Peas are high in vitamins A, C, K, B6, thiamine, fibre and protein. Check here for detailed information from the USDA National Nutrient Database for Standard Reference.
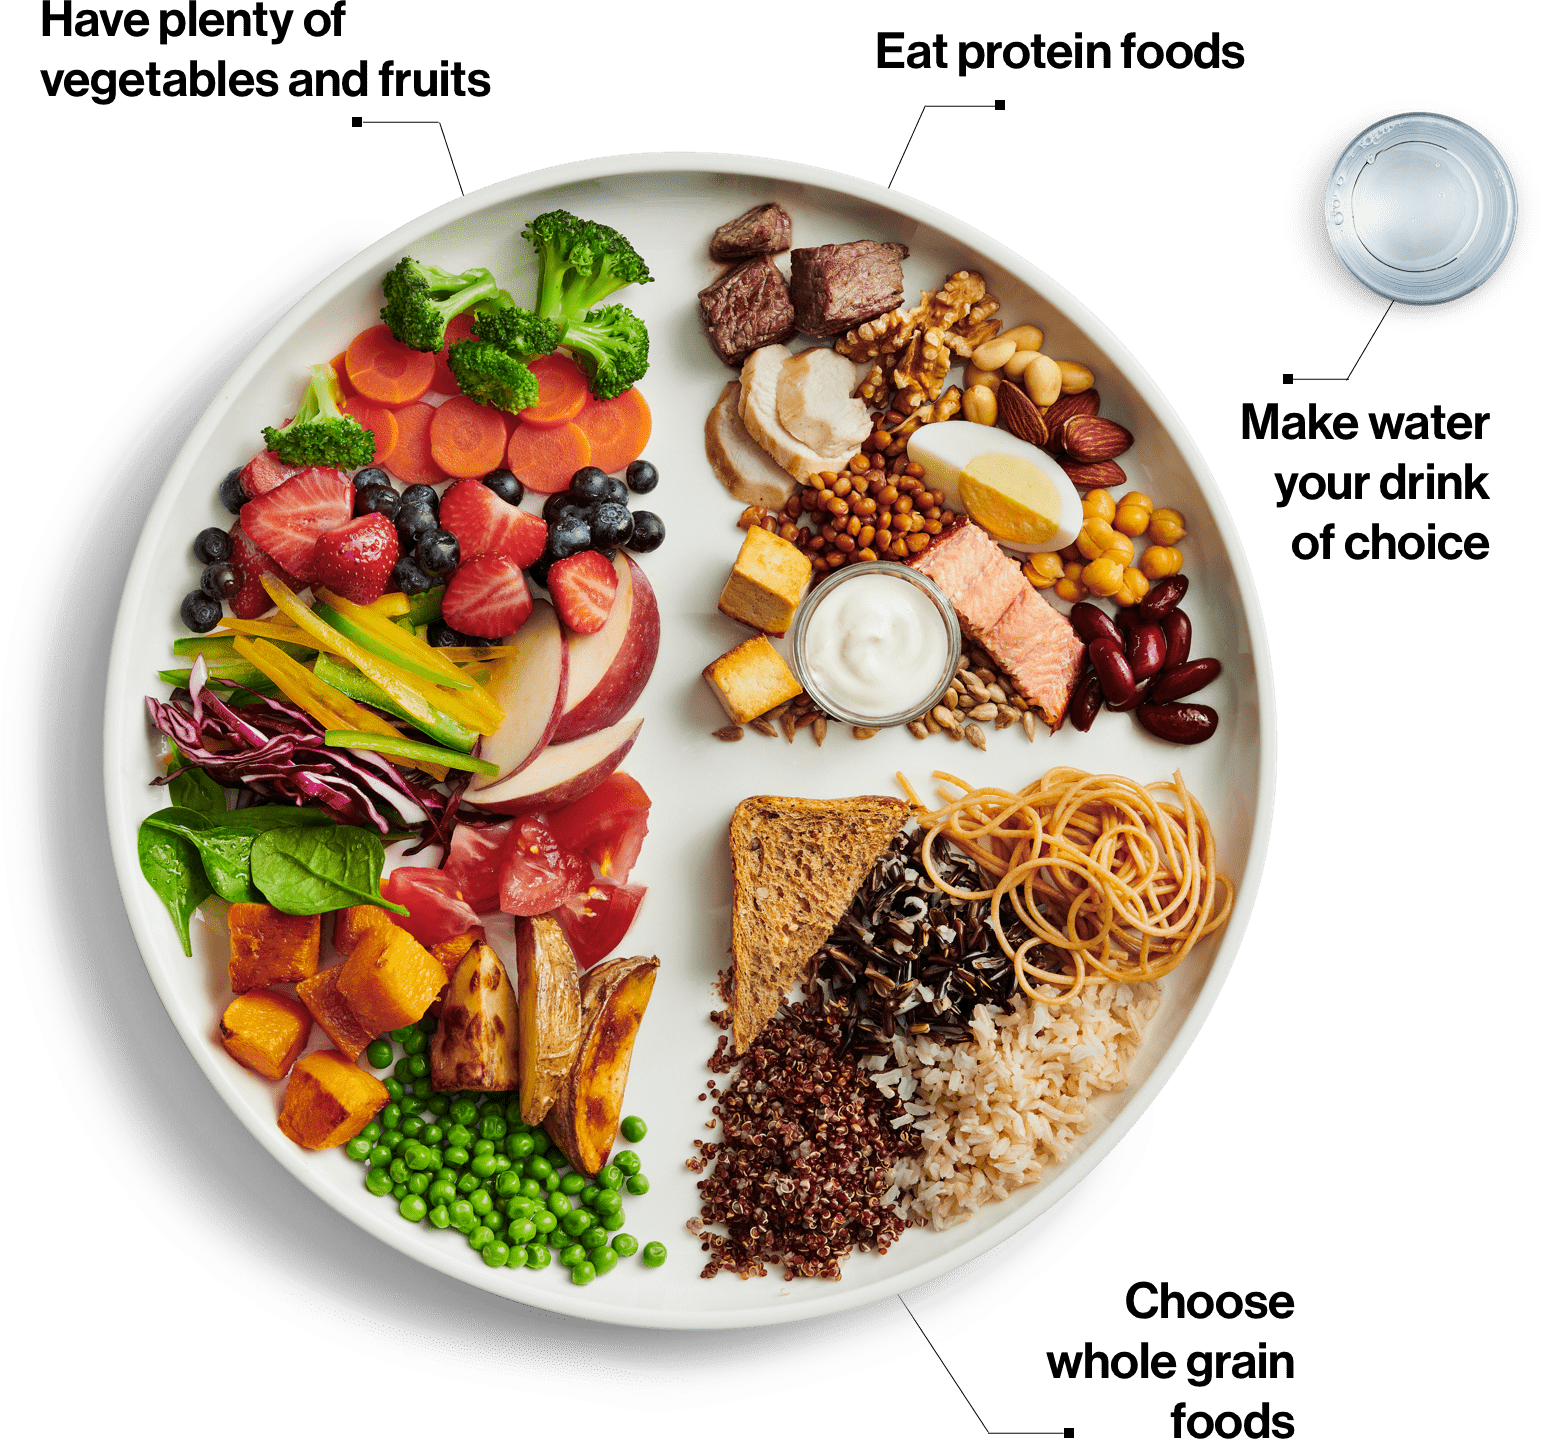
The Canadian Food Guide recommends that roughly half of the food on your plate should be fruits and vegetables.
Growing outdoors
Click on the tabs above for more information!
Peas prefer to grow in a sandy, sandy loam or loam soil with good drainage.
Peas need full sun for best growth. They can tolerate some partial shade but you'll get less yield. They are not suitable for very shady areas.
Peas are best grown outdoors in the ground, either in raised beds or unraised/ground level gardens if the soil is suitable. They can also be grown outdoors or indoors in containers (details below). They are not typically suitable for most hydroponic, straw bale, or other alternative growing methods.
Peas are also an excellent microgreen.
Peas should be direct seeded. Transplants are not recommended.
The timing of planting should coincide with your frost-free dates. We've given suggested dates below, but you can adjust these to your local conditions. Peas can tolerate cooler temperatures and can be sown 1 - 2 weeks before your last expected spring frost date as long as your soil is at least 10°C.
- Knowing the last expected spring frost date for your location will help you plan when to sow seeds. The date is based on averages and varies according to where you live – it is as early as mid-May for Saskatoon, Estevan and Swift Current, SK, while Yellowknife is May 30 and the Moosonee region in Manitoba is June 10. Find the date of the last spring frost at this link: https://climateatlas.ca/map/canada/lastspring_baseline# Click on where you live on the map.
In general peas take about 56 and 80 days from seed to harvest, depending on the cultivar. This is usually listed as "days to maturity" on the seed packet.
- Saskatoon has around 130 frost-free days throughout the spring and summer for plants to grow. In Yellowknife, you can expect around 111 frost-free days. Check your seed package for your days to maturity or days to harvest information and compare it with your local average frost free days.
- The frost-free season is the total number of days (on average) when there is no frost. It starts on the date of the last frost in spring and ends on the date of the first frost in fall. To find out the length of the frost-free season where you live, click on this link and find your location on the map: https://climateatlas.ca/map/canada/ffp_baseline#
- Note that these are current estimates and we expect our growing season to get warmer, longer, and drier as our climate continues to change.
Timing
- Peas are best planted from seed. Peas can tolerate cooler temperatures and will germinate in about 14 days when the soil temperature is between 5 - 10°C. At 15°C, peas germinate in about 9 days.
- If the soil is colder than 5°C, seeds may rot.
- You can seed early and do successive plantings every 2 weeks until mid-June to spread out your workload and your harvest.
- However, later maturing peas will be more susceptible to powdery mildew. (grow mildew resistant cultivars)
Planting instructions
- There is no need to soak peas before seeding but do water seed areas well after you plant.
- Pre-soaked pea seeds planted in cool (under 10°C), moist soil may rot.
- If you soak seed and then plant into dry soil, germination will be poor.
- Plant seeds 2.5 - 5 cm deep (or as directed on the seed package) into moist soil about 5 - 7 cm apart in rows about 45 cm apart. Thinning is not needed.
- Install trellis for tall varieties.
- Shorter, bush varieties also benefit from some support such as chicken wire or brush clippings inserted in the soil.
Don't forget to label what you planted. It's also helpful to draw a map to help you track planting locations and success each year. This information is critical if you're rotating your crops to help prevent insect and disease issues.
There is lots to choose from when selecting pea types. Some peas have a tall, vining growth habit and do best with some support like a trellis. Bush varieties are shorter.
Shelling peas are harvested for the large seeds inside the pod and the pod is discarded. With snap peas (sometimes called sugar snap peas) the entire pod and seeds are eaten. Snow peas have a thinner pod and tiny seeds, all of which is eaten.
Cultivar recommendations:
- Here are cultivar recommendations from the North Dakota State University Cultivar Trials, as they share a similar prairie climate and soils. You may download their list here: North Dakota State University Vegetable Cultivar Recommendations for 2021
-
- Shell: Early Frosty, Green Arrow, Knight, Lincoln, Little Marvel, Maestro Improved, Wando.
- Snap: Sugar Ann, Super Sugar Snap.
- Snow: Oregon Giant, Oregon Sugar Pod II, Sweet Horizon.
-
- The following cultivars are recommendations from the University of Saskatchewan vegetable program field trials which were conducted from 1989 through 2016.
- Snap: Bolero, Dalvay, Eclipse, Freezer 69, Galena, Maestro, Maxigolt, Novella, Novella Improved, Olympia, Penelope, Straight Arrow, Wando
- Snow: Little Sweetie, Oregon Giant, Oregon Sugar Pod II, Nori, Sugar Ann, Sugar Lace
Actively growing peas prefer 2.5 cm moisture/week in well-drained soils. Water is especially important during and after flowering. Dry soil will reduce yields.
Apply mulch around plants to keep soil evenly moist and to reduce weeding.
Peas are not suitable for fall seeding.
Peas are a cool season crop that do well in the north. Select early maturing varieties (less than 55 days to maturity) for best results.
Peas grow well in the far north on raised beds, which is simply a mound of soil higher than the natural grade, which may be framed or unframed. Raised beds tend to warm up faster than level ground in spring which enables you to sow seeds earlier.
Once the snow has melted, lay a sheet of clear plastic on top of the soil to warm the soil. Studies show that clear plastic works better than black plastic to warm soil. Be sure to anchor the edges so the plastic does not blow away. Remove the plastic before planting.
Loading...
See our preservation section for more videos.
Peas are excellent grown as a microgreen.
Loading...
Growing in containers
Click on the tabs above for more information!
Peas can be grown in a container outdoors or indoors (with supplemental lighting).
Select a large, deep container with drainage holes in the bottom. Keep seeds moist until they germinate. Thin seedlings to avoid overcrowding the pot - check seed package for recommended spacing. Provide a trellis for taller peas.
See: Vegetable container gardening
See our Growing indoors page for detailed growing advice.
Any of the recommended cultivars would work in a container. If you choose a tall cultivar, provide a trellis for support to grow vertically.
Saving seeds
Click on the tabs above for more information!
Seeds are expected to be shelf-stable for one year from date of sale if purchased from a reputable retailer. If you wish to save your seeds beyond that, you should store them in the fridge in a sealed jar. Seeds lose viability quickly if they dry out too much or get too warm.
The life expectancy of pea seed stored under favourable conditions is about two to three years.
Seeds stored under less favourable conditions will show poor germination after just a single year of storage. Beyond this, you can expect your germination rates to go down (ie. not all of your seeds will grow, but some might). To test your seeds, you can do a simple germination test. Follow the link for instructions. If you are still getting some seeds germinating, seed more thickly and thin any extra.
Save seeds from open pollinated or heirloom varieties of peas. If the plant tag or seed package from the original plant says “hybrid”, then the seeds grown from hybrids won’t look the same next year.
The seeds of peas are inside the pods. Leave the pods on the plant until they turn brown and are dry and brittle. The seeds in green pods do not ripen well after they are picked from the plant. If there is hard frost or wet weather, cut and bring the whole plant inside. Hang the plant upside down to finish ripening the seeds.
Once the pods are dry and brittle, crack them open and remove the seeds. Discard the pods in your compost. Keep the best seeds and discard ones that are small, shrivelled or moldy. The seeds should be hard and dry before storing them. If the seeds are still a bit soft, spread them out on a plate or tray and allow to dry until they feel hard like a pebble.
Place seeds in an envelope marked with the name and year harvested. Place the envelope in a jar and seal. Store in the fridge.
Harvest
Click on the tabs above for more information!
- Peas are ready to harvest about 3 weeks after flowering
- Check pea plants often for ripeness - you may have to pick every day
- Pick pods early in the day before daytime temperatures rise
- Shelling peas are mature when the pods are filled with seed but not over-ripe. If over-ripe, peas will be less sweet and more mealy and starchy
- The sugars in peas convert to starch after picking, especially if temperatures are warm
- Shell peas as soon as possible after picking and immediately put in ice water to cool them down and remove excess sugars
- If you must wait then store at 5°C and high humidity (90-95%)
Peas have a high respiration rate. It is important to keep them cool when harvesting.
Use one hand to hold the vine and the other to pluck the pea from the vine without tearing the calyx (the end attached to the vine).
Storage
Click on the tabs above for more information!
Peas are best used immediately, whether eaten fresh, or frozen or canned for longer term storage.
Peas can be stored in perforated plastic bags in the crisper of the refrigerator for several days, but quality (and sweetness) deteriorates quickly because the sugars in peas quickly convert to starch, even in the fridge.
Long term preservation methods we include freezing, fermenting, dehydrating (drying) or canning.
Cooking and preserving
Click on the tabs above for more information!
Loading...

Troubleshooting
Click on the tabs above for more information!
Peas are relatively low maintenance. Providing their water, light and soil needs are managed they don't tend to get a lot of issues. Maintaining healthy soil with adequate organic matter will go a long way towards preventing most issues.
Powdery mildew is the most common problem. Avoid overcrowding plants and stake taller varieties to promote good air circulation. Water plants early in the day to allow leaves to dry. Use mulch to prevent mildew spores from infecting plants through soil splash.
See the Common problems tab on this page for advice on other specific pea issues.
Loading...
Common questions
Pea inoculant is often sold with pea seeds at garden centres or from seed suppliers. Inoculant contains a soil bacterium called Rhizobium in a powdered form that is used to coat pea seeds before planting.
Peas have the unique ability to fix nitrogen from the atmosphere in nodules in their roots through a mutually beneficial relationship with Rhizobium.
Peas will grow, flower and produce pods without inoculation. However, inoculation is beneficial if peas have never been grown before in an existing garden, or if you are planting into a new garden. If you grow peas every year in an existing garden, inoculation may improve yields but is not absolutely necessary.
If using inoculant, simply put a small amount of the powder into the seed packet and shake before planting pea seeds.
Note that inoculant has a short self life. Check the best before date on the package.
Carefully dig out some of the seeds that didn't germinate being careful not to disturb the roots of nearby peas. Examine the seeds for rot. Rotted seeds will smell bad.
Possible causes: peas that were presoaked and then planted into dry soil are susceptible to rot and/or planting into soil that is too cool. Another possible cause is old seed with a low germination rate.
You can still sow seeds until around the middle of June. These should germinate better because soils are warmer at this time of year.
Research and student activities
Click on the tabs above for more information!