
Growing your own transplants
It only saves you money if they live!
By germinating plants indoors before spring, you can extend what would otherwise be a relatively short growing season (100 days) so that vegetables such as tomatoes, green peppers, and eggplant are more likely to produce ripe fruit.
Small seeds of any type usually stand a better chance if sown indoors simply because there is more control over the environment - no sudden changes involving wind, sun, rain, drought, temperature, or the neighbour's cat.
Starting seeds indoors gives the home gardener more choice over variety. While greenhouses and garden centres will usually offer the more popular flowers and vegetables, for unusual or older varieties it is often necessary to order and grow your own seed.
You should derive a great deal of satisfaction from raising your own plants. And it's a sure way to avoid boredom during those February-March doldrums when we're all counting the days until spring.
Choose the Proper Container
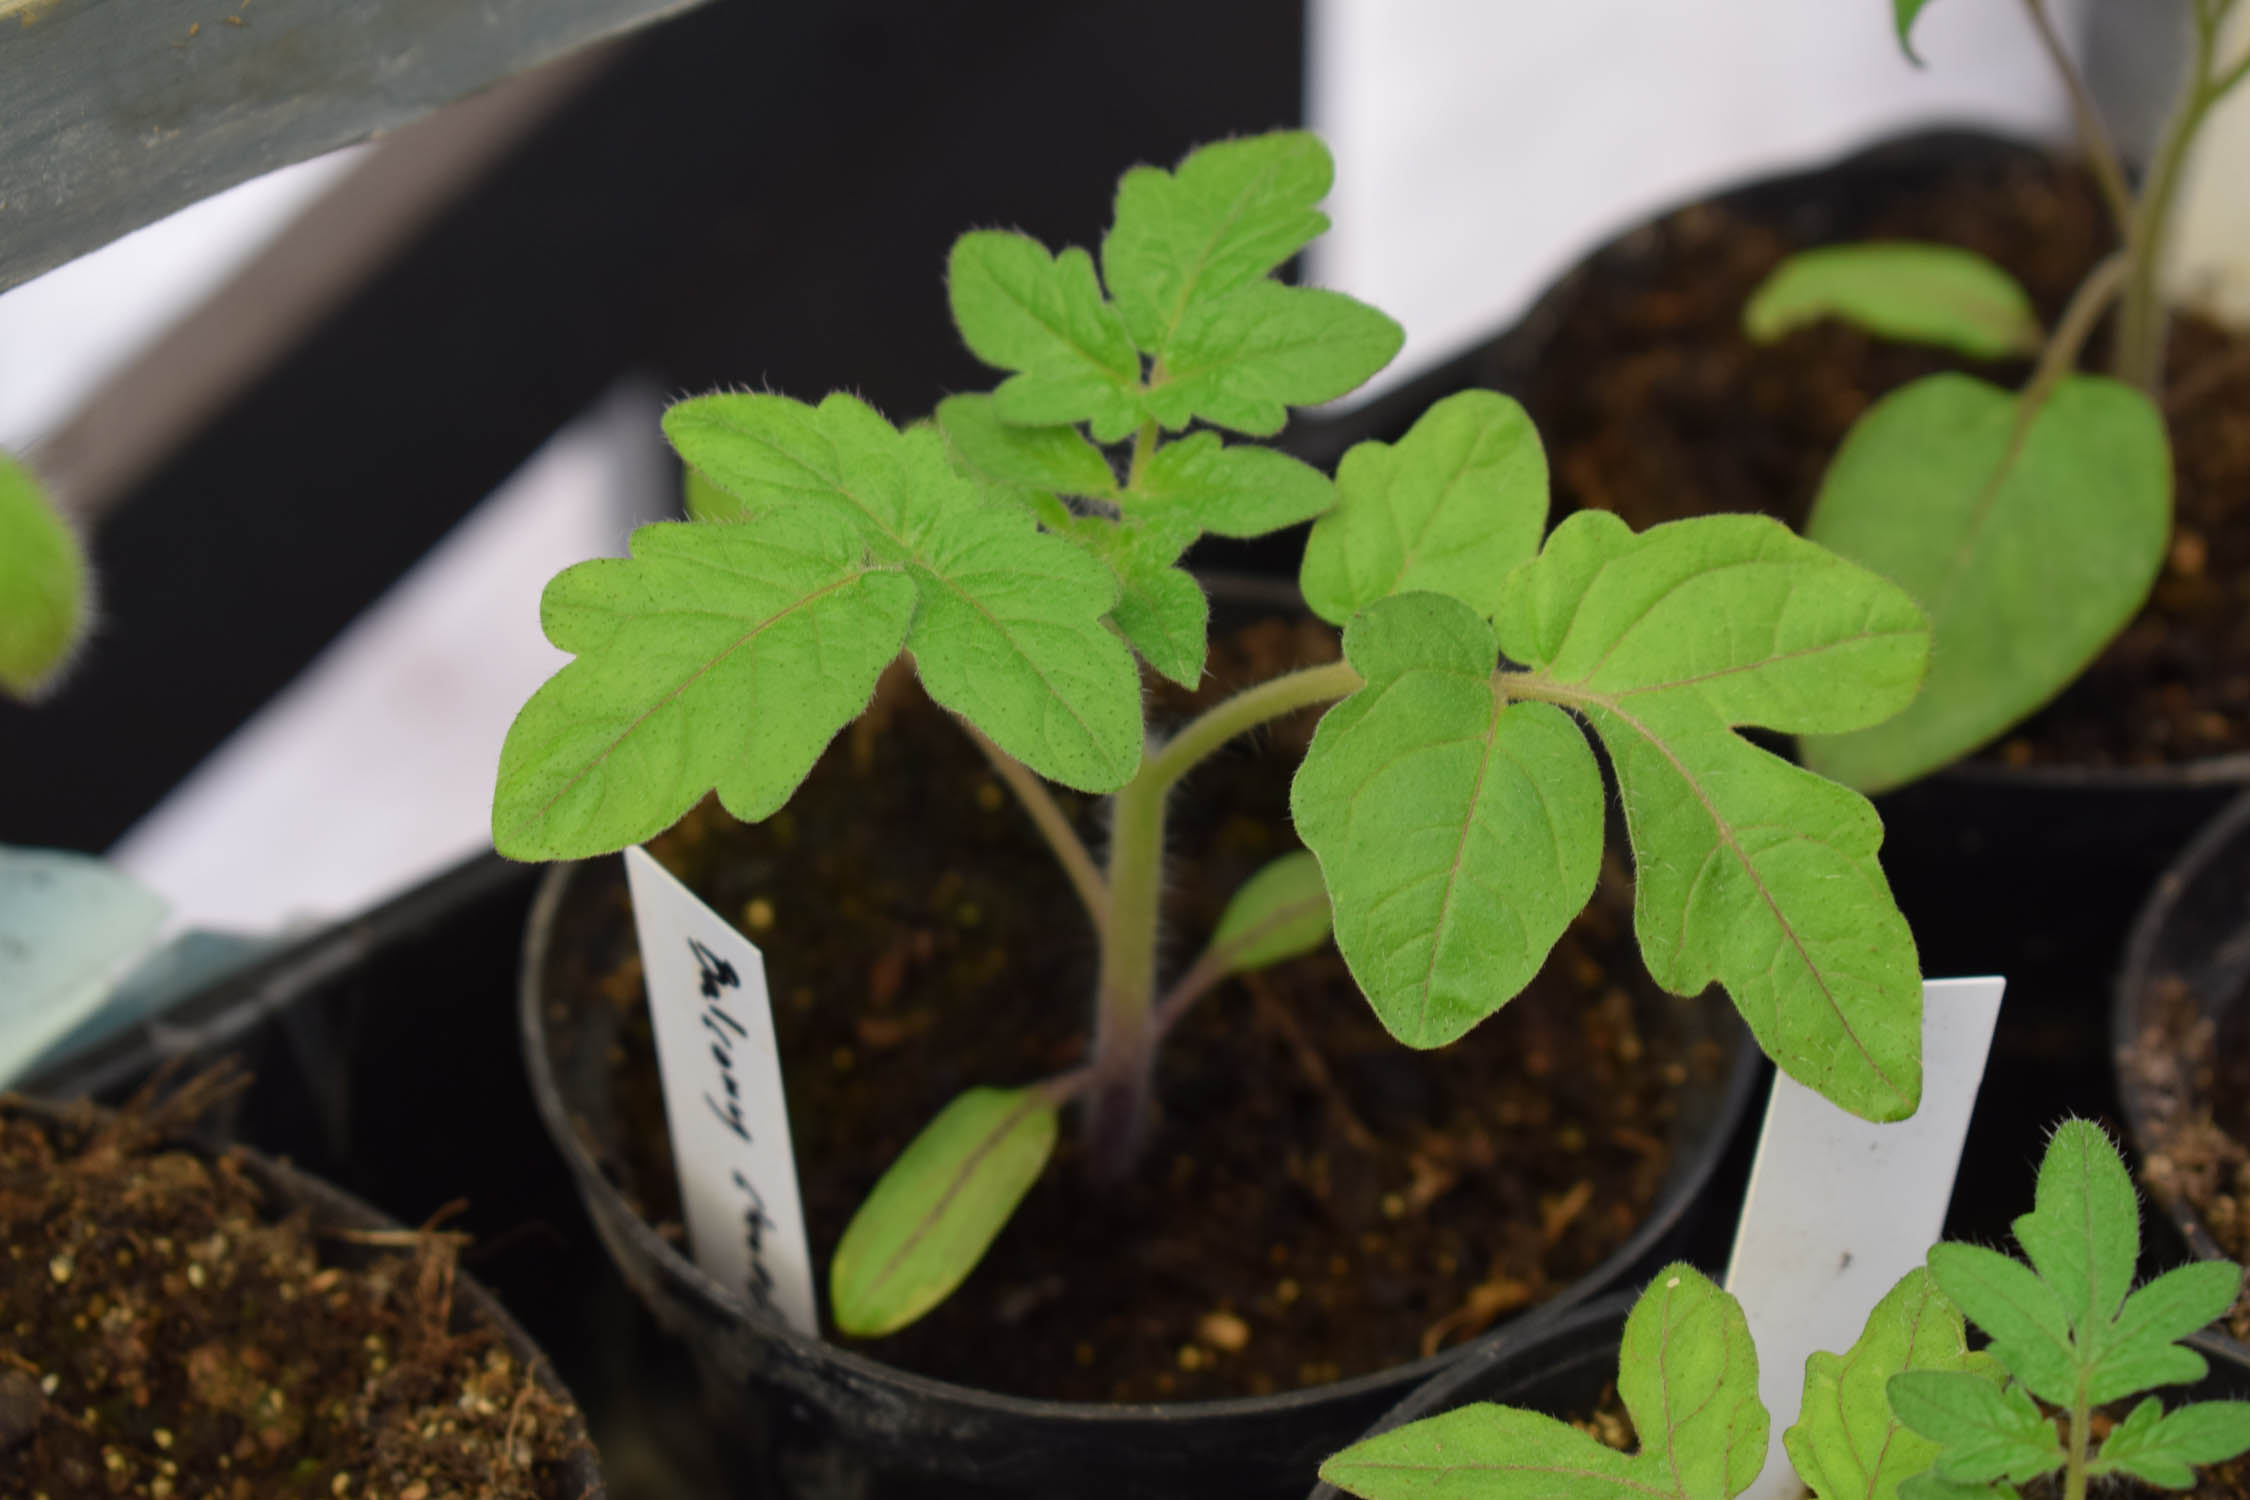
- Containers used for seeding must have good drainage and be able to hold soil and water without falling apart. They should be about 7.6 cm (3 in.) deep to prevent soil and seedlings from drying out. Deeper containers will simply use up more potting soil and weight more. Square or rectangular containers use less space than round ones.
- Homemade or recycled containers include wooden flats, cottage cheese or yoghurt containers, and milk cartons split in half lengthwise (be sure to punch drainage holes in the bottoms of these). Egg cartons, long the favourite of teachers, tend to be too shallow and dry out too quickly.
- Non-reusable, commercially available containers - Peat pots are generally small and available in round or square form, individually, or in strips or sheets. They are bio-degradeable and ideal for plants such as melons and cucumbers which dislike disturbance when transplanted. Simply plant the entire peat pot. Cover the rim with at least 1.27 cm (.5 in.) of soil so it does not act as a wick which will allow the entire pot and contents to dry out through surface evaporation.
- Peat pellets are made of compressed peat that expands to seven times its volume when watered. Available in 2 sizes ("Jiffy-7's" and "Jiffy-9's"), they resemble ginger cookies when dry and lumpy muffins when expanded. Simply drop a seed in the depression on the top of the "cookie," place it in a tray and add water. The "Jiffy'7's" expand to a diameter of 4.4 cm (1.75 in.) by 5.4 cm (2.12 in.) high. The "Jiffy-9's" are smaller. Because the entire pellet with the seedling is transplanted, root disturbance is avoided.
- Reusable, commercially available containers - These include clay and plastic pots, cell packs and 10- or 20-row starting trays. Clay pots tend to be more expensive, heavier, and more breakable than plastic ones. Seeding into either will usually involve transplanting.
- Cell packs are made of lightweight plastic and are partitioned into 4 to 9 individual cells or compartments which fit into a plastic drip tray.
- The row starting trays are similar to a wooden flat, but made of plastic, with a ridge between seeding gutters which discourages the transfer of damping-off fungi. Because the trays have a limited number of rows, they may prevent the over-zealous from seeding more than can be really used (or happily transplanted). The row seeders usually come with both a drip tray and a plastic cover which help maintain humidity.
- If they are not included as part of a kit, you should provide separate "drip trays" of galvanized metal or plastic to catch drips and make bottom-watering easier. Care should be taken that these not be kept permanently full of water, or the soil will become water-logged and the seedlings will be deprived of oxygen.
- When re-using plastic or clay pots, wash them with hot, soapy water and rinse them prior to each new seeding season. If you had problems with damping-off or other diseases, an application of a 5% bleach (Javex) solution might be advisable.
- Potting mixtures for seeding should be free of weed seeds, insects, soil-borne diseases, and toxic materials. They should be able to hold moisture and yet remain aerated; and they should be non-crusting.
- Garden soil is not generally recommended for potting mixtures. In shallow containers, it tends to pack and crust. As well, garden soil often contains both weed seeds and fungi (which can result in dampening off.)
- Generally a soil-less mixture is recommended for the first sowing and a soil mixture for transplanting. Soil-less mixtures usually consist of some combination of peat moss, perlite, and vermiculite. They are lightweight and uniform. Most components of soil-less mixtures have been heat-treated in some way and are therefore considered "sterile," they reduce the risk of damping-off, a common fungal disease affecting seedlings.
- Although pure vermiculite may be used for seeding, a more usual soil-less mixture consists of 1 part peat moss and 1 part vermiculite or perlite. A mixture may also be made up of 1/3 peatmoss, 1/3 perlite, and 1/3 vermiculite.
- Components should be thoroughly mixed and moistened with warm water several hours prior to seeding.
- Seedlings are usually transplanted into commercially available potting soil, which consists of some combination of loam, peatmoss, perlite and vermiculite. Such mixtures are usually labeled "sterilized" or "pasteurized," indicating that they have been heat-treated to kill insects, weed seeds, and disease-causing organisms.
- If you must use soil from your garden, moisten it and heat it to 180F (internal soil temperature) for 30 minutes prior to seeding or transplanting. Dry soil takes longer to heat (and smells worse!) Use a meat thermometer to determine when the soil has reached 180F. 180F will kill insect eggs and larvae, some weed seeds, and damping-off fungi. At higher temperatures beneficial organisms are killed and dissolved salts are released from the soil which may be toxic to plants.
Watering
- Water the containers with luke-warm water from the bottom after the seeds have been sown. To do this, place the containers in a sink with about 5 cm (2 in.) of water and leave them until the water has soaked up from the bottom to the surface of the potting mixture and the surface is damp. Allow the containers to drain before placing them under lights or in a warm place to germinate. Cover the trays with clear plastic to maintain soil moisture and humidity until germination occurs. Check them daily and gradually remove the plastic cover once the seeds have germinated.
Lighting
- Once seedlings have emerged from the soil, place them in full light. Unless you have a greenhouse, fluorescent lighting is recommended. Incandescent bulbs produce red light, which when used alone, tends to produce leggy plants. The bulbs also produces a lot of heat in comparison to the amount of light given off.
- Fluorescent tubes come close to duplicating the color spectrum of sunlight. Plants produced under them are usually green and stocky.
- Cool white and warm White fluorescent tubes, used together, produce the best light for plant growth. Cool white emits light in the blue wavelength while warm white emits light in the red range.
- Most cool white and warm white tubes will last 18 months if operated 12 hours daily. Light toward the end of the tubes is weaker than light in the centre, and falls off even more as the tube ages. Dust on fluorescent tubes decreases their efficiency. Painting shelves and reflectors with a flat white paint will increase the amount of light reaching the plants.
- Two 1.2 m (4 ft) 40 watt fluorescent tubes in a reflector will supply the required light. This setup will provide light for plants in an area .6 by 1.2 m ( 2 by 4 ft) on the table, counter, or stand below it.
- Lights are easily attached from the ceiling or a stand using furnace chain and S-hooks. The S-hooks allow you to adjust the height of the fixtures upwards as the plants grow.
- Generally, the light should be 7.6-10 cm (3-4 in.) above the plants during the first 3 to 4 weeks. This can be gradually increased up to 10-15 cm (4- 6 in.). Seedlings require more intense light than more mature plants.
- Insufficient light results in legginess, excessively large gaps between leaves, and pale stems and leaves.
- Plants usually require a certain 'photo-period' or time during which they have light. Generally, 14-16 hours of daylight ( or fluorescent lighting) is sufficient for seedlings. Any longer than this can be harmful. An automatic timer is a very worthwhile investment.
Temperature Requirements
- Remember, most seeds require a fairly warm soil temperature in order to germinate. Most will germinate at soil temperatures between 21.1 and 32.2C (70 and 9F), but there is a lot of variation among species. Check the optimum soil temperatures for the germination of a particular species. Once germination has occurred, the seedlings will grow better at a lower temperature, usually about 10 degrees lower than their germination requirements.
- The heat from the fluorescent tubes usually maintains a temperature of at least 21.1F, (70F), which is sufficient for most plant growth. Temperatures toward the outside of the lighted area will be cooler, so plants requiring lower germination or growth temperatures can be placed on the outside, while those with higher temperature requirements should be placed in the center. Monitor the soil temperature during and after germination by using a meat or soil thermometer.
- If the room in which plants are grown is very cold, and plants requiring a high germination temperature are being grown, bottom heat is advised. This can be accomplished by placing the flats near a furnace or heating register until germination occurs (keeping a careful check so that the media does not dry out.) If you are growing a large amount of seedlings, you might consider investing in a heating cable. The cable is usually set at 21.1F (70F) and is installed below the flats or containers, with a layer of vermiculite and hardware cloth over it. Costs will vary depending on length. Using a tent of aluminum foil over the lights and seedlings can raise the temperature as much as 20F.
Fertilizer your Transplants
- Vermiculite, perlite, and peat moss do not contain the nutrients needed for plant growth. Once seedlings have germinated and are growing, soil-less mixtures will require the addition of fertilizer. Use a soluble, complete fertilizer with trace elements (also called micro-nutrients) such as 20-20-20.
- Fertilize seedlings at 1/4 to 1/2 the recommended strength once a week when watering - i.e., if label directions indicate 1 teaspoon per gallon of water, use only 1/4-1/2 teaspoon. Always apply fertilizer to moist rather than dry soil.
- Fast growing annual flowers and vegetables might require more fertilizer than slower growing perennials. It is always better to under-fertilize than to over-fertilize.
Damping-Off
Damping-off is the name given to several types of fungi which attack young seedlings at soil level and rot the stems. The stems blacken and elongate, while the leaves above appear healthy. The entire plant soon topples over and dies. The disease spreads quickly and is easier to prevent than cure.
Ways to help prevent damping-off include:
- Provide good lighting and air circulation. A fan in the room will increase air circulation.
- Prevent overcrowding by sowing seeds thinly and transplanting seedlings once the true leaves appear to give them more space.
- Use commercially available seeding trays which consist of a number of parallel gutters into which media and seed are placed. Damping-off organisms do not generally cross over the plastic lips between gutters.
- Cover the seeds with a thin layer of sterile media such as vermiculite
- As mentioned in an earlier article, seedlings are usually transplanted into commercially available, sterilized potting soil, which consists of some combination of loam, peatmoss, perlite, and vermiculite.
- Transplant the seedlings into the potting soil, taking care not to bury the growing point. Press the soil firmly around each plant so it is in firm contact with the soil and able to absorb water and nutrients. If damping-off has been a problem, you might want to use, a solution of No-Damp. Water from below and allow to drain.
- Spacing of transplants depends a lot on the size of the plants. Anywhere from 9 to 12 seedlings can occupy a container (24 is a reasonable number for a wooden flat.) Leave 5-7.6 cm (2-3 in.) between the plants. If no wilting occurs, place the containers back under the lights. If they appear wilted, allow them to recuperate for a day.
- Hardening Off From this point on the young seedlings should be allowed to grow steadily until they are "hardened off" and transplanted outside. The hardening-off process prepares the plants gradually for outside conditions. During the hardening off period, the plants require a steady supply of water, nutrients, good light, and temperatures which are cooler than those under which they germinated.
- Begin by slowing down the growth of the plants. Water them less often (taking care that they not be allowed to dry up) and withhold fertilizer during the last 7-10 days indoors. Reducing temperatures will result in less sappy, succulent growth.
- if the plants are not in individual containers "block" them by cutting between them with a knife within the containers. This accomplishes two things. it reduces tearing of teh roots during the actual trlansplanting process and stimulates the formation of fibrous root growth within each plant's block of soil, better preparing them for actual transplanting.
- Using a cold frame allows for a gradual process of acclimatization to sun, wind, low humidity, and temperature fluctuations. Begin with the glass or plastic cover closed, and covered with a thin layer or burlap, cheesecloth, or newspaper to provide shading. Gradually lift the cover more each day and remove the shading material as the plants beacome hardened.
- Check the soil moisture daily as evaporation is much more rapid outside. Also keep a careful check for expected frosts, closing the cold frame lid and covering it with old blankets or 2-ply plastic should they occur.
Final Transplanting
- Wait until all danger of frost is past. Depending on the cold tolerance of the species, this can occur from May 15 to June 15 on the Prairies. While the May long-weekend is the "traditional" date, it might be more prudent to wait until the first week of June for tender annuals such as green pepper, tomato, eggplant, cucumber and melon.
- Water the seedlings and the site on which they are to be planted thoroughly the day prior to transplanting. The site should be moist but not sticky at transplanting time.
- It's best to transplant on a calm cloudy day or in the evening. Plants will topple over and bake in the wind or the heat of the mid-day sun.
- Water the plants and keep them shaded for the first few days. Using 48 oz. juice cans or 1 litre milk cartons from which the top and bottom have been removed will give the transplants protection for the first few weeks.