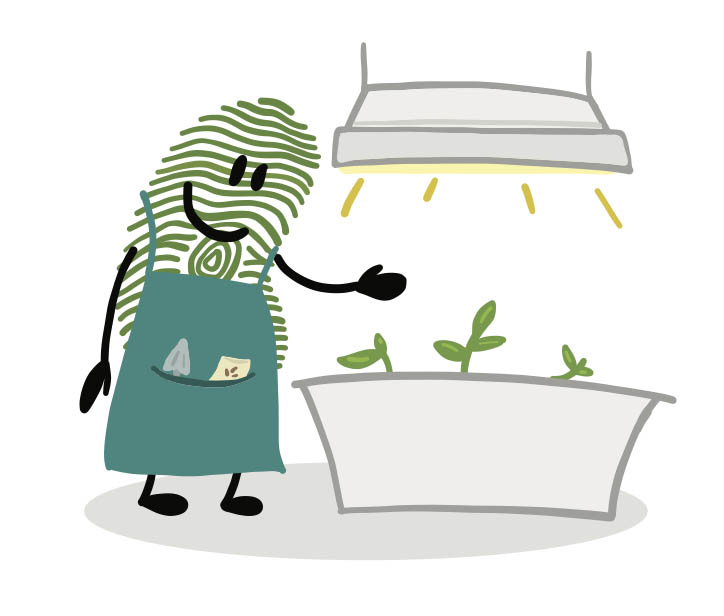
Lights for indoor growing
It is necessary to supplement indoor growing during winter with grow lights for fruiting plants.
Grow Lights
We use grow lights for indoor growing because the sun is often not strong enough during the winter and through a window, to grow fruiting plants.
There are two different lights being used in indoor gardens. Your garden will have one or two of these styles of light:
- LED (Light Emitting Diode)
- Fluorescent
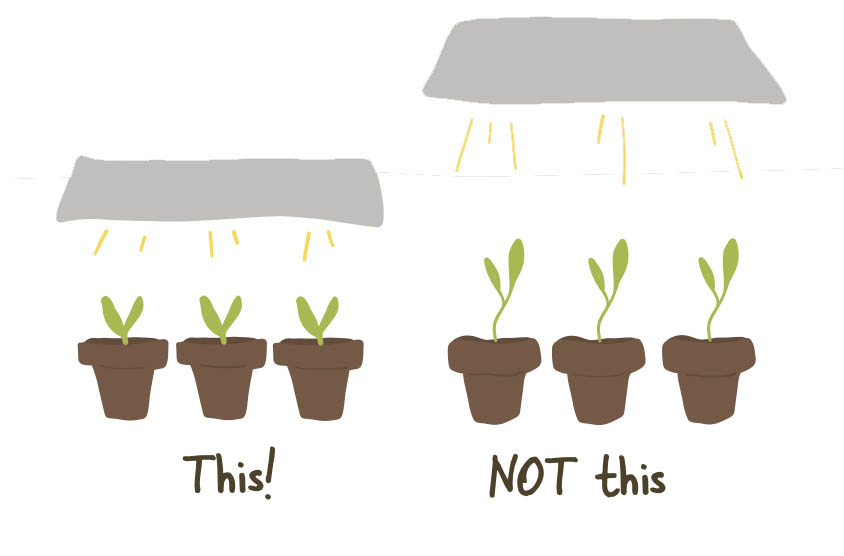
Remember to keep your lights closer to your seedlings to encourage compact growth. If the light is kept too high, plants will become leggy and reach for the light.
Length of Light
Outdoor vegetable gardens generally require 6-8 hours of sunlight a day, while your indoor garden will require 12-16 hours of sunlight a day. We suggest setting your timer to a cycle of 12 hours of grow lights on, 12 hours off. More light does not automatically cause plants to produce more. Plants actually require darkness each day for respiration to occur (respiration is the process by which plants convert the products of photosynthesis to usable energy). Some gardens will adjust the amount of light throughout the growing season to mimic the natural season and inspire plants to set fruit. If you are familiar with this process, you may experiment but we suggest keeping your lighting static for a set amount of time each day.
What do the numbers on your grow light mean?
There are a few measurements and technical specs associated with your grow lights that could be helpful to know. These are:
Watts (W) ie. 24W - Watts measures energy consumption. A measure of the amount of electricity flowing through a wire. Watt hours measure the amount of watts used in one hour. Wattage is also used in grow lighting to determine the amount of light needed for an area.
Kelvins (k) ie. 6400k - This is the measurement used to describe be the colour of a specific light source. Closer to the higher end, for example 6400k, is the blue spectrum or daylight hue. Closer to the lower end, for example 2000k is the red spectrum of light.
Lumens (LM) ie. 200 - Lumens Lumens equals brightness; the more lumens, the brighter a light source. One lumen is equal to the amount of light given off by one candle.
Lux (Lux) ie. 20,000 - Lux measures the amount of luminescence on a surface and is often referred to as a light’s intensity. Lux is the amount of lumens that are measured per square meter on a surface.
Trouble shooting issues with lights
Too much or too little light
Providing proper light to your garden plants is critical to the success of your indoor garden. You will want to consider your light duration and light intensity. Make sure to follow the height recommendations for your lighting kit. Light should be on for at least 12 hours a day in your indoor garden, but ensure that plants receive a dark period too.
Note: Outdoor gardens needs an average of 6-8 hours of sunlight, but our indoor gardens needs between 12 – 14 hours of light a day, as light intensity is lower. More light will not cause gardens to grow better. Plants require some darkness in order for respiration to occur, the process of converting the products of photosynthesis to usable energy.
Light Scald
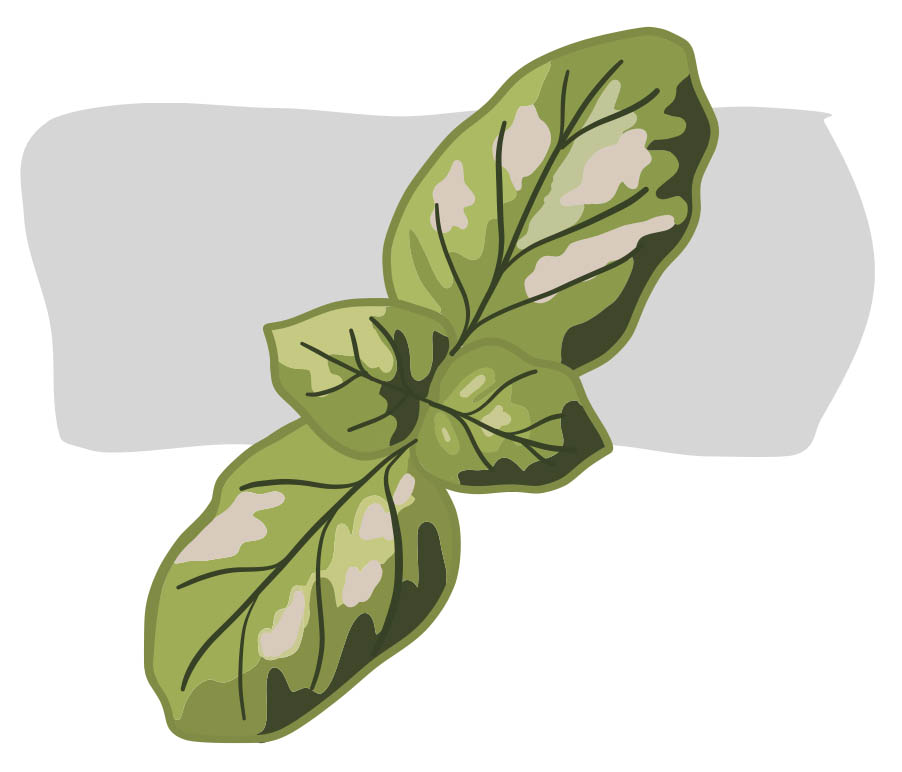
Dry or scorched leaves can be a symptom of placing your grow lights too close to your plants. Follow the manufacturers recommendations for distance of the light to the canopy. Remember to raise the lights as the canopy starts to grow taller.
· LED tube light – keep the light 3.5 inches away from the canopy
· Fluorescent tube lights – keep the light 4 inches away from the canopy
Timer is not working
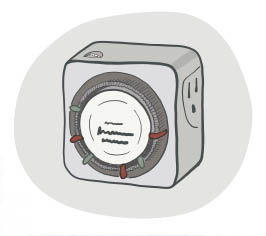
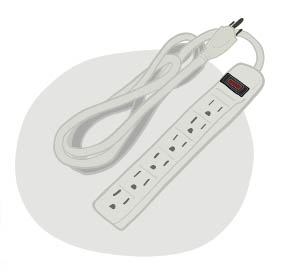
Ensure that you are following the directions correctly for your particular timer. Most timers have an override switch on them. Check the override switch on the timer and see if the power is flowing through it. Remember that your timer must be plugged into the wall outlet first, followed by your surge bar. All of your equipment is then placed into the surge bar. If you have followed the directions on your timer with no success, you may need to replace it.
Light intensity has diminished
If you are using fluorescent bulbs, your light needs to be replaced every 5 years. Your LED light should last up to 10 years. After this point, you should replace your bulbs or tubes.
Light is not turning on
The first thing to do is to ensure that your main plug is plugged into a functioning light unit. Next, check to ensure that your timer is working effectively.
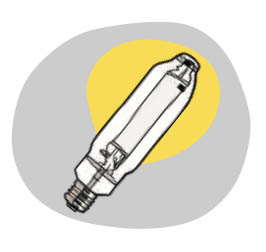
Try replacing the light bulb. If you try a new light bulb and still have no luck, it is best to inspect your ballast. If your light is still not working, remove the non-functioning bulb and place it in a fixture you know to be working.
Ensure that your connecting cords between your light fixtures are all firmly pushed into place and do not feel loose. Double check that the switch on the cord is set to ON, and that your timer is not interrupting it’s use.
Light bulb is flickering
Ensure that your light bulbs are securely placed into the ballast fixture. Make sure that you turn the lighting unit off and then inspect the lights to ensure that they are securely locked in.
Symptoms of light intensity too low or lights too high
- New shoots look weak
Plants are tall and spindly
Growth is slow
New leaves are smaller and pale - Older leaves may turn yellow & fall
- Plant failts to bloom
Solution
- Increase artificial or natural lighting
- Adjust height of your lights to the plant canopy
Symptoms of too much light
- Leaves exposed turn pale and develop faded spots that turn dry and brown.
- Affected leaves turn increasingly pale in areas.
- Pale area may become dry and paper-like.
Solution
- Remove badly damaged leaves from plants
- Adjust the height of your lights to their proper level
Thanks to Little Green Thumbs for providing the information and images on this page.


