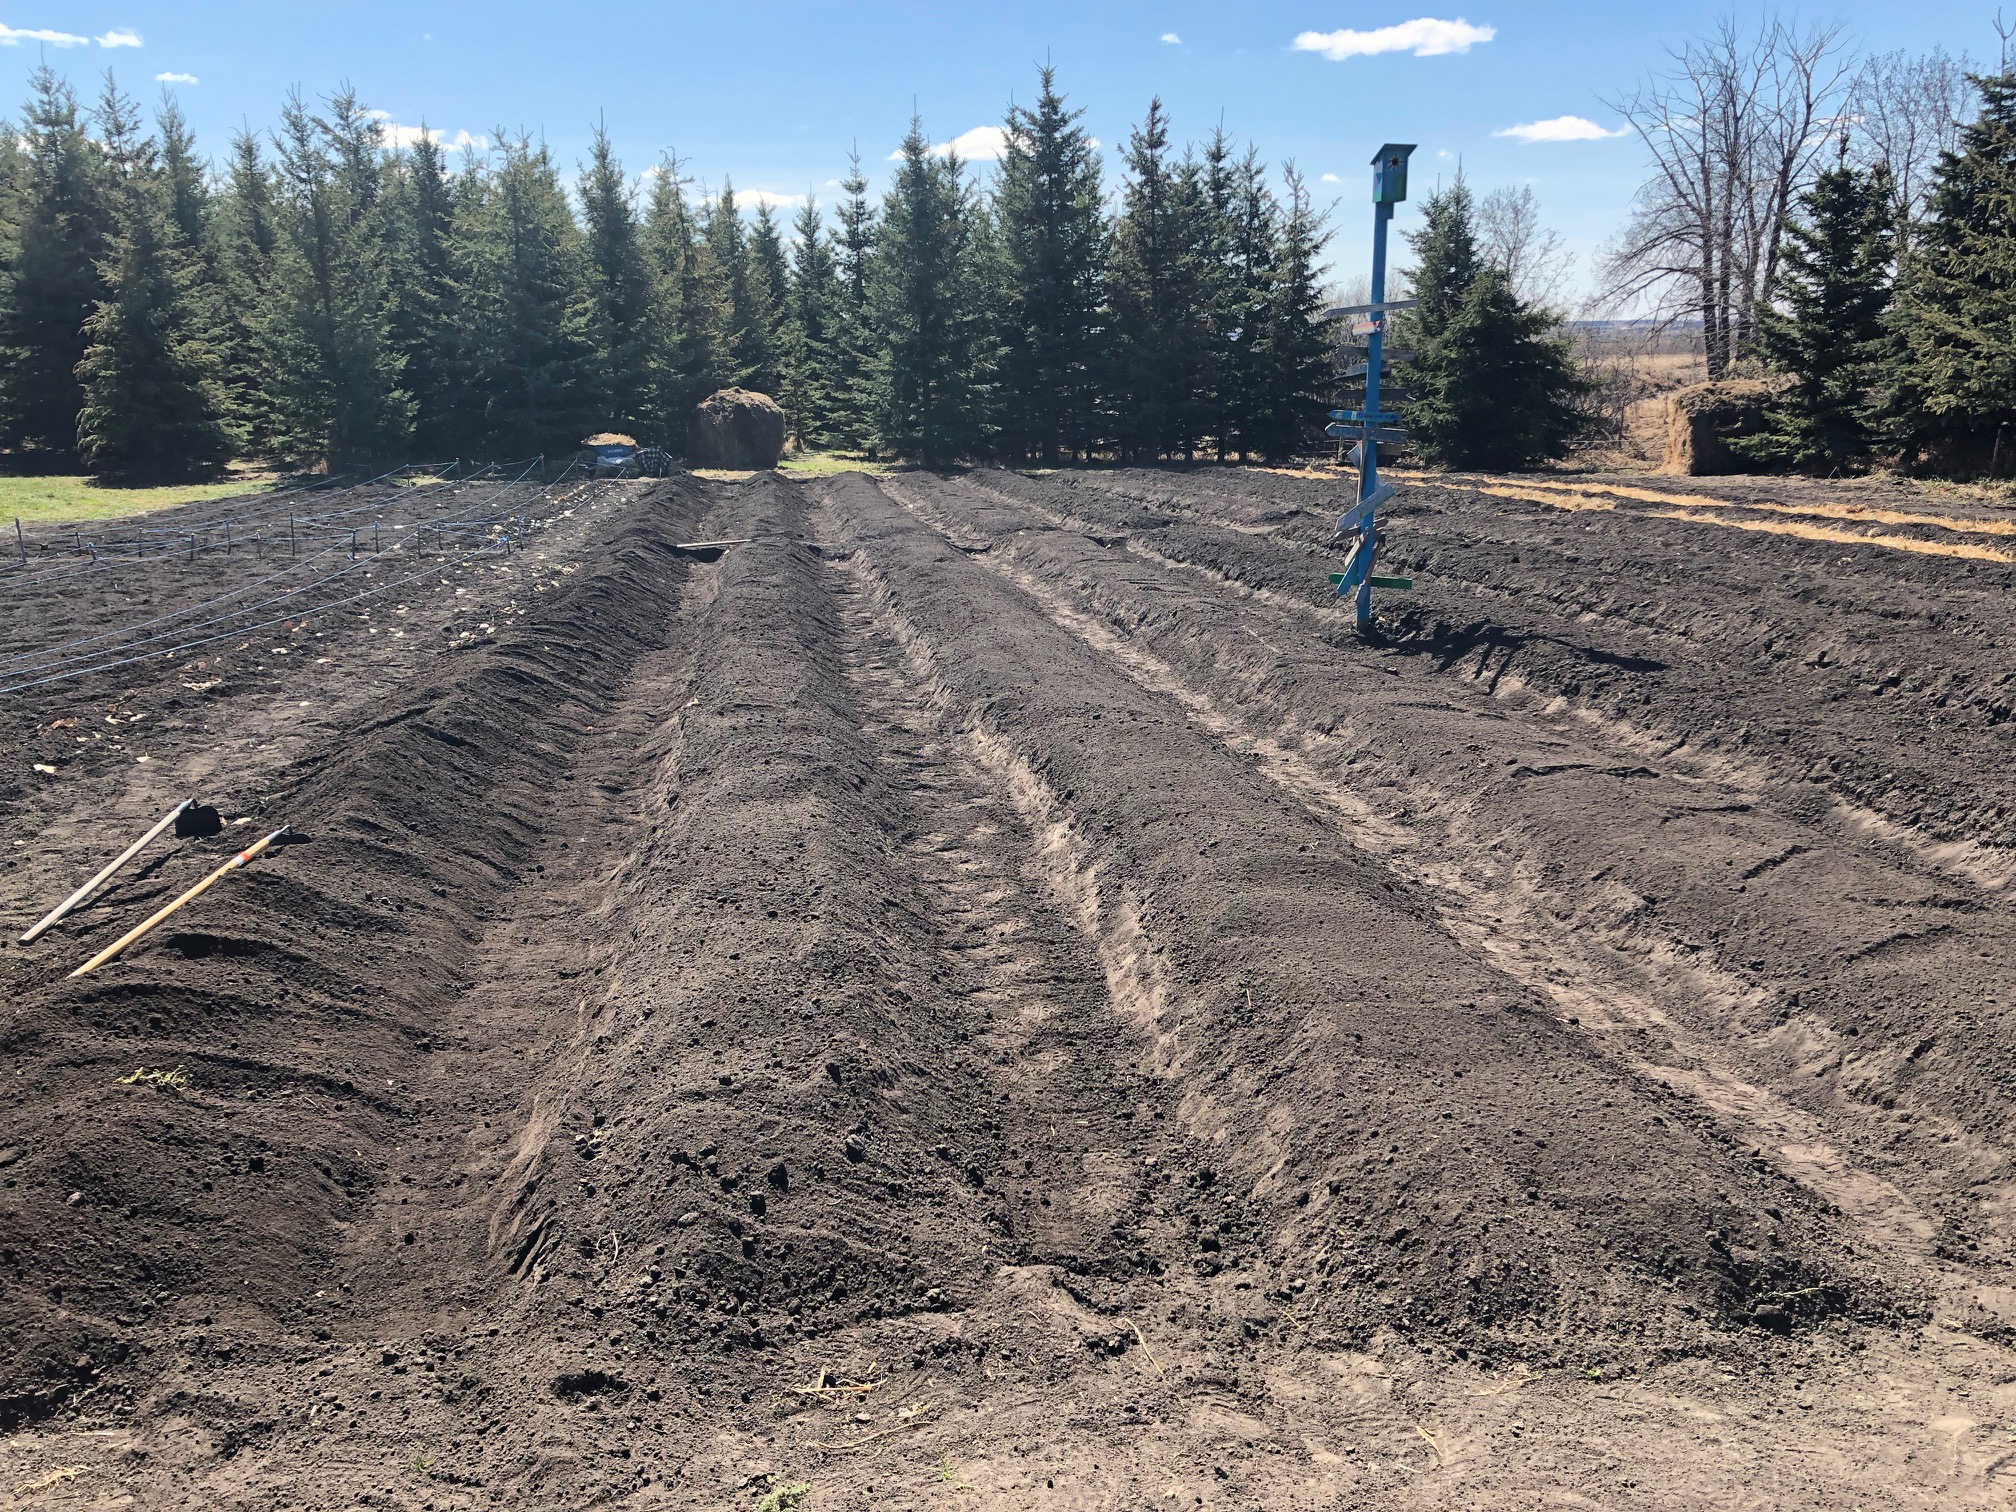
Building permanent planting areas or rows
No till gardening is a system of gardening where the soil is mulched to prevent soil erosion, conserve water and reduce the pressure of weeds. In no till, permanent planting areas are used for rows to grow your garden plants in.
How do you build a planting area in a no till garden?
In no till, we will plant into the same rows or planting areas year after year. To prevent compaction of our soil, we do not want to walk, place heavy equipment or till the planting area at all. This will ensure our soil is not compacted over time.
How wide the planting areas in your garden should be will be a personal preference. In no till, we use high density planting so you will have more than one row of plants in each planting area. You can access the row from either side so they can be wider than a traditional garden row. If you are a shorter person, stick to 2’ rows so you only have to reach 1’ in from either side. If you are taller and can comfortably reach 1.5’ from either side, then make your rows 3’ wide.
If you use any kind of mechanical seeder in your gardens, make your row width to accommodate them. If you have an 18” seeder and a 20” row, you will have to make two passes down your row and risk over seeding the overlap areas.
The length of the row or planting areas should also be considered. If you intend to use row covers of any kind, many of them come in 25 or 50 foot lengths. If you make your planting area 25 feet in length, then you do not have to cut it down or piece it together to be long enough. If you have a long garden, consider putting pathways every 25’ so you do not have to walk all the way down a long row to get around in your garden.
Raised rows are the preferred method of planting areas in a no till garden. Raised rows will warm up faster in the spring and extend the season into the fall for the plants. It doesn’t seem like a few inches in height makes a big difference but it really does. A raised row can also improve mobility as it is higher up so a gardener doesn’t have to reach down as far to access the row.
Once you settle upon a row width, you can either mark it and add mulch to a flat garden, or you can build raised beds. To do this, pull the top soil from the pathway up onto your planting area with a landscape rake or hoe. This will create a lower pathway and a higher row.
As you build the planting area, it will be peaked from pulling soil up on to it. Once it is built, use a rake, level the top of the row so you have a nice gently rounded bed. Repeat this process all across your garden. Once you are done, you are ready to mulch!
There are multiple organic mulches you can use for your rows: arborist wood chips, old well rotted straw or shredded grass clippings/leaves. If your garden is in a wet area, try to avoid the shredded grass/leaves as they are prone to leaf mould when wet and can attract slugs as they remain moist. Arborist wood chips are a great choice but can be harder to move around for planting than straw. Straw is soft to work in and decomposes faster than wood chips so you will see a faster improvement in soil fertility. Check out the mulch page to see more advantages and disadvantages of the different types of mulch before you chose what you will use in your garden.
Before mulch, weed your garden and water it thoroughly. Add six inches of mulch to the row. If you get weeds growing through, pull them and top up the mulch in that area until they stop growing. Perennial weeds will be more persistent so pull these out before they go to seed.

